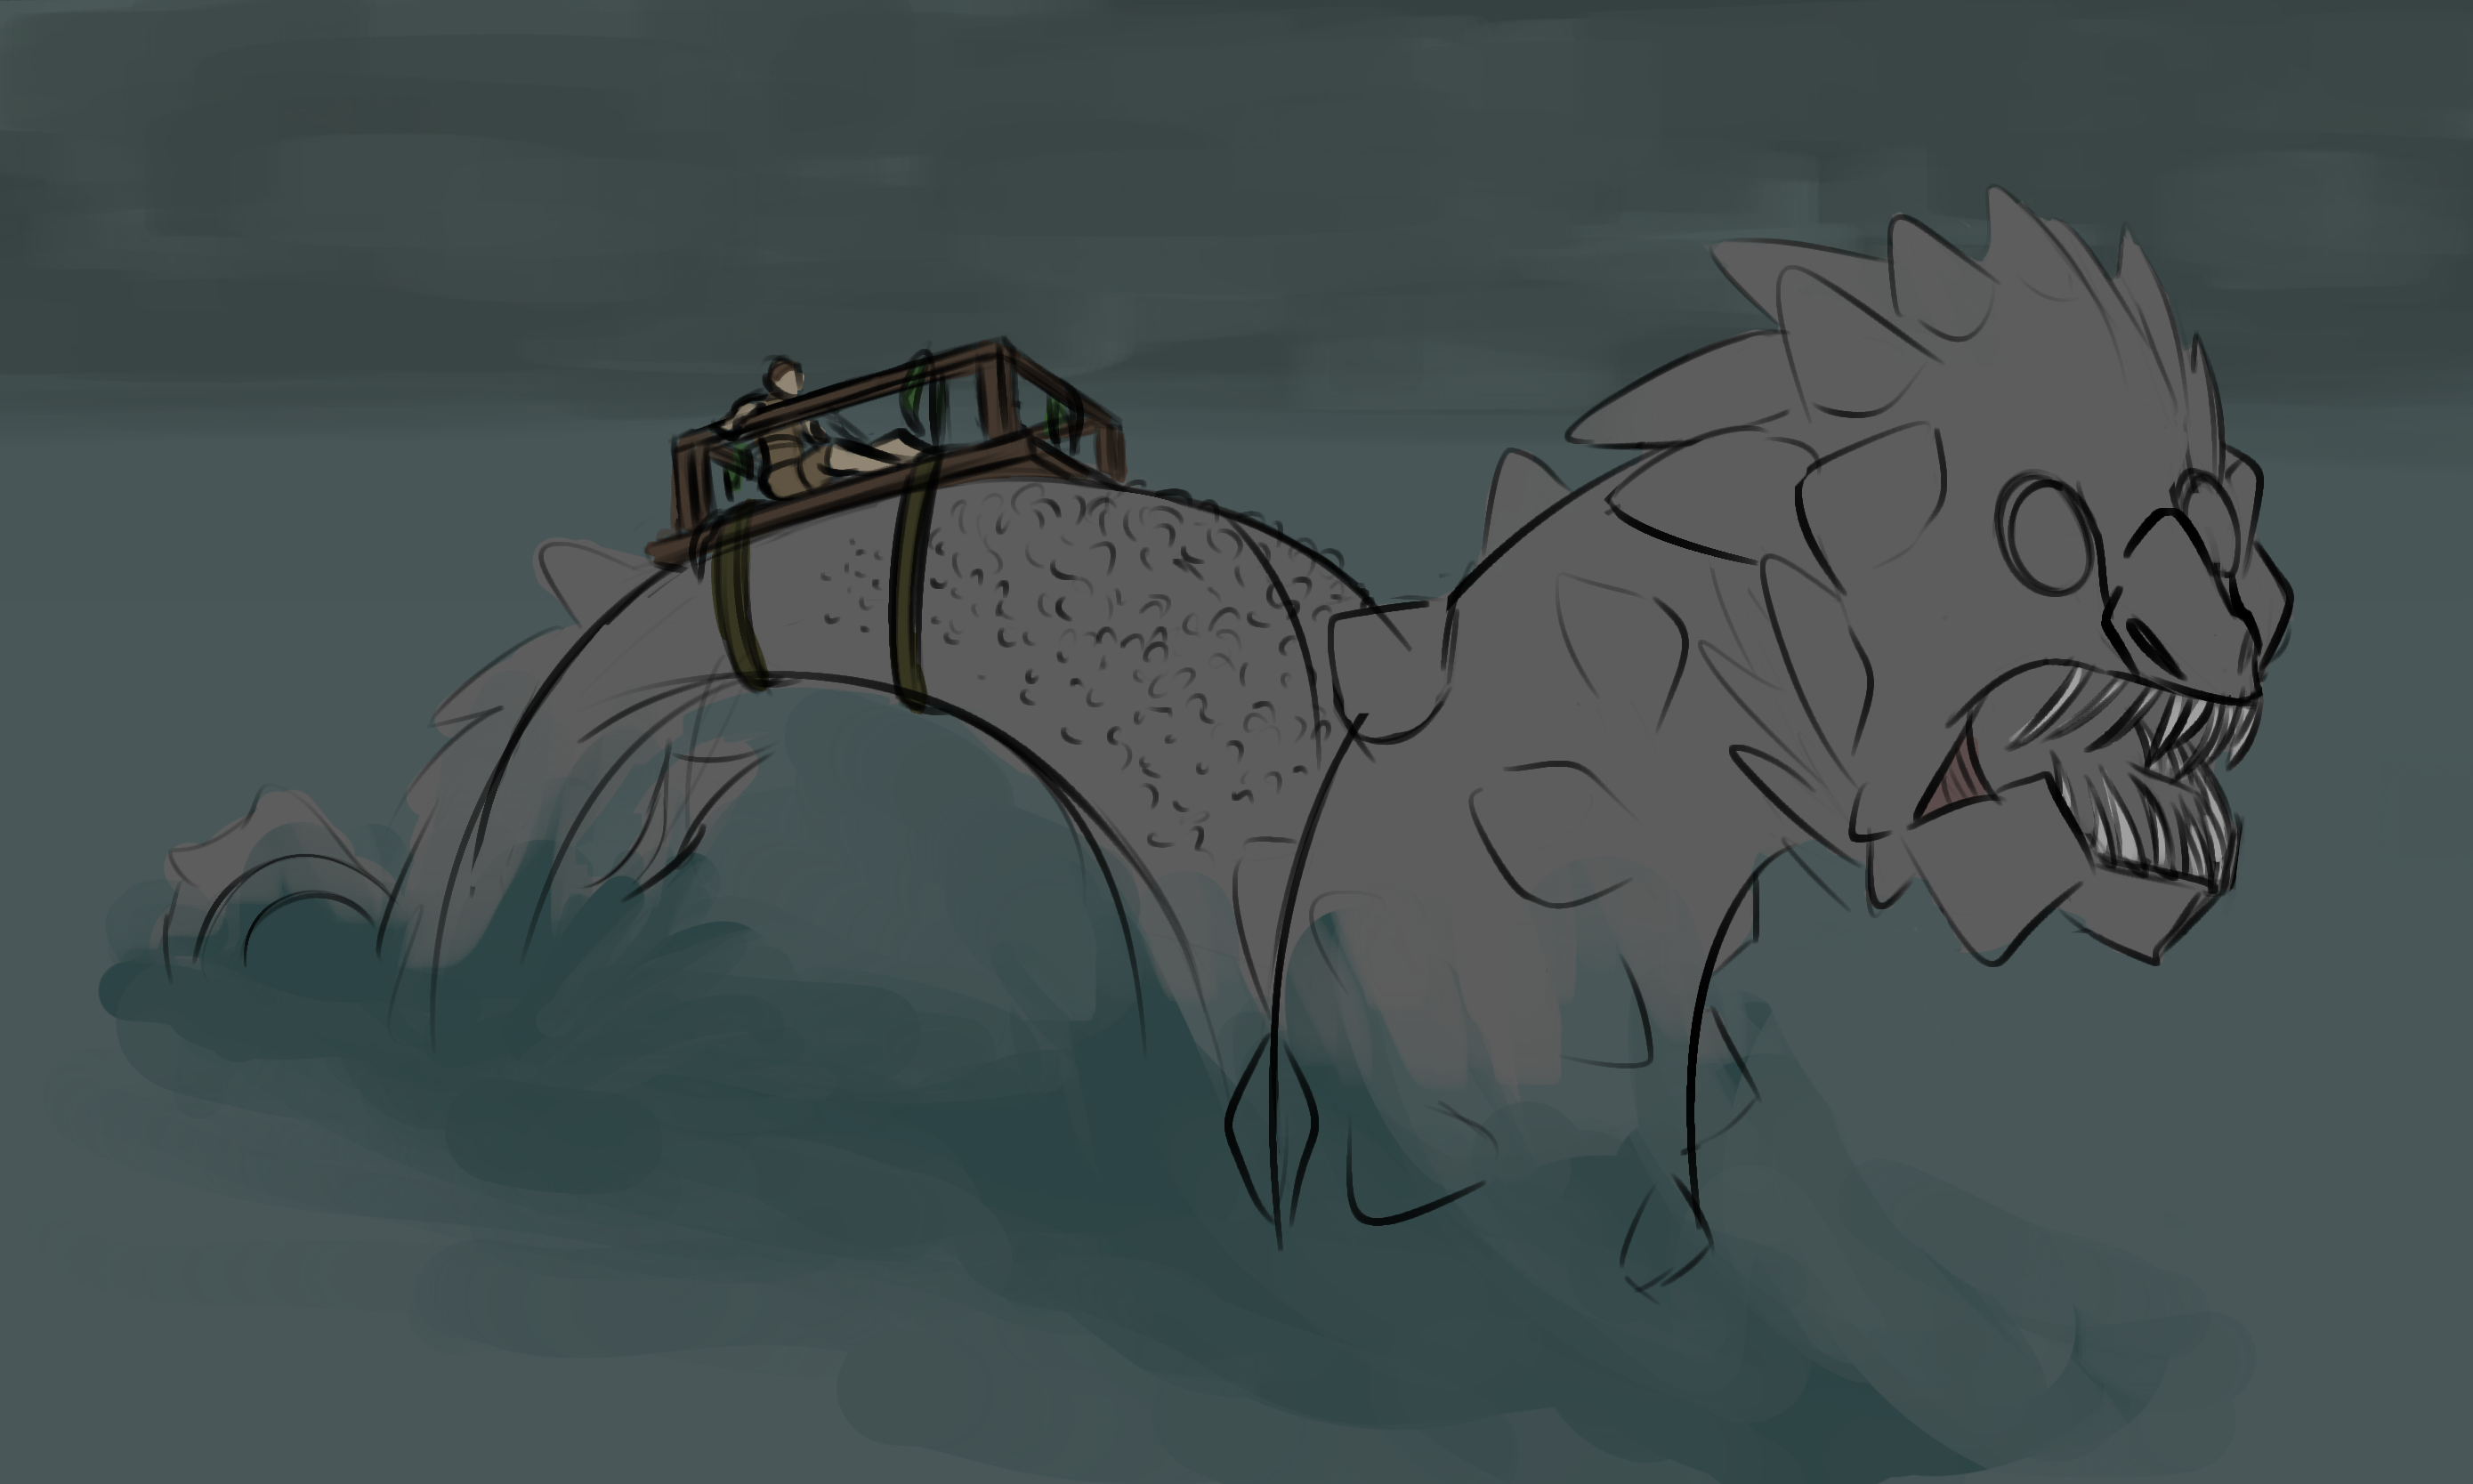
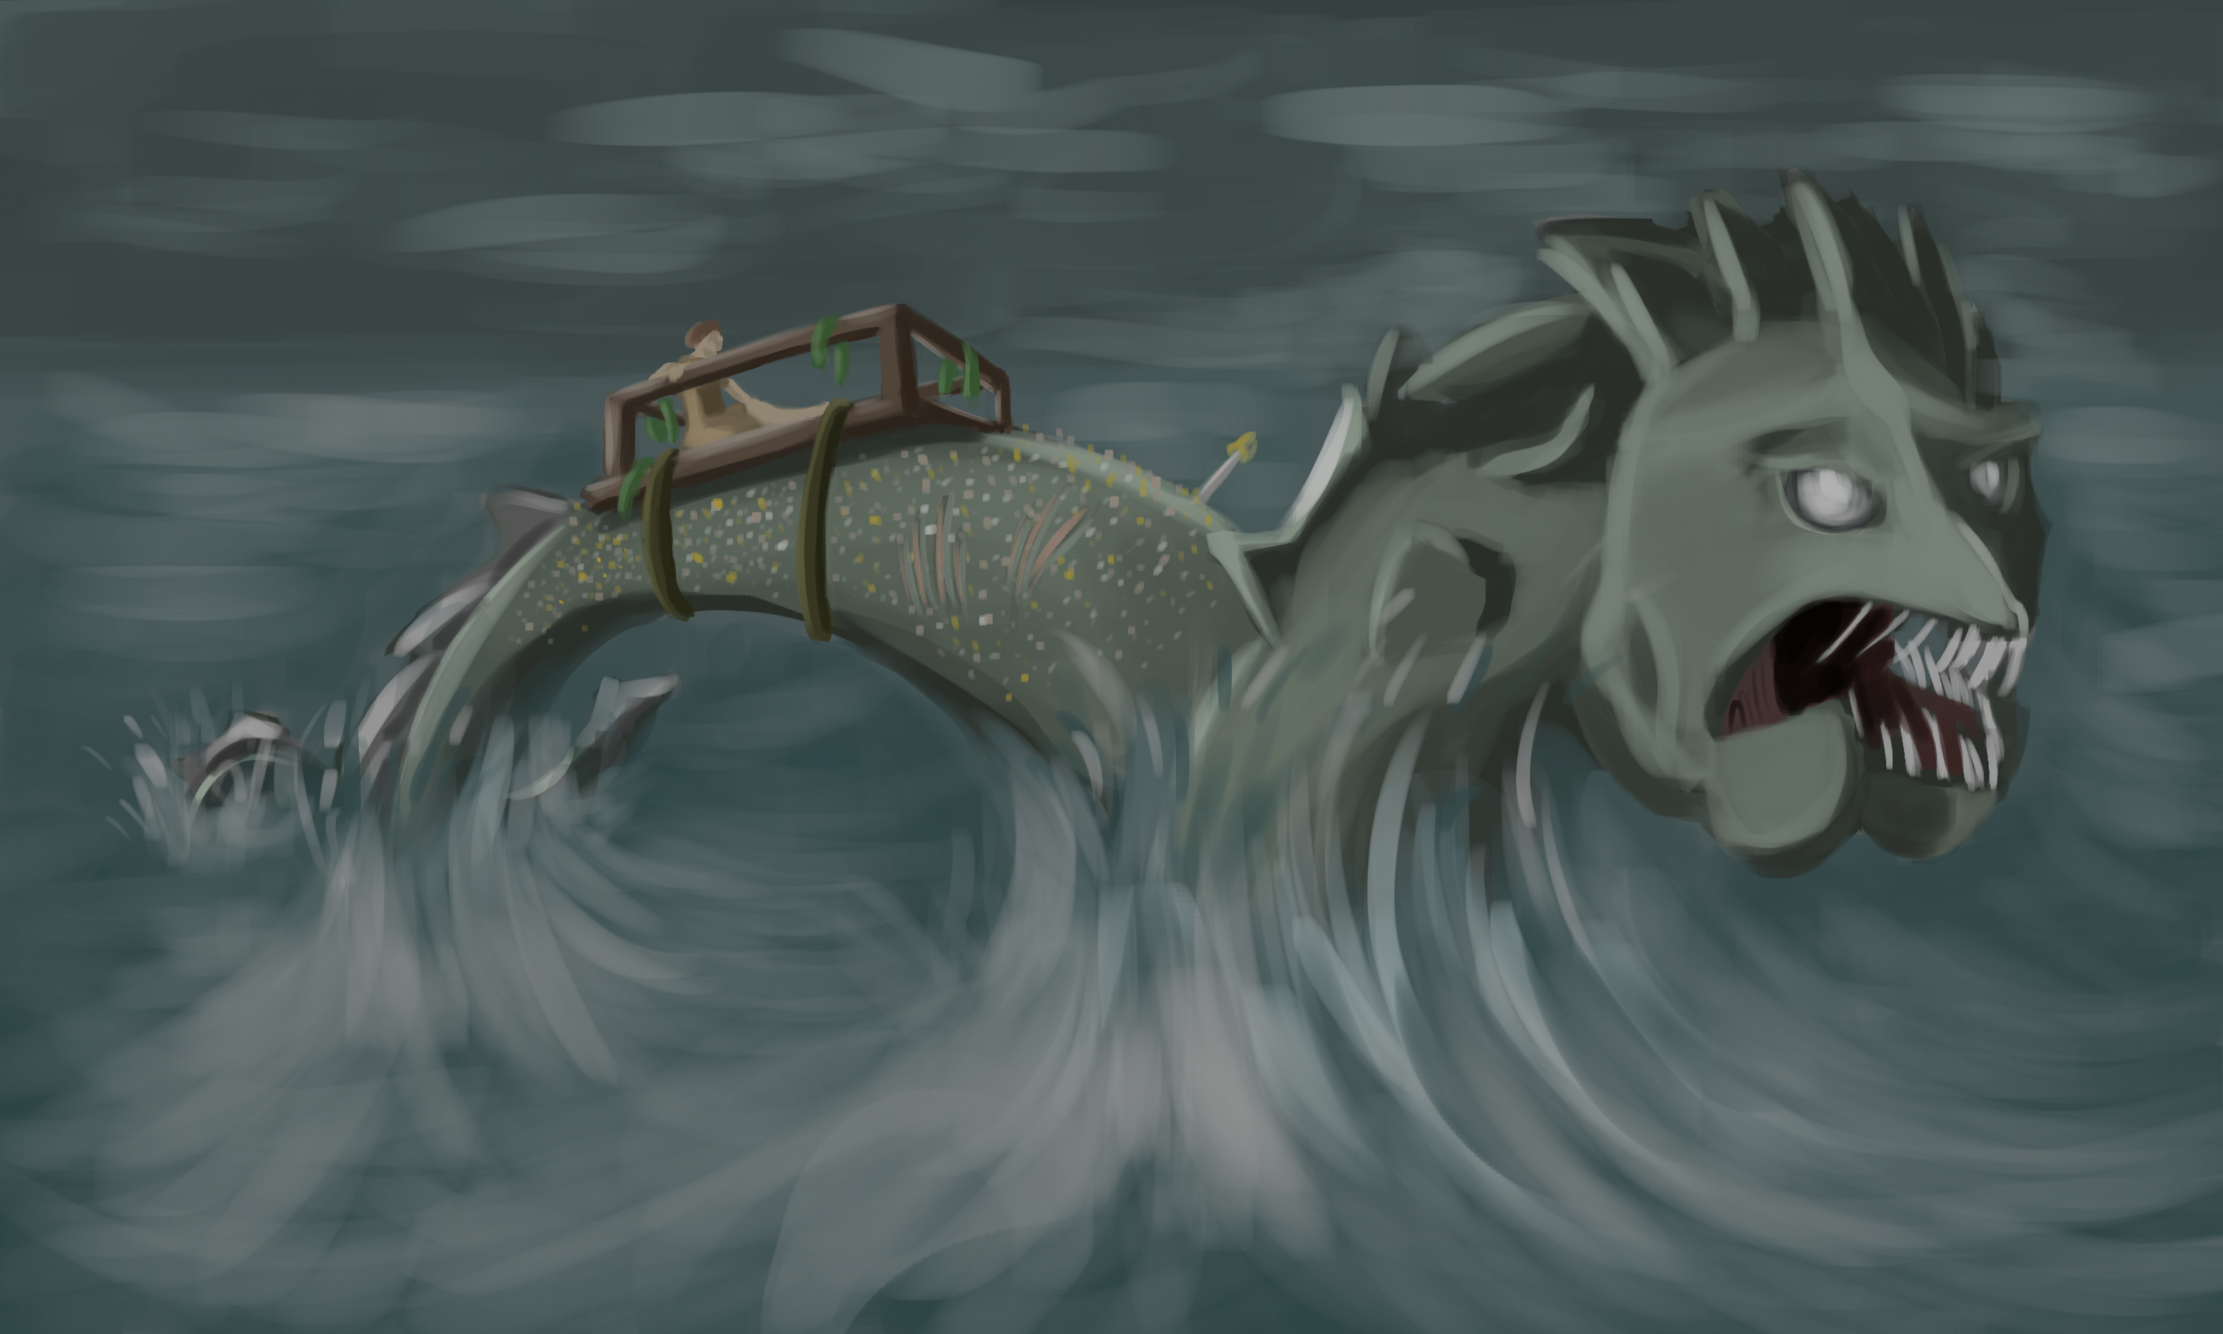
---MENTAL STATE---
I tried to make a couple of demos for today - and then started writing about them. I then realized that there is a more of a mentality that we have to get you to achieve before you continue down any sort of growth path forward.
In order to do that - before you start anything right now, (dailies, sketching, illustration, gestures from imagination) you should start writing down or typing out your intention for each page.
---- Where you say how long you are going to take, what your purpose is ( "I want to hit rhythms purposefully to represent the contour of the entire figure for 25 minutes...etc...etc" ) set that timer, attempt those things. And stop.
INCOMING METAPHOR
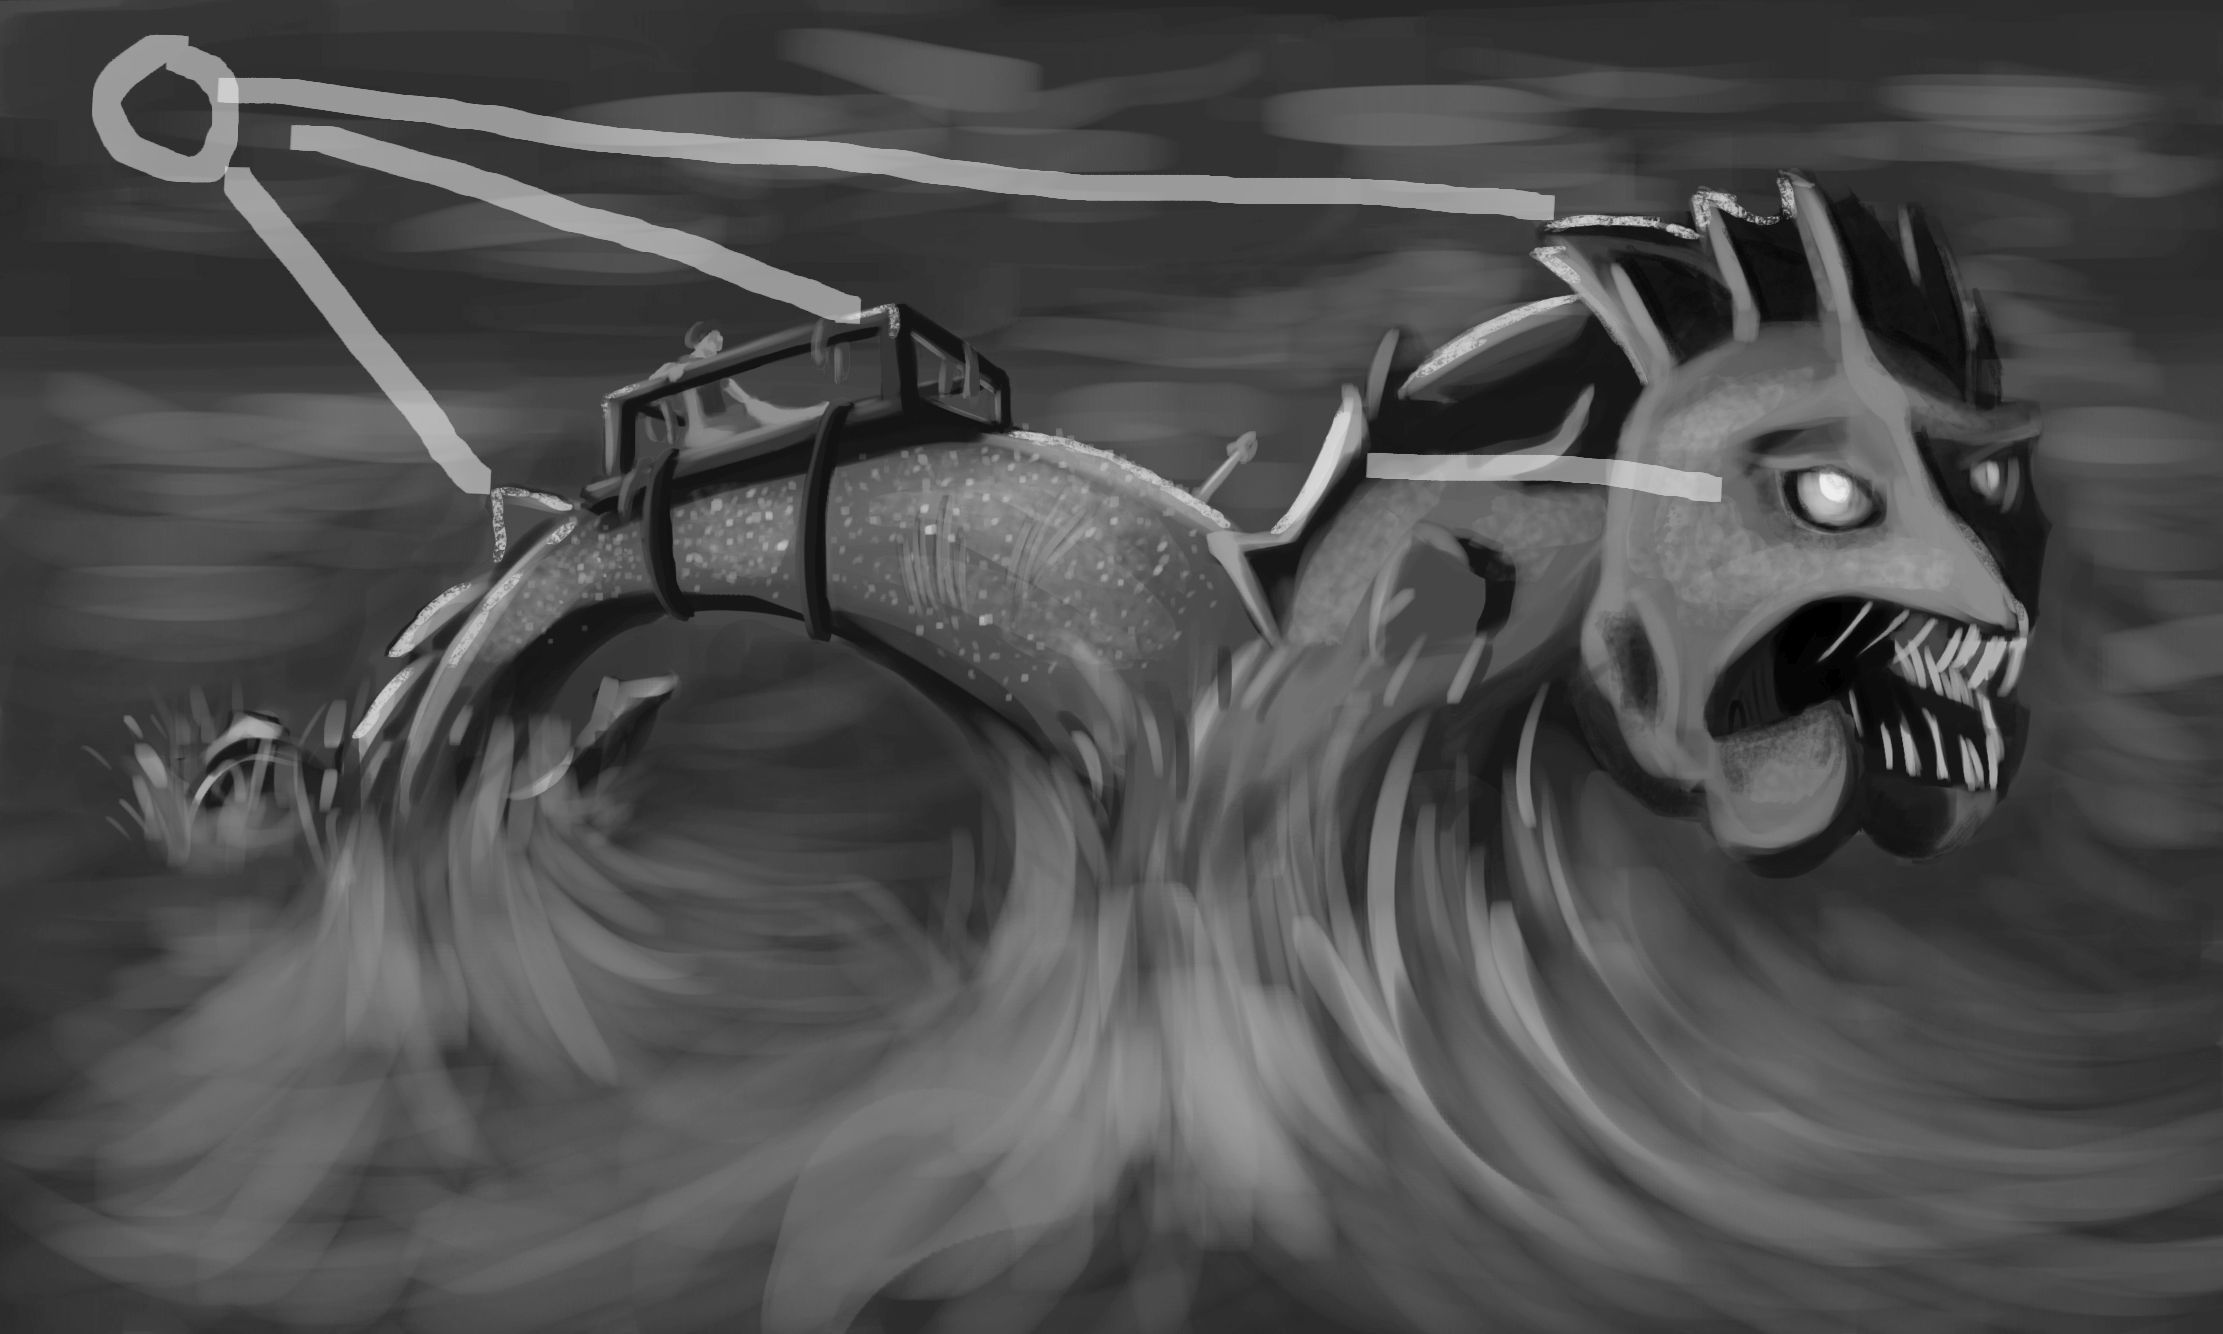
Berserker
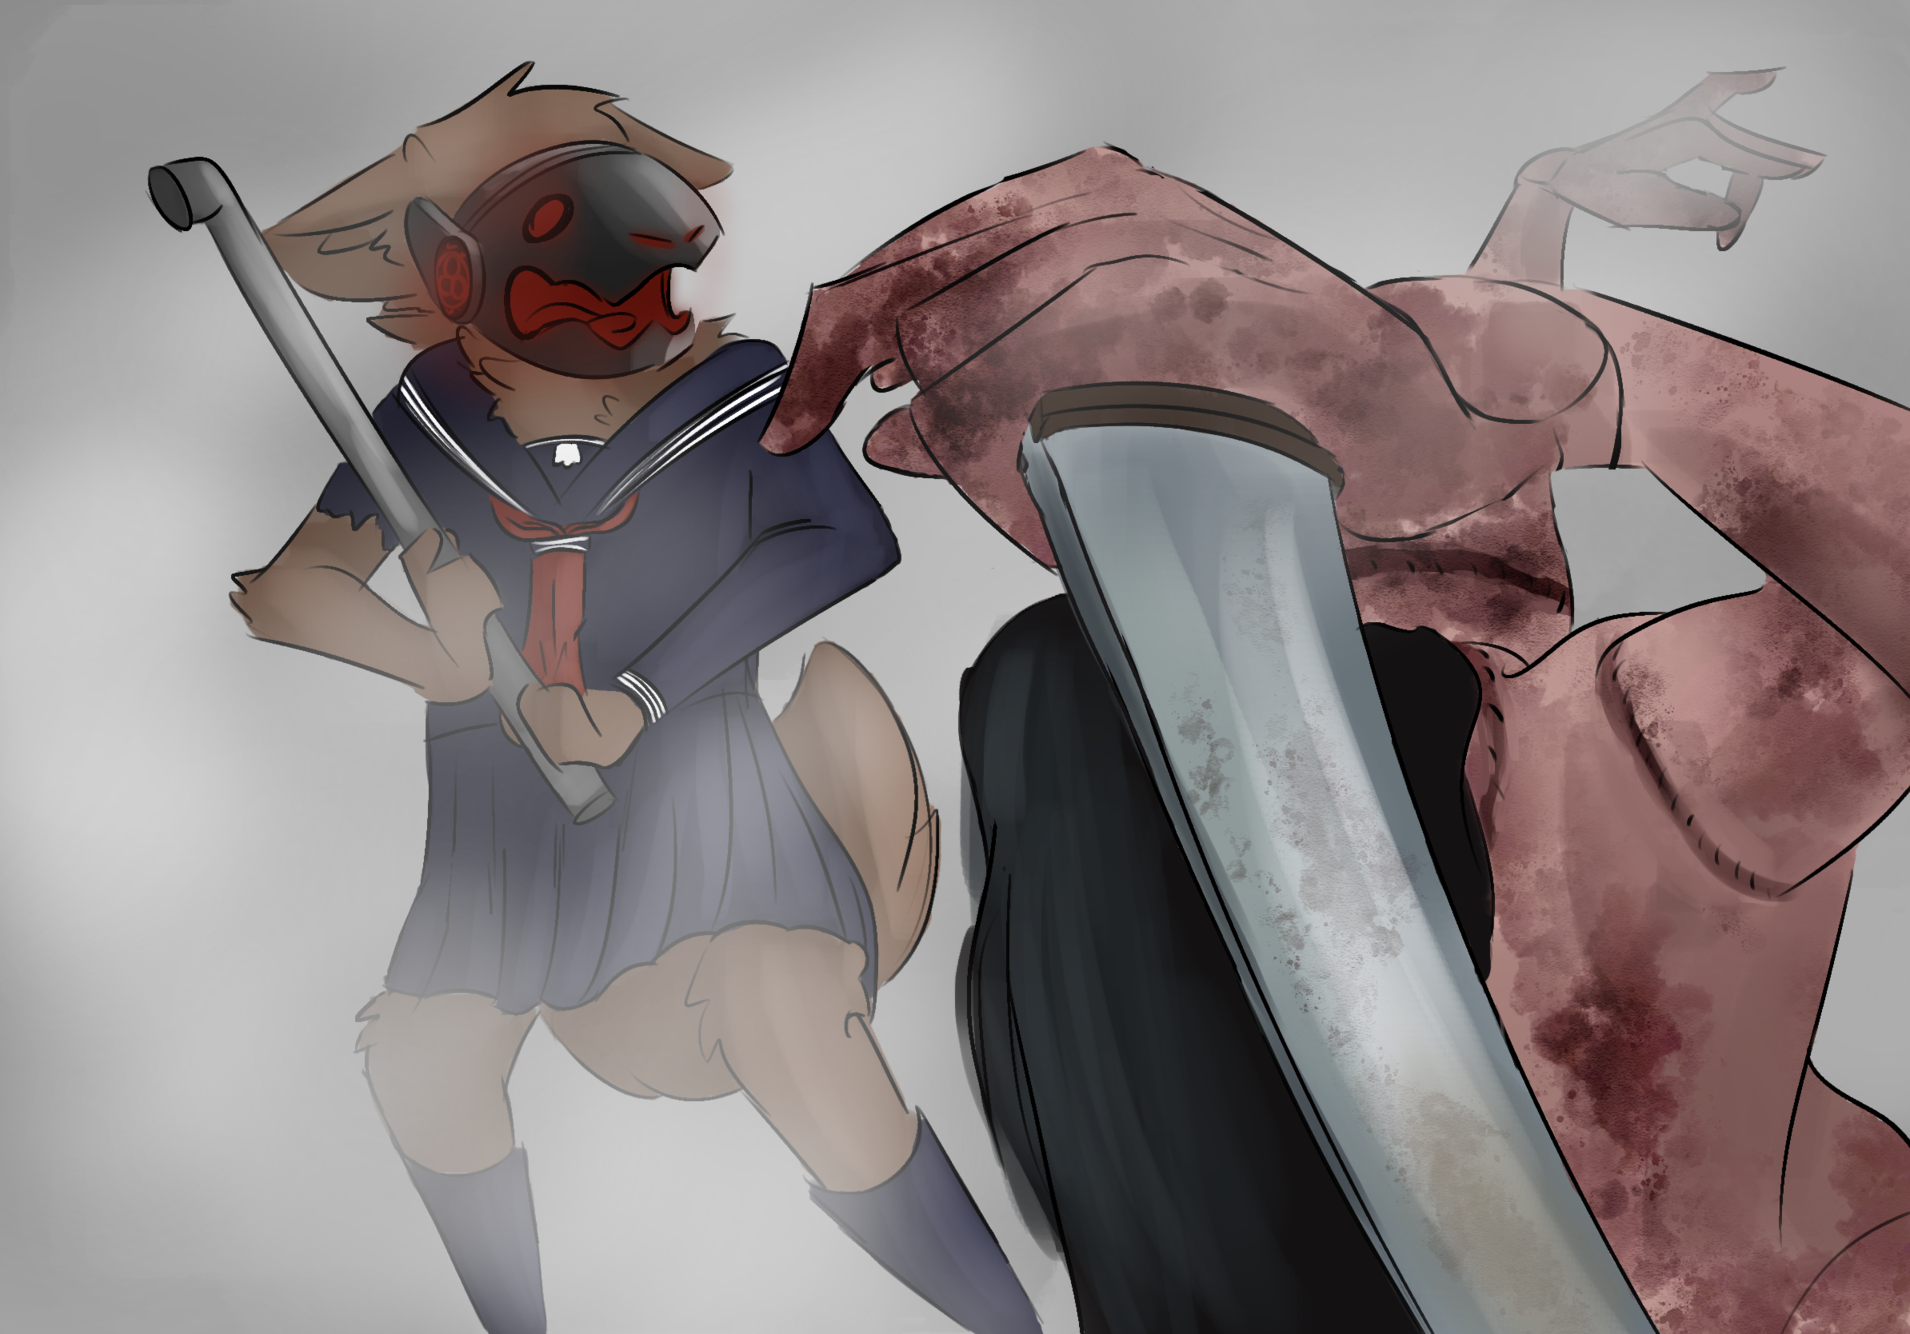
Your marks - are like a berserker with two axes. Fast, chaotic, brutal in its brawling style - but not entirely accurate. Gets the job done, but it's messy - so there is a lot of clean up afterwards. Maybe he threw an axe. A little too much chaos in the brain. Being like this for a long time makes one of your eyeballs twitchy, and laugh out loud suddenly for no reason when you are alone. (LOL)
Swordsman
You need to change your mental state when drawing (with lines) to something similar to a swordsman. Observing a specific stance for the situation in front of him. Using the sword in as many diverse ways as possible in defense and offense, balanced and attempting accuracy, poised and purposeful intent. Long strokes, short ones, riposte, stabs. Different sized swords for different situations as well. (Digital brushes/Pens, pencils and markers)
Nothing to clean up after. He goes home and writes about his attempt at discipline and his errors and cleans up his mind for focus in the next fight.
Not like the 'berserking brawler' expending all of his energy and hoping for the best. Where fighting for the berserker is his therapy. Not his discipline.
The swordsman's fighting IS his discipline.
We don't need you to be a knife wielder, or surgeon, up close and worrying about detail, and you are not a General worrying about the entire army and where to direct them.
TIPS
Mark Making
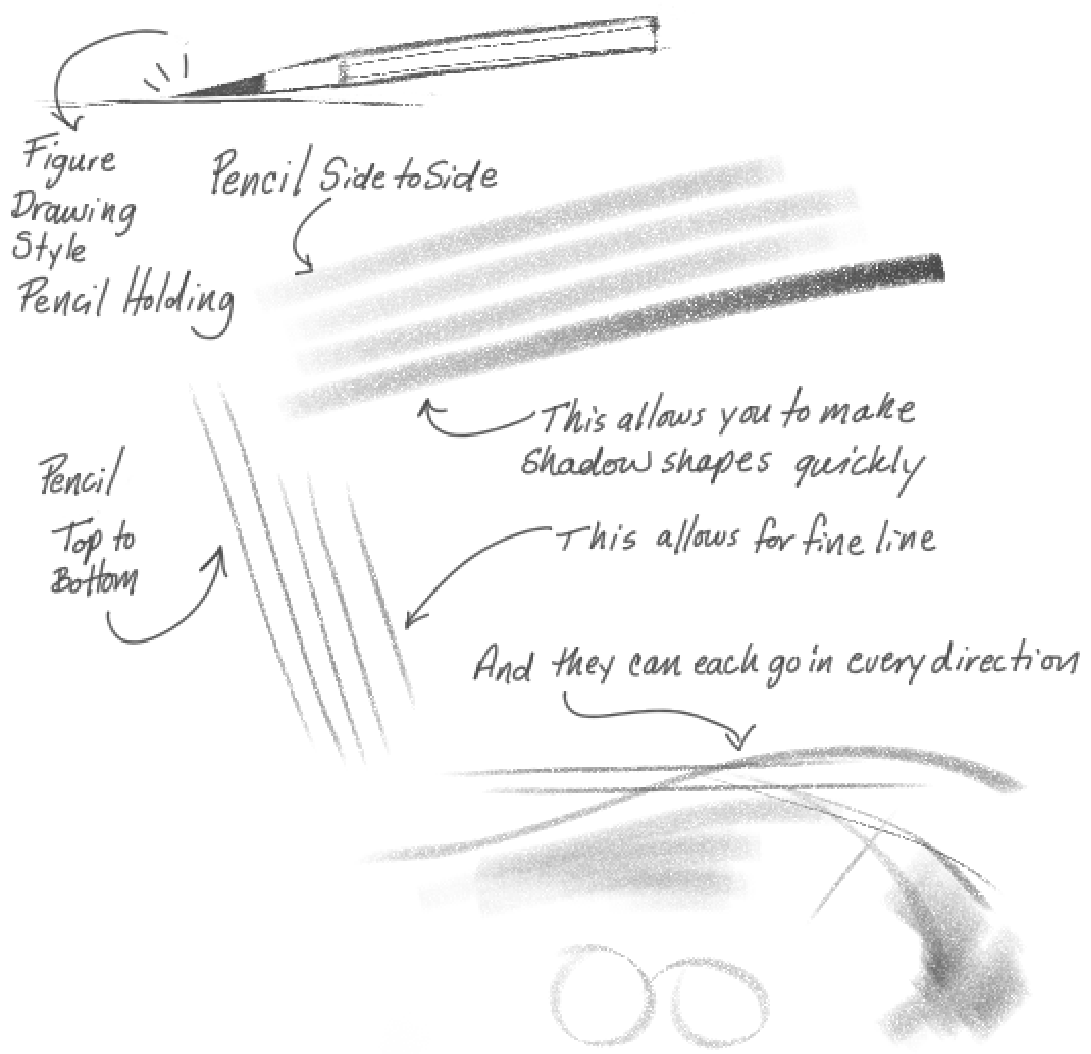
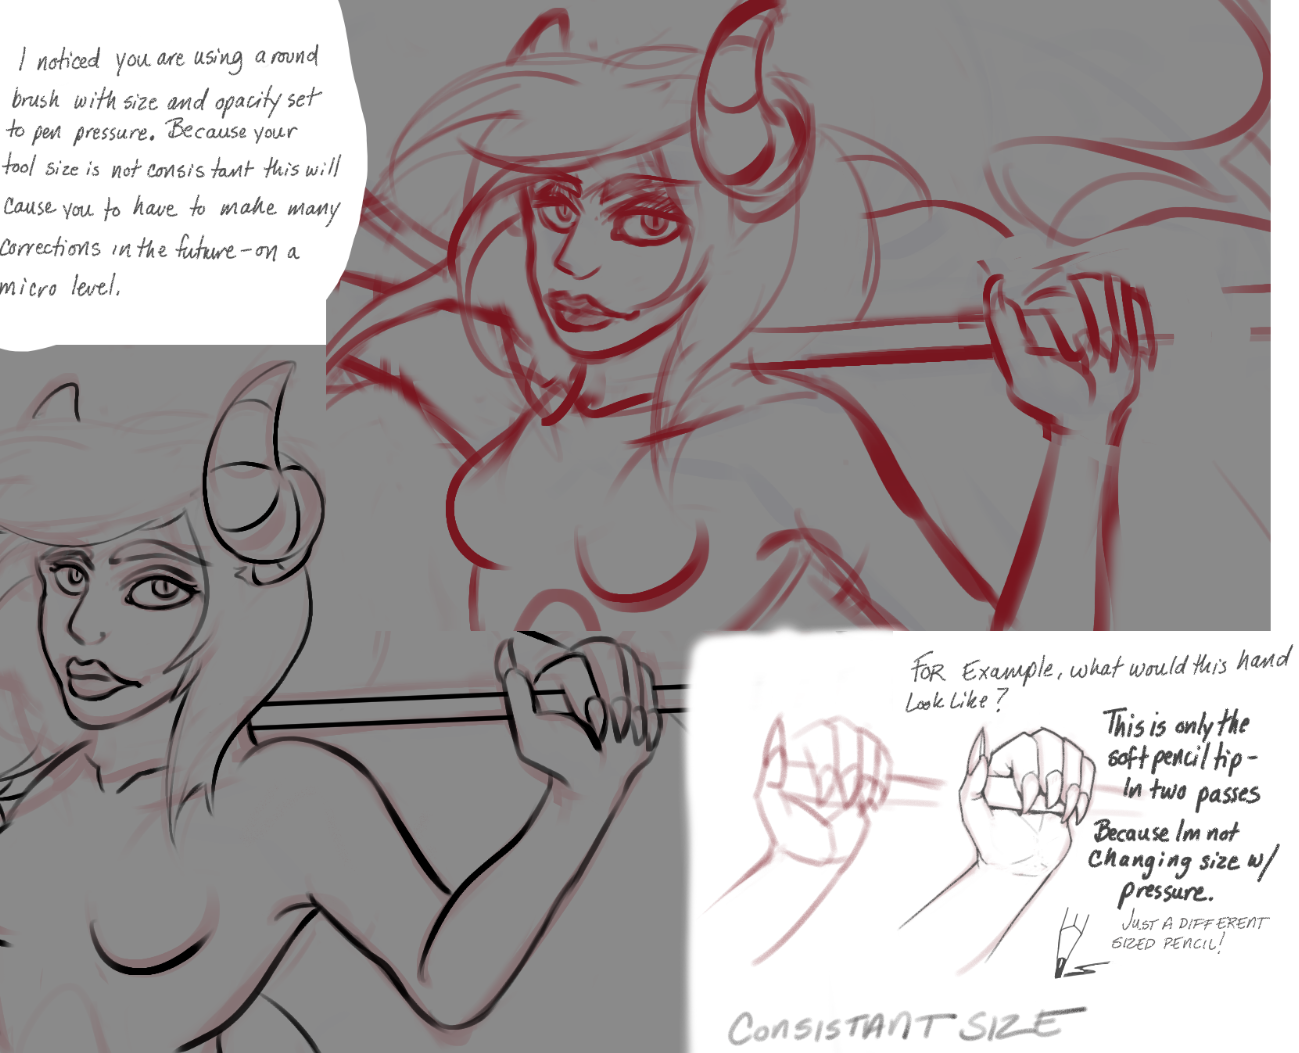
Brush size for PENCIL sketching - digitally
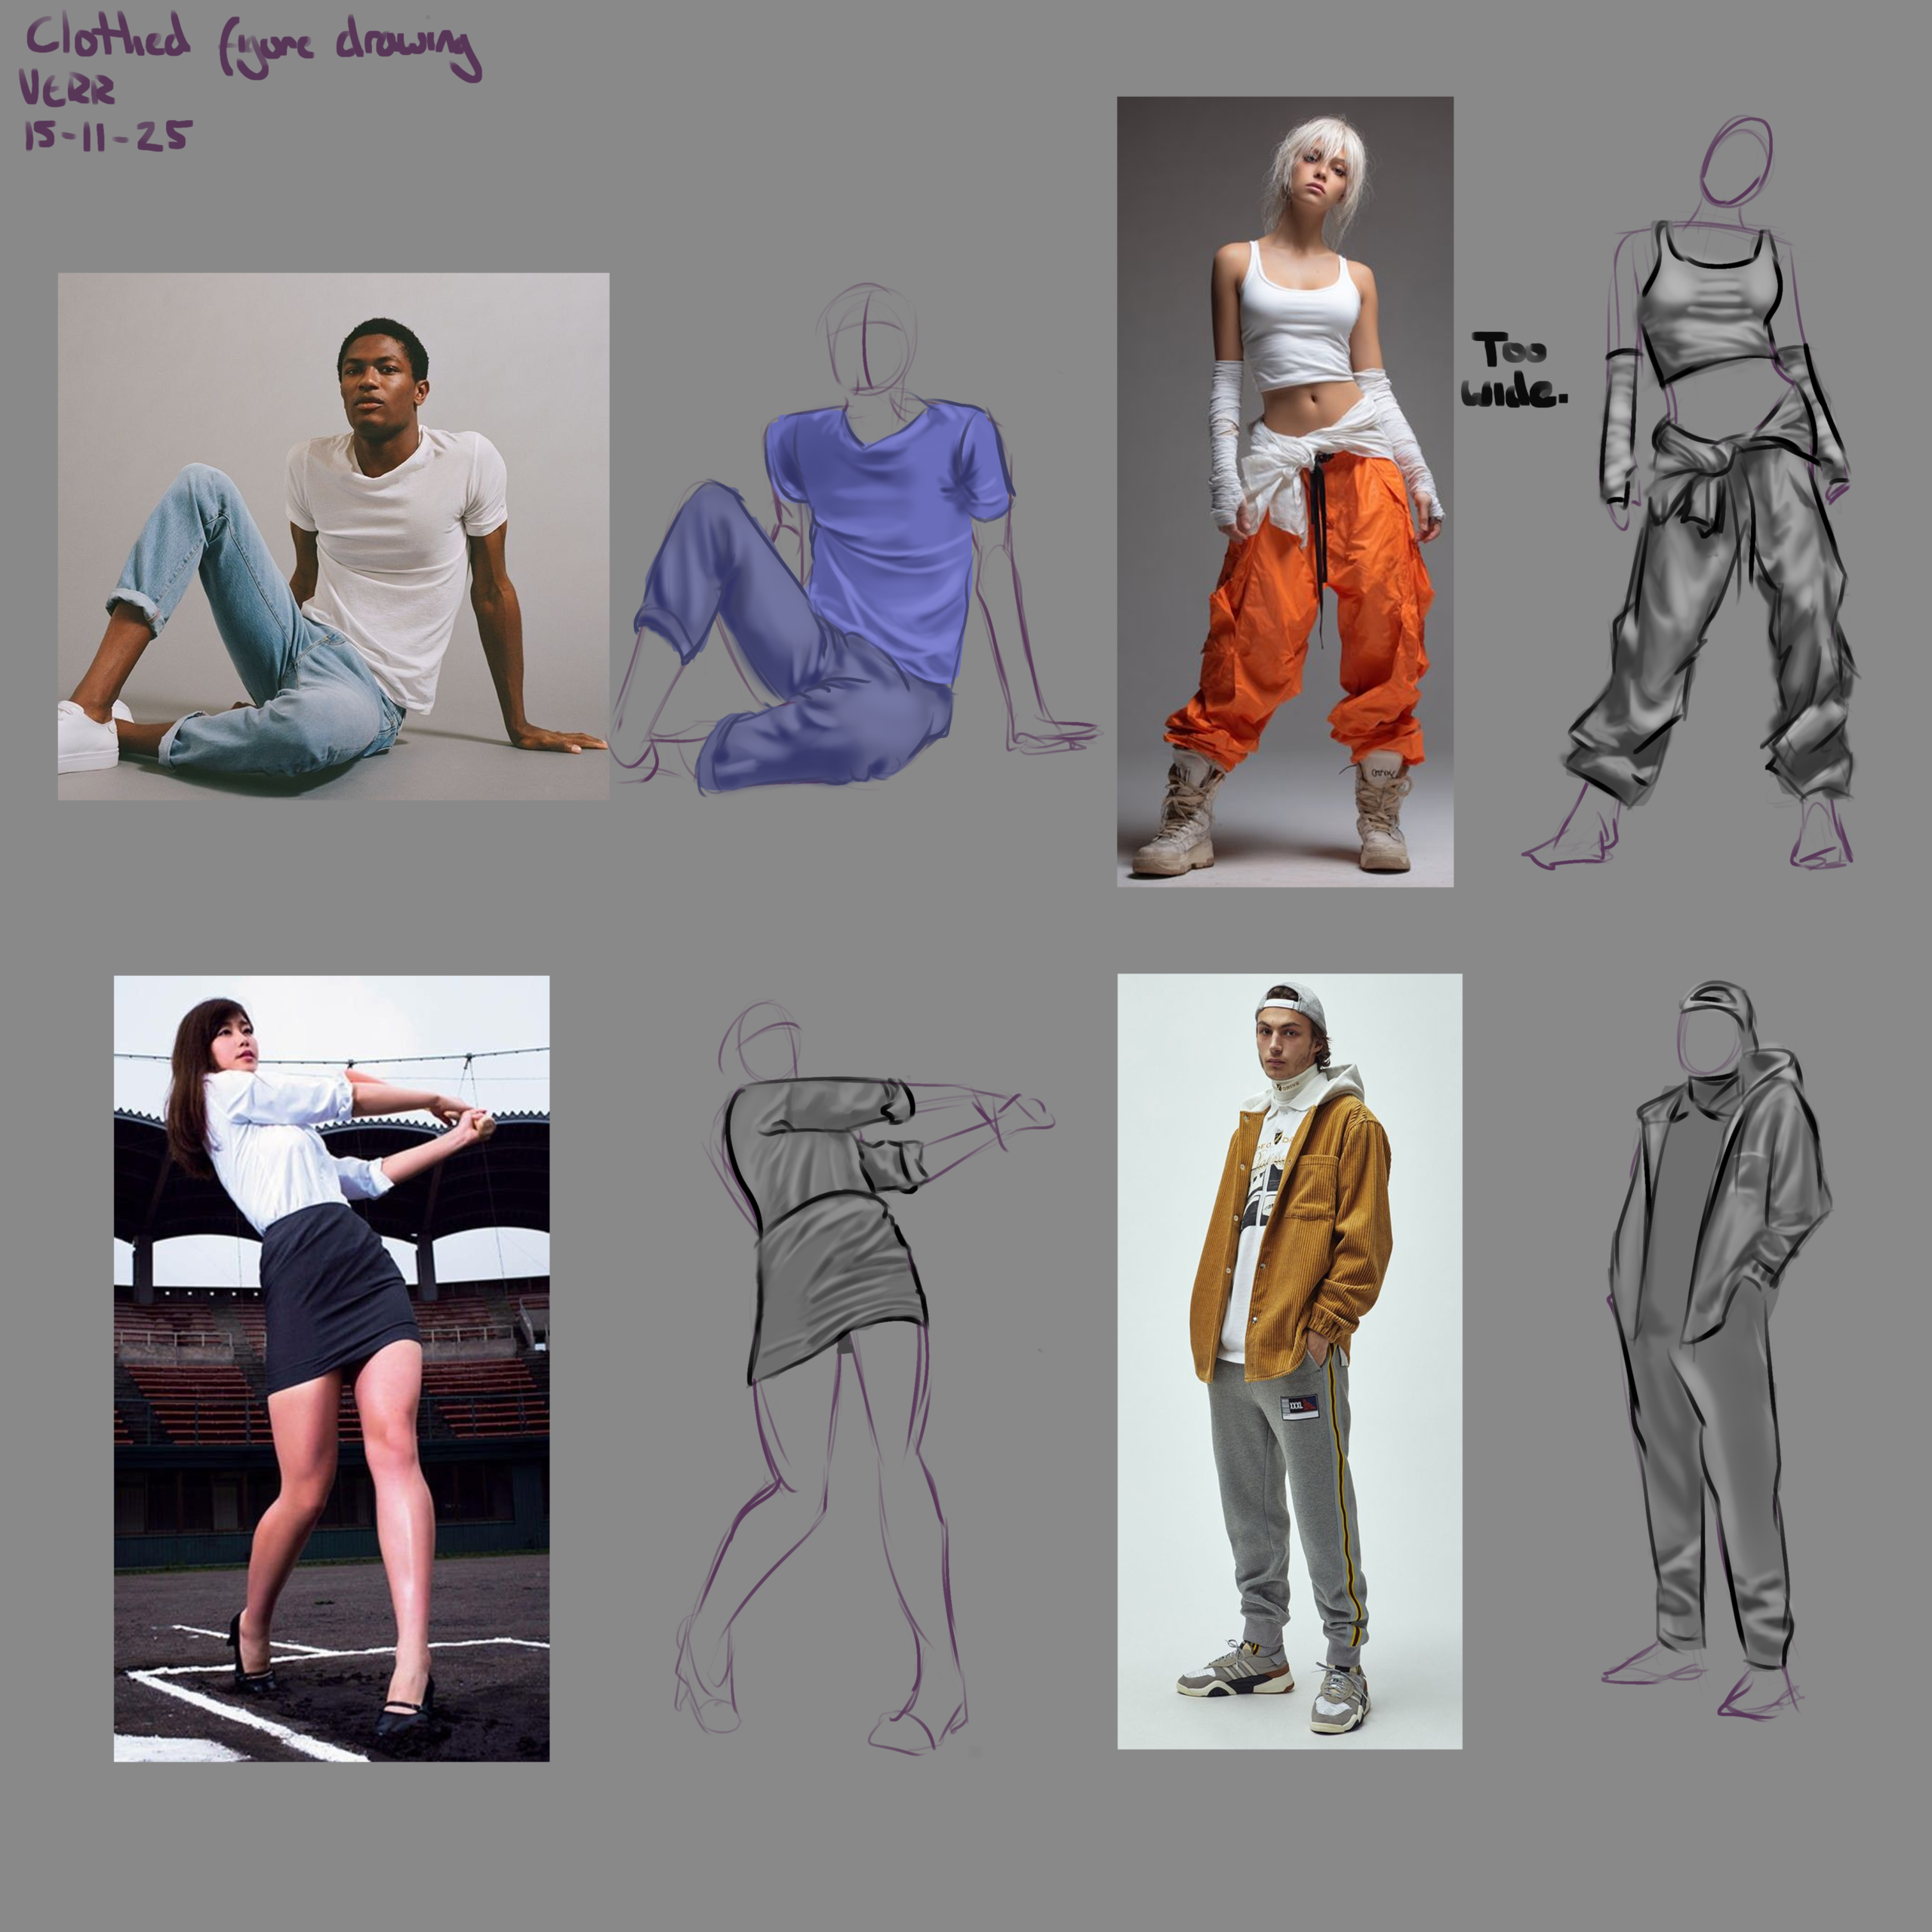
I want you to imagine what people use for sketching in real life drawing/drafting techniques, and the different ways that they use it - and try to transfer that into your digital techniques here.
A pencil can be used on its side - and have dramatic and dynamic shape when applied appropriately. But this is hard to achieve digitally. You have to have a stylus and screen/pad that can support stylus rotation. Or you have to be very good at tilt.
.
.
.
.
Or you can use just the tip of the pencil -
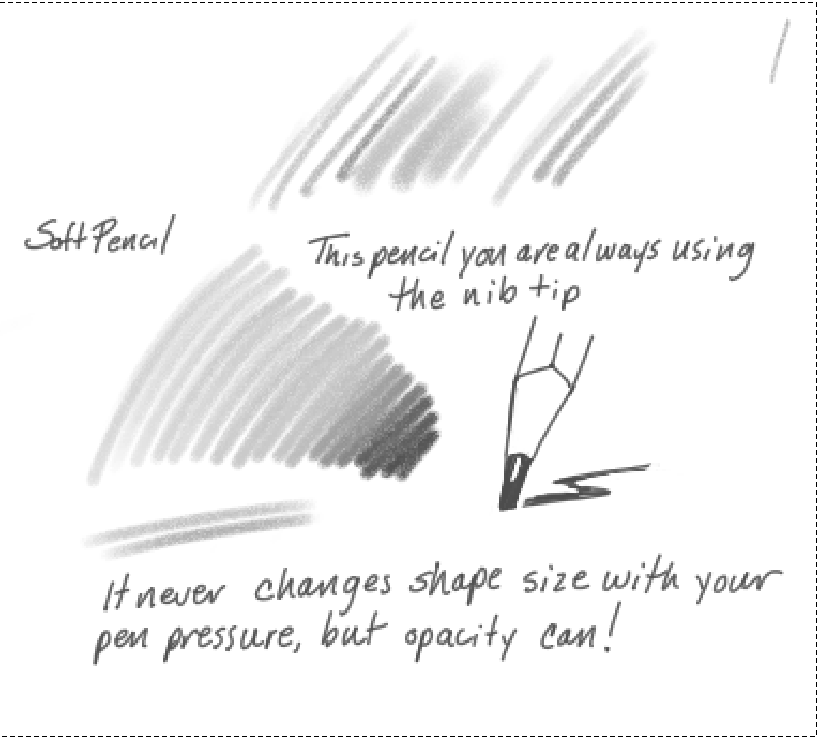
The reason is to keep your line shape consistent - and NOT to have a varied and dynamic stroke. If we are taking something that does not exist and making it look real, we have to let go of the idea that we are going to create a masterful brush stroke that is dynamic in the sketch stage. Those two ideas don't mix. In these first stages - it is all proportion - no details - and rhythm.
.
.
.
The Charcoal Chunk
This is the hard and soft edge brush that many digital painters use. It is set to direction for the angle of the brush tip. If your make a stroke to the left, the hard edge is on the top, if you make a stroke to the right the hard edge is on the bottom. Up and down are similar - flipping the sides. This brush has various version of it everywhere - it takes a while to make - I made my own here. The idea is to simulate a piece of pastel when you hold it down on its side - one edge is hard, and the other is soft. It comes in extremely handy for rendering form. I find myself using it for everything sometimes accidentally.
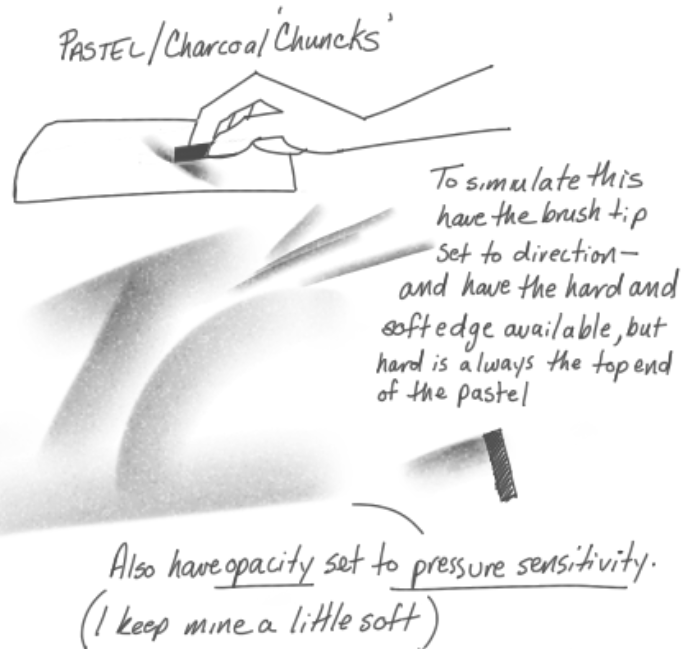
My dark lines, or heavier line weight are more thoughts towards occlusion shadow SHAPES and how it creates the illusion of overlapping form. Not make a delicious calligraphic pen stroke.
NEXT
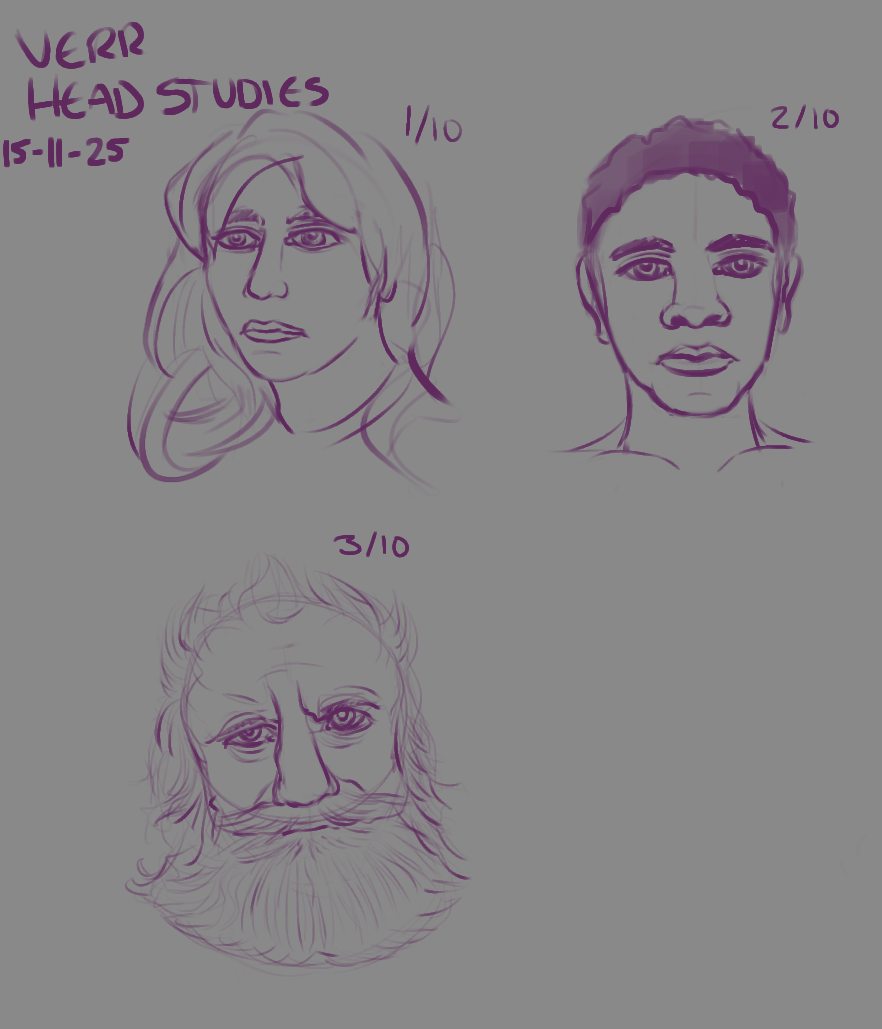
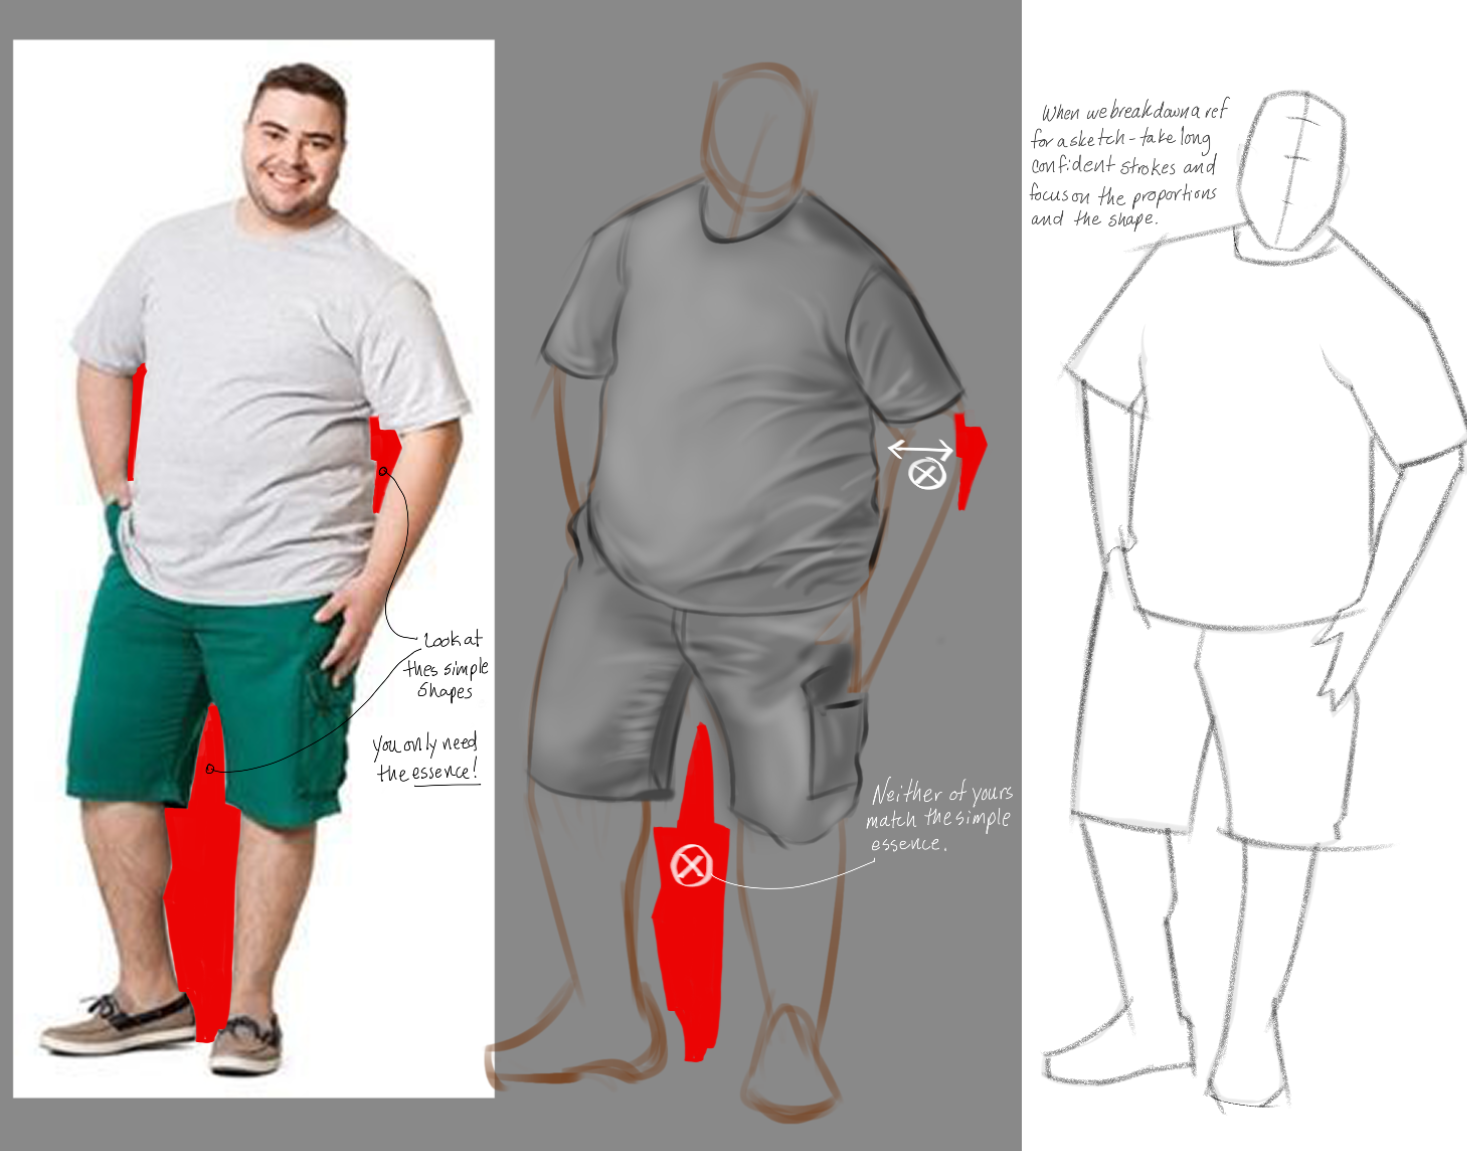
You Need to Find the Essence -
Sometimes you use straight lines where you need to other times you are adding too much detail to the edges of shapes. I think you might be zooming into your reference while you are copying it. You need to stay zoomed out where you see your entire reference in another window - and you cannot see any detail. You only zoom in on your work in progress. This way you cannot see any unnecessary detail to cloud your judgement.
START BIG AND FINISH SMALL.
Break down all of the shapes of the elements of a figure, landscape, whatever into shapes with no details. Make sword stroke marks to make the shapes.
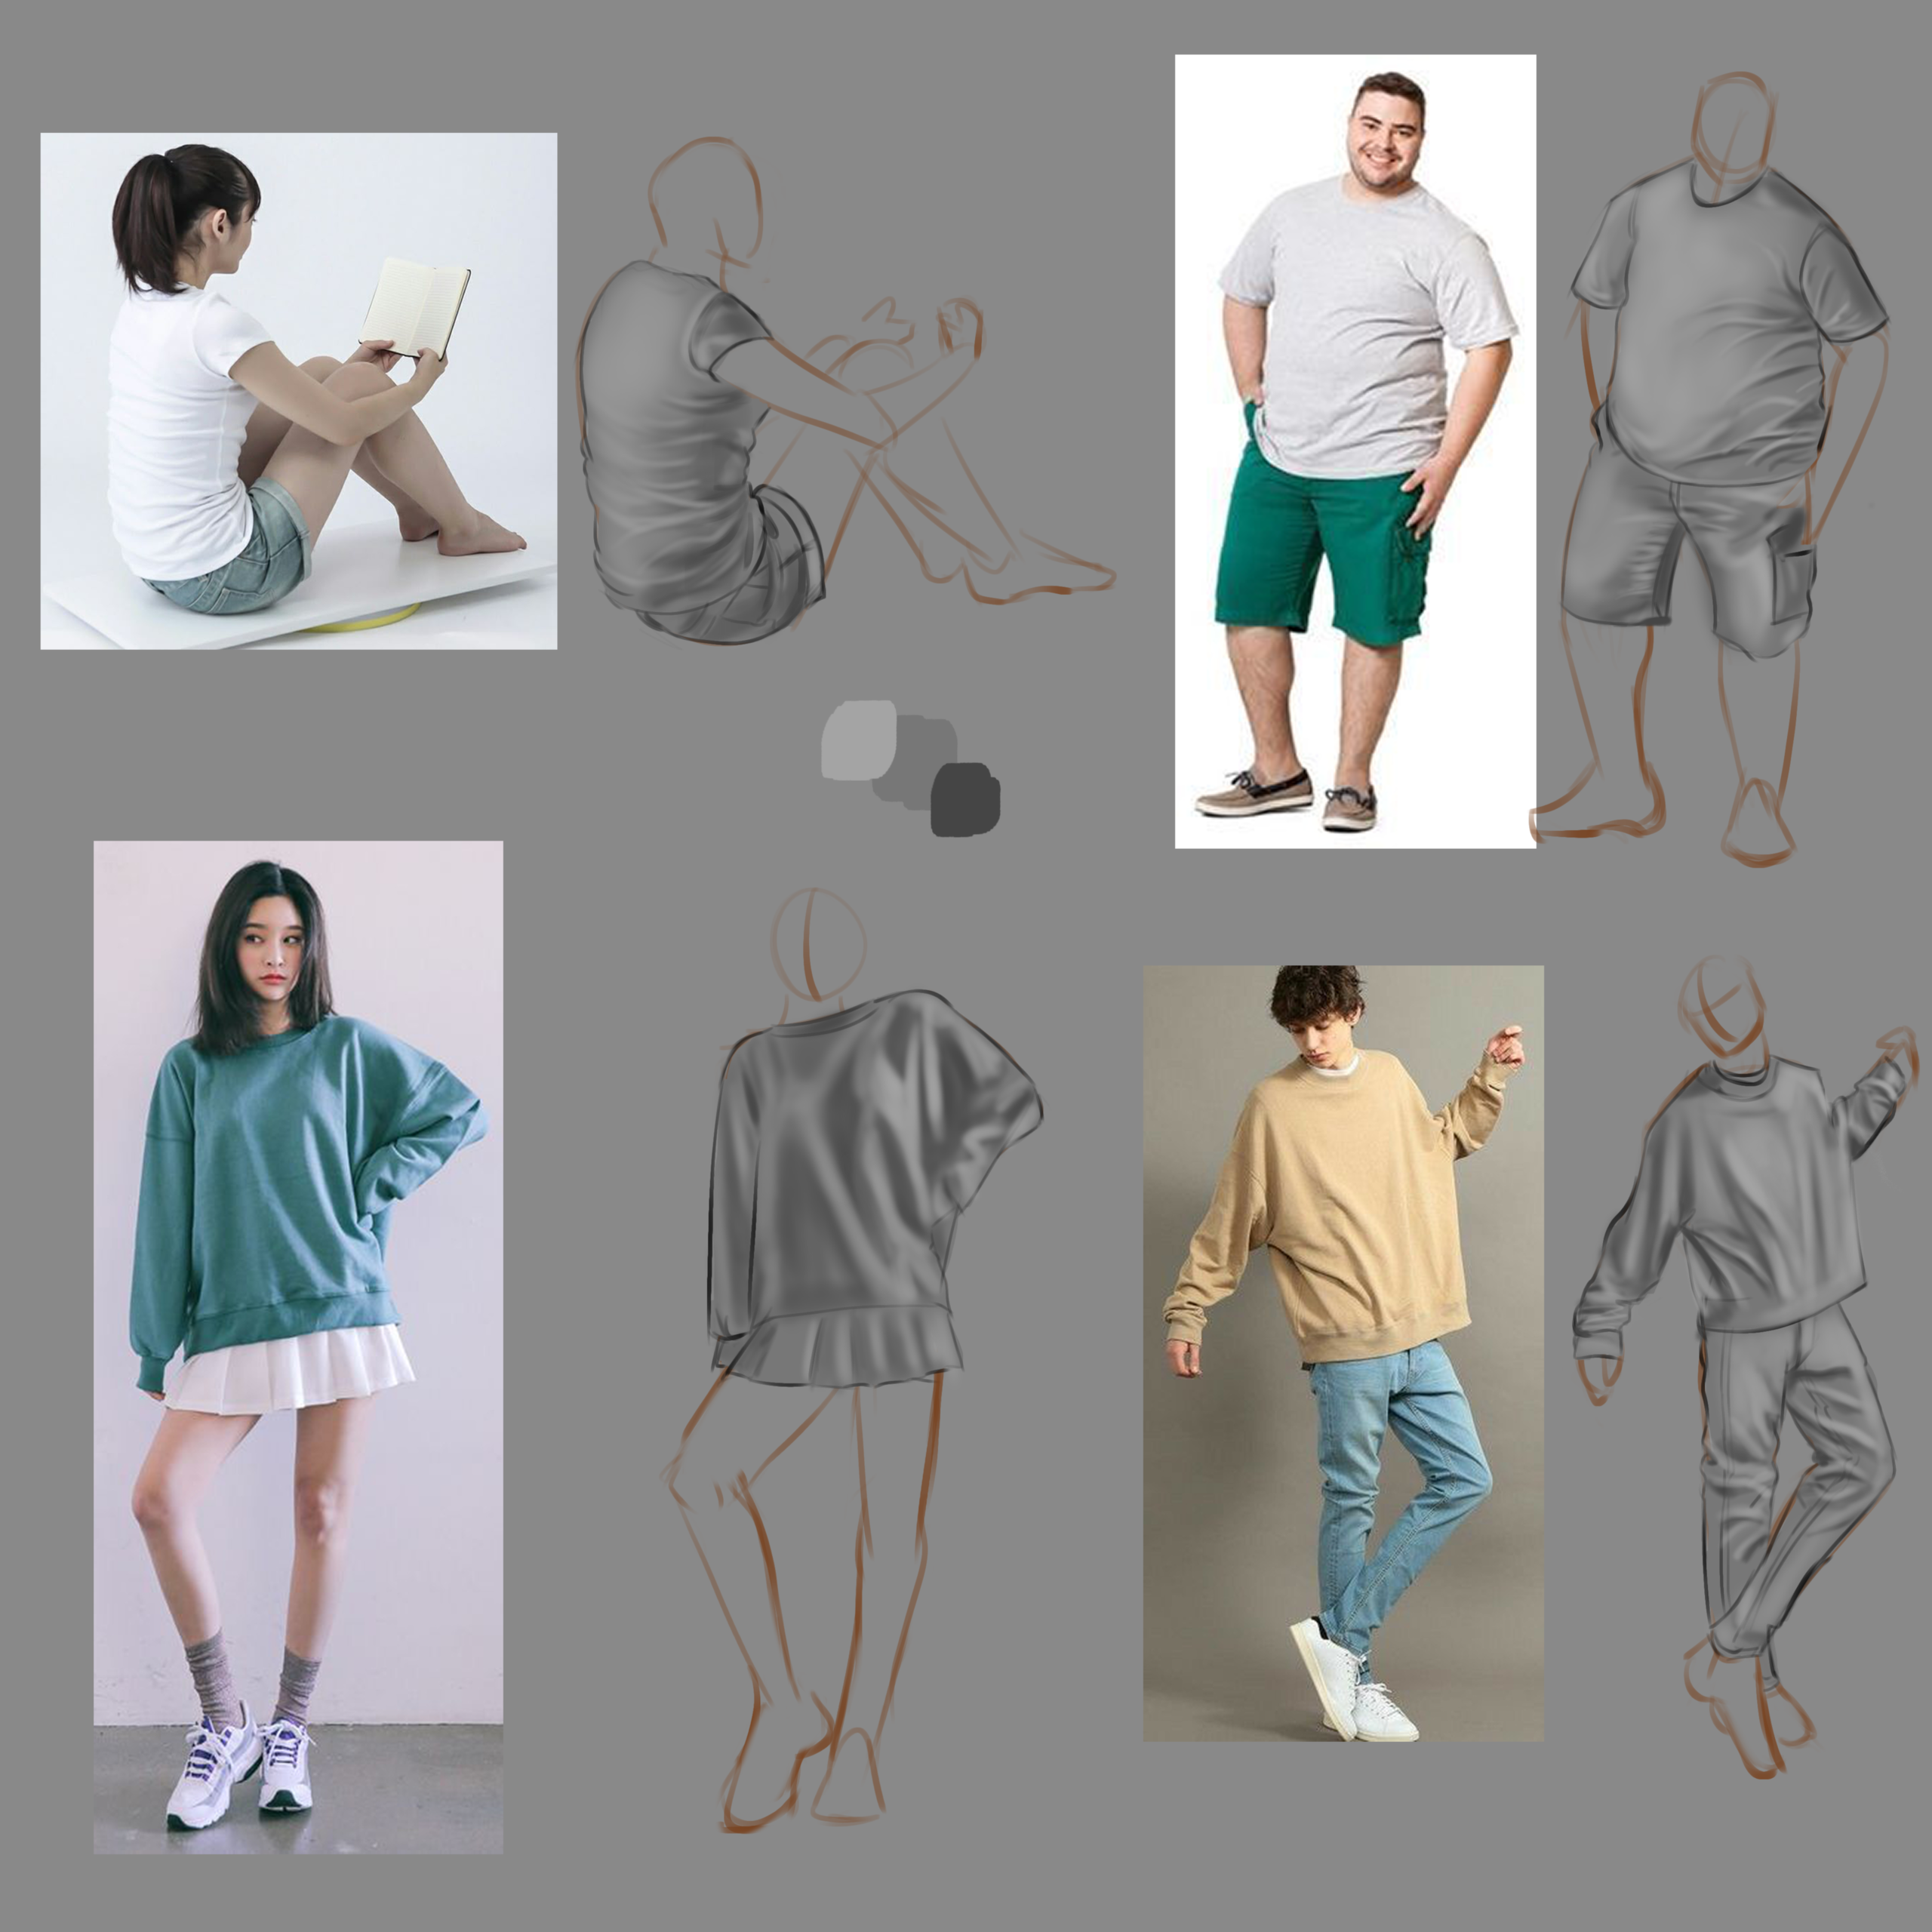
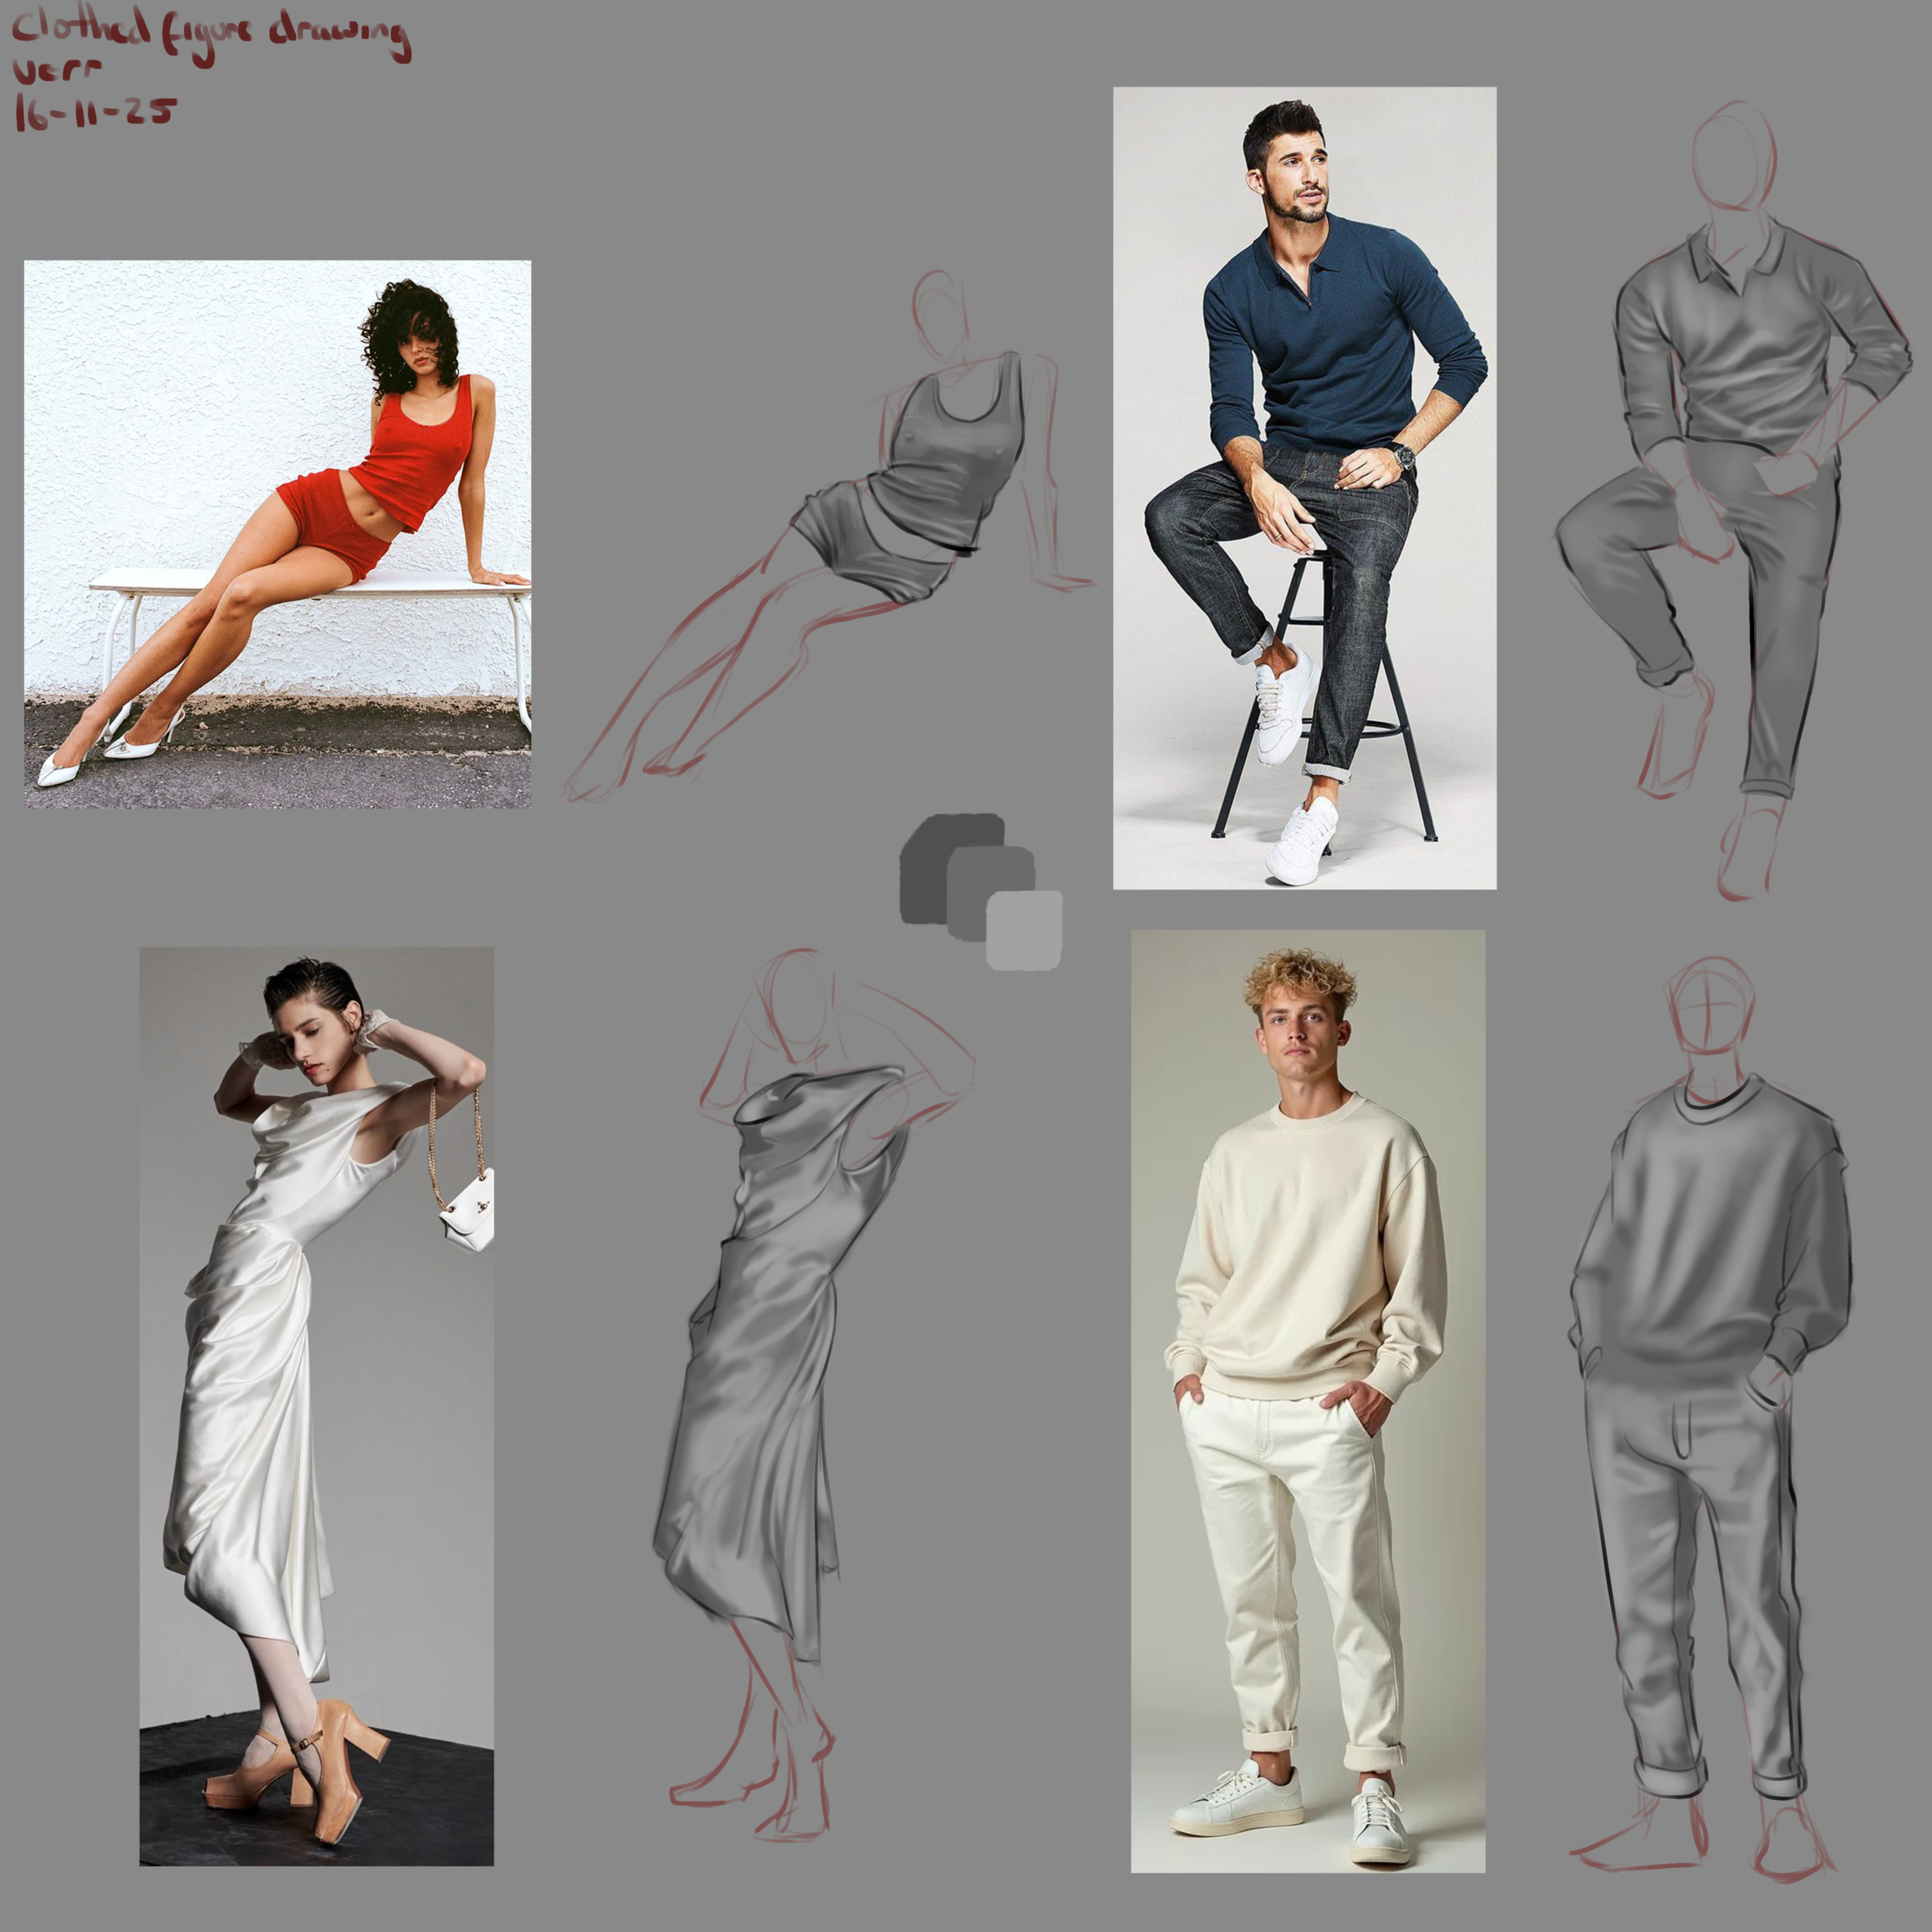
Line Quality -
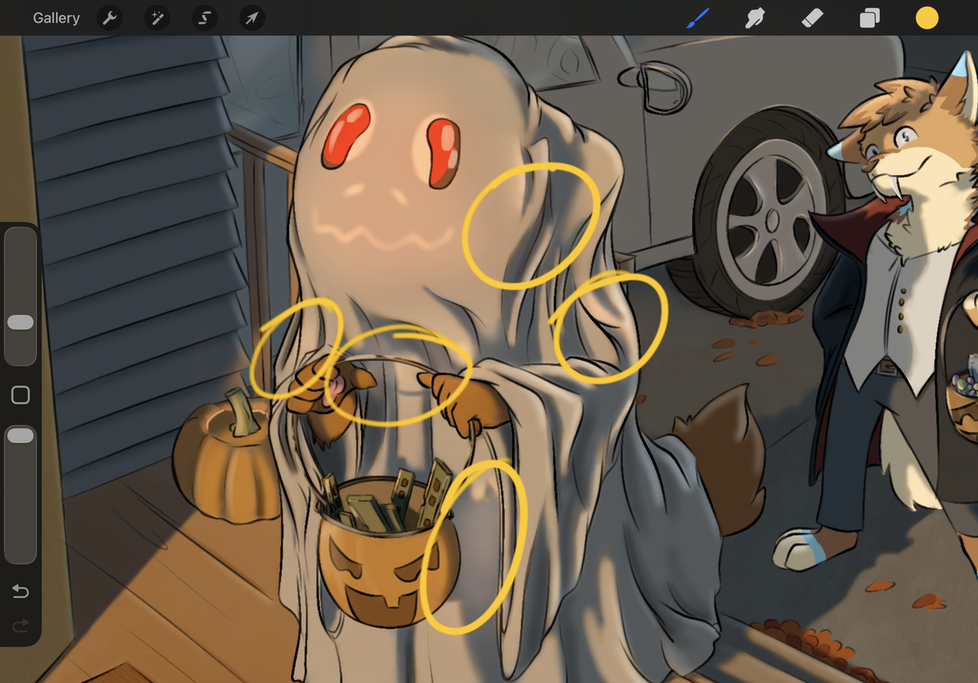
You seem to be worrying about the thick and thin line method at times, and other times you are not. My suggestion for now is to use a 2 pixel brush to connect all your lines during your line art stages - after your rough consistant sized pencil sketch.
Use the 2 pixel Inside and out. Find the essence (above) by simplifying the shapes and hitting your marks like a swordsman. After you can do this - then you can use a dynamic brush to set the weight of things overlapping others, and the contour of the figure as a whole to make it pop off of the page. It's not about making perfect strokes like a calligrapher - it is about crafting a line to do something for your drawings line weight.
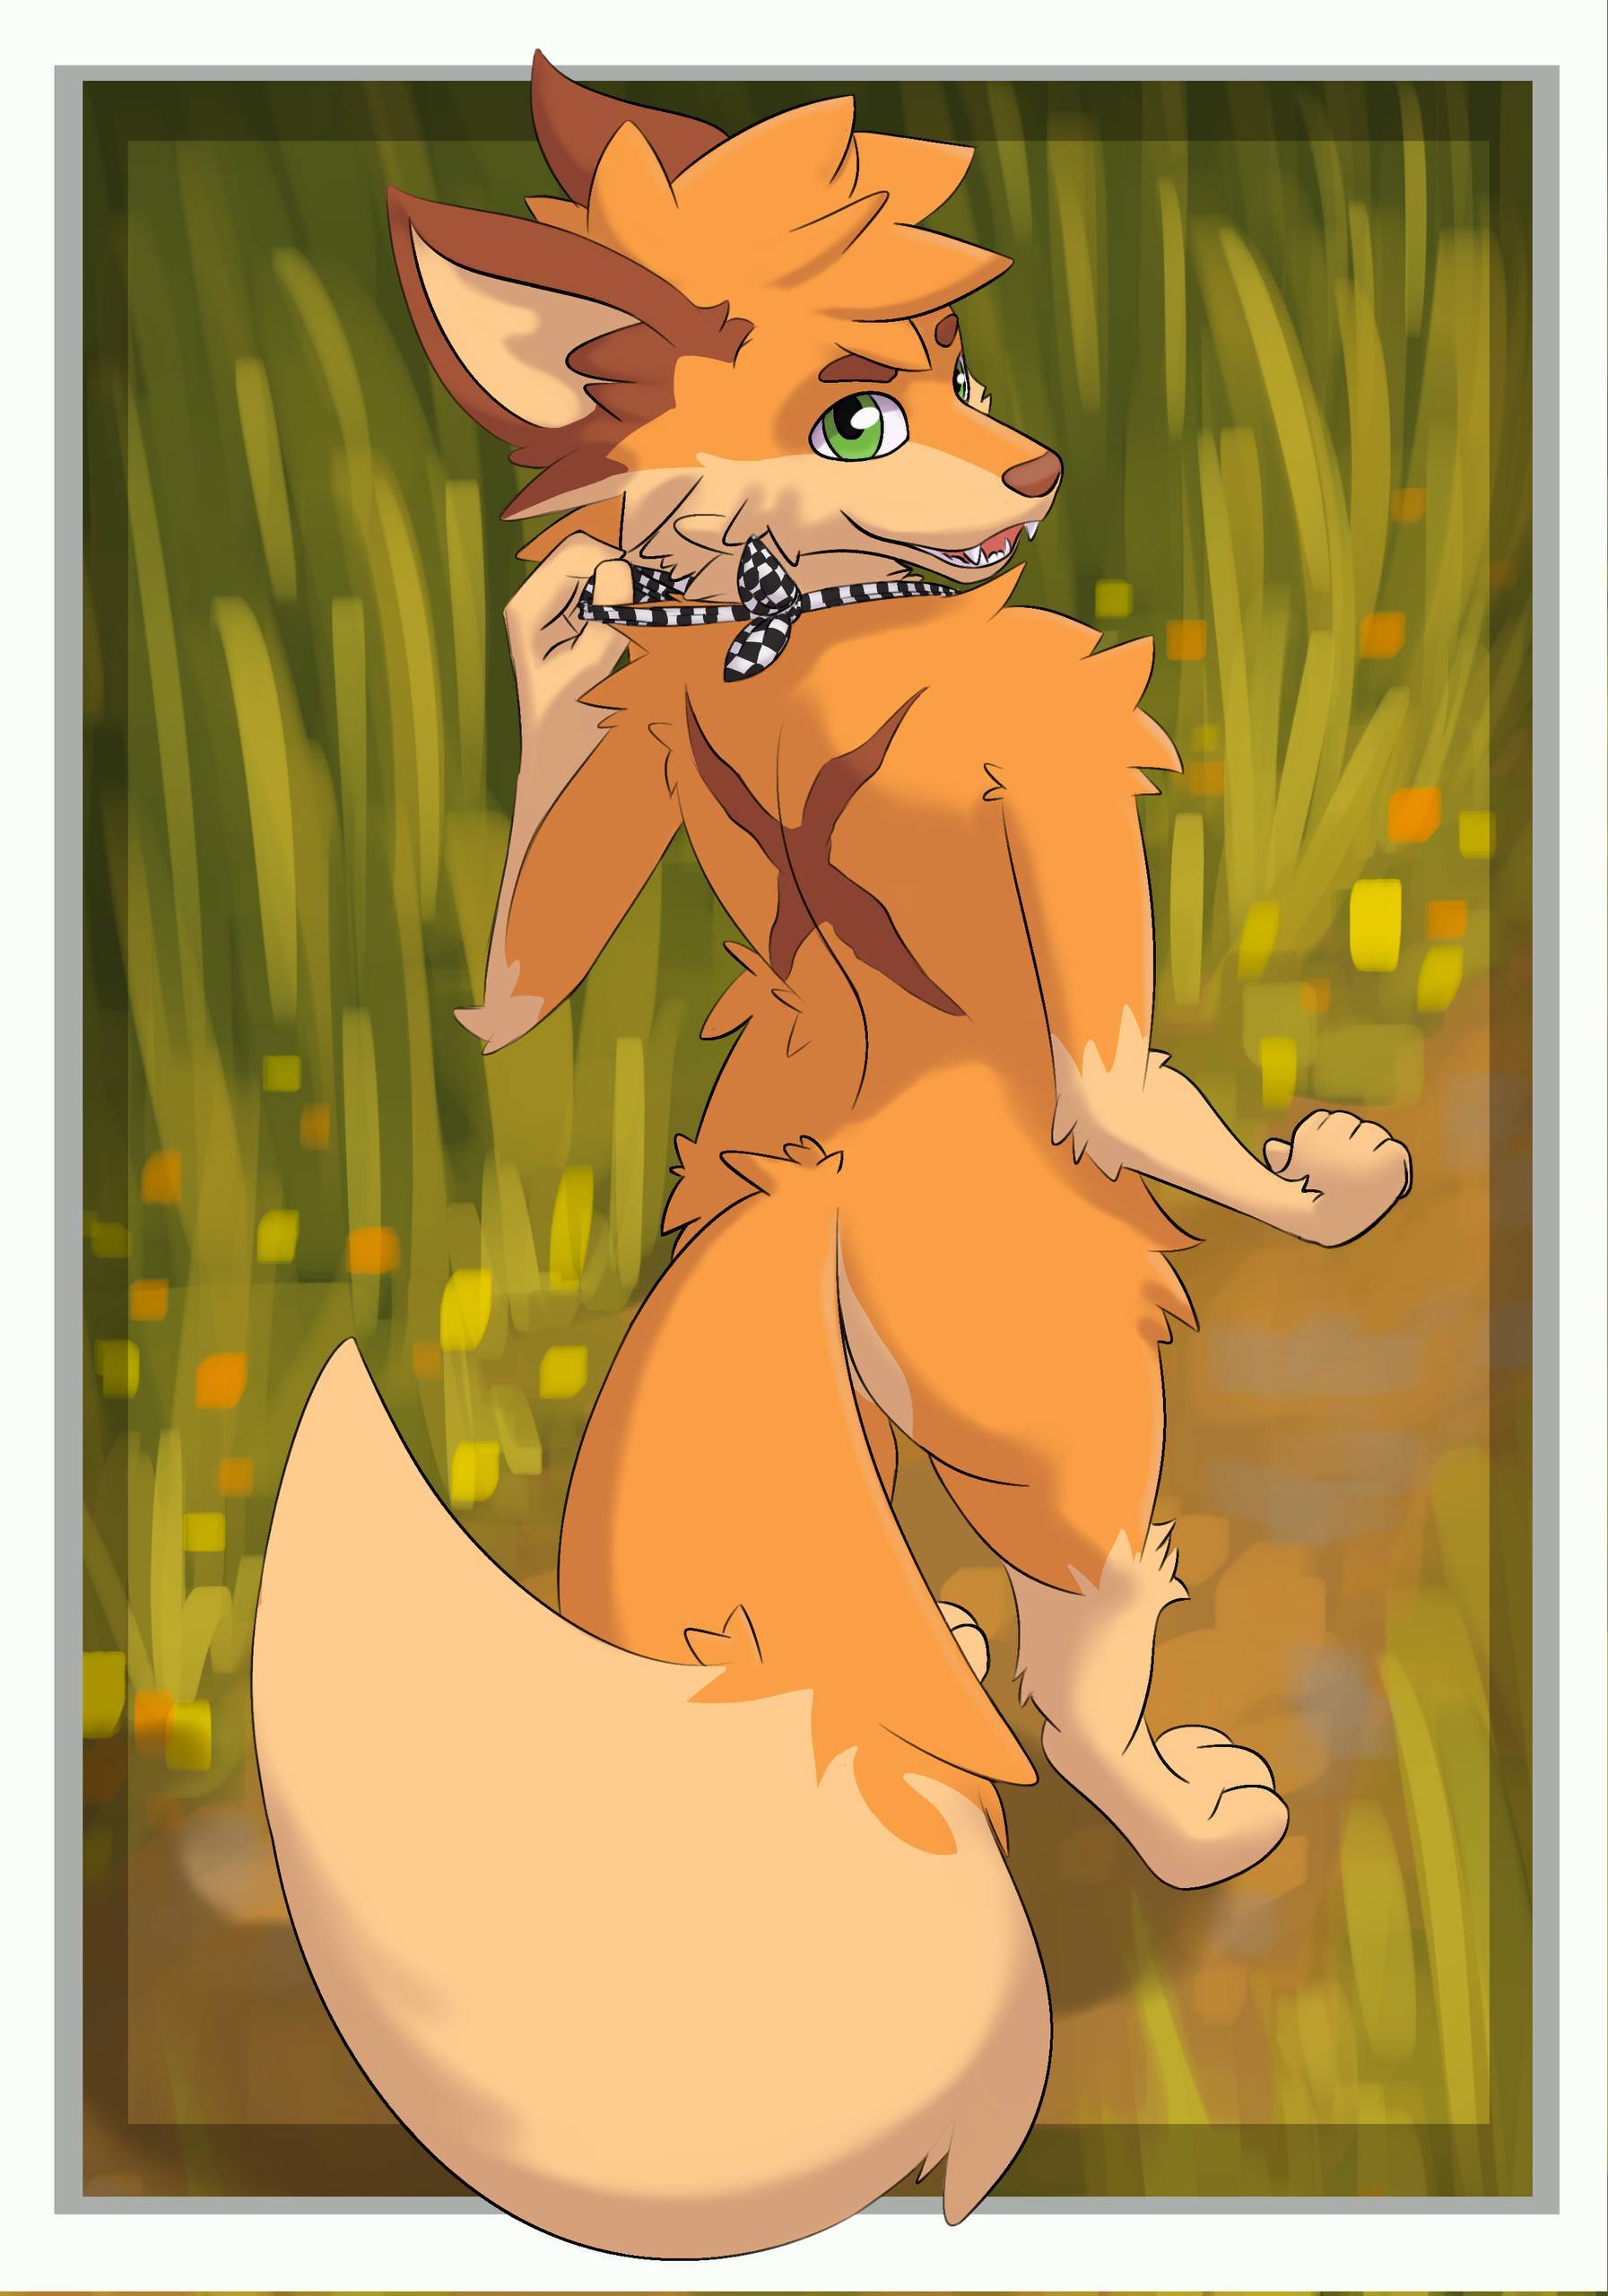
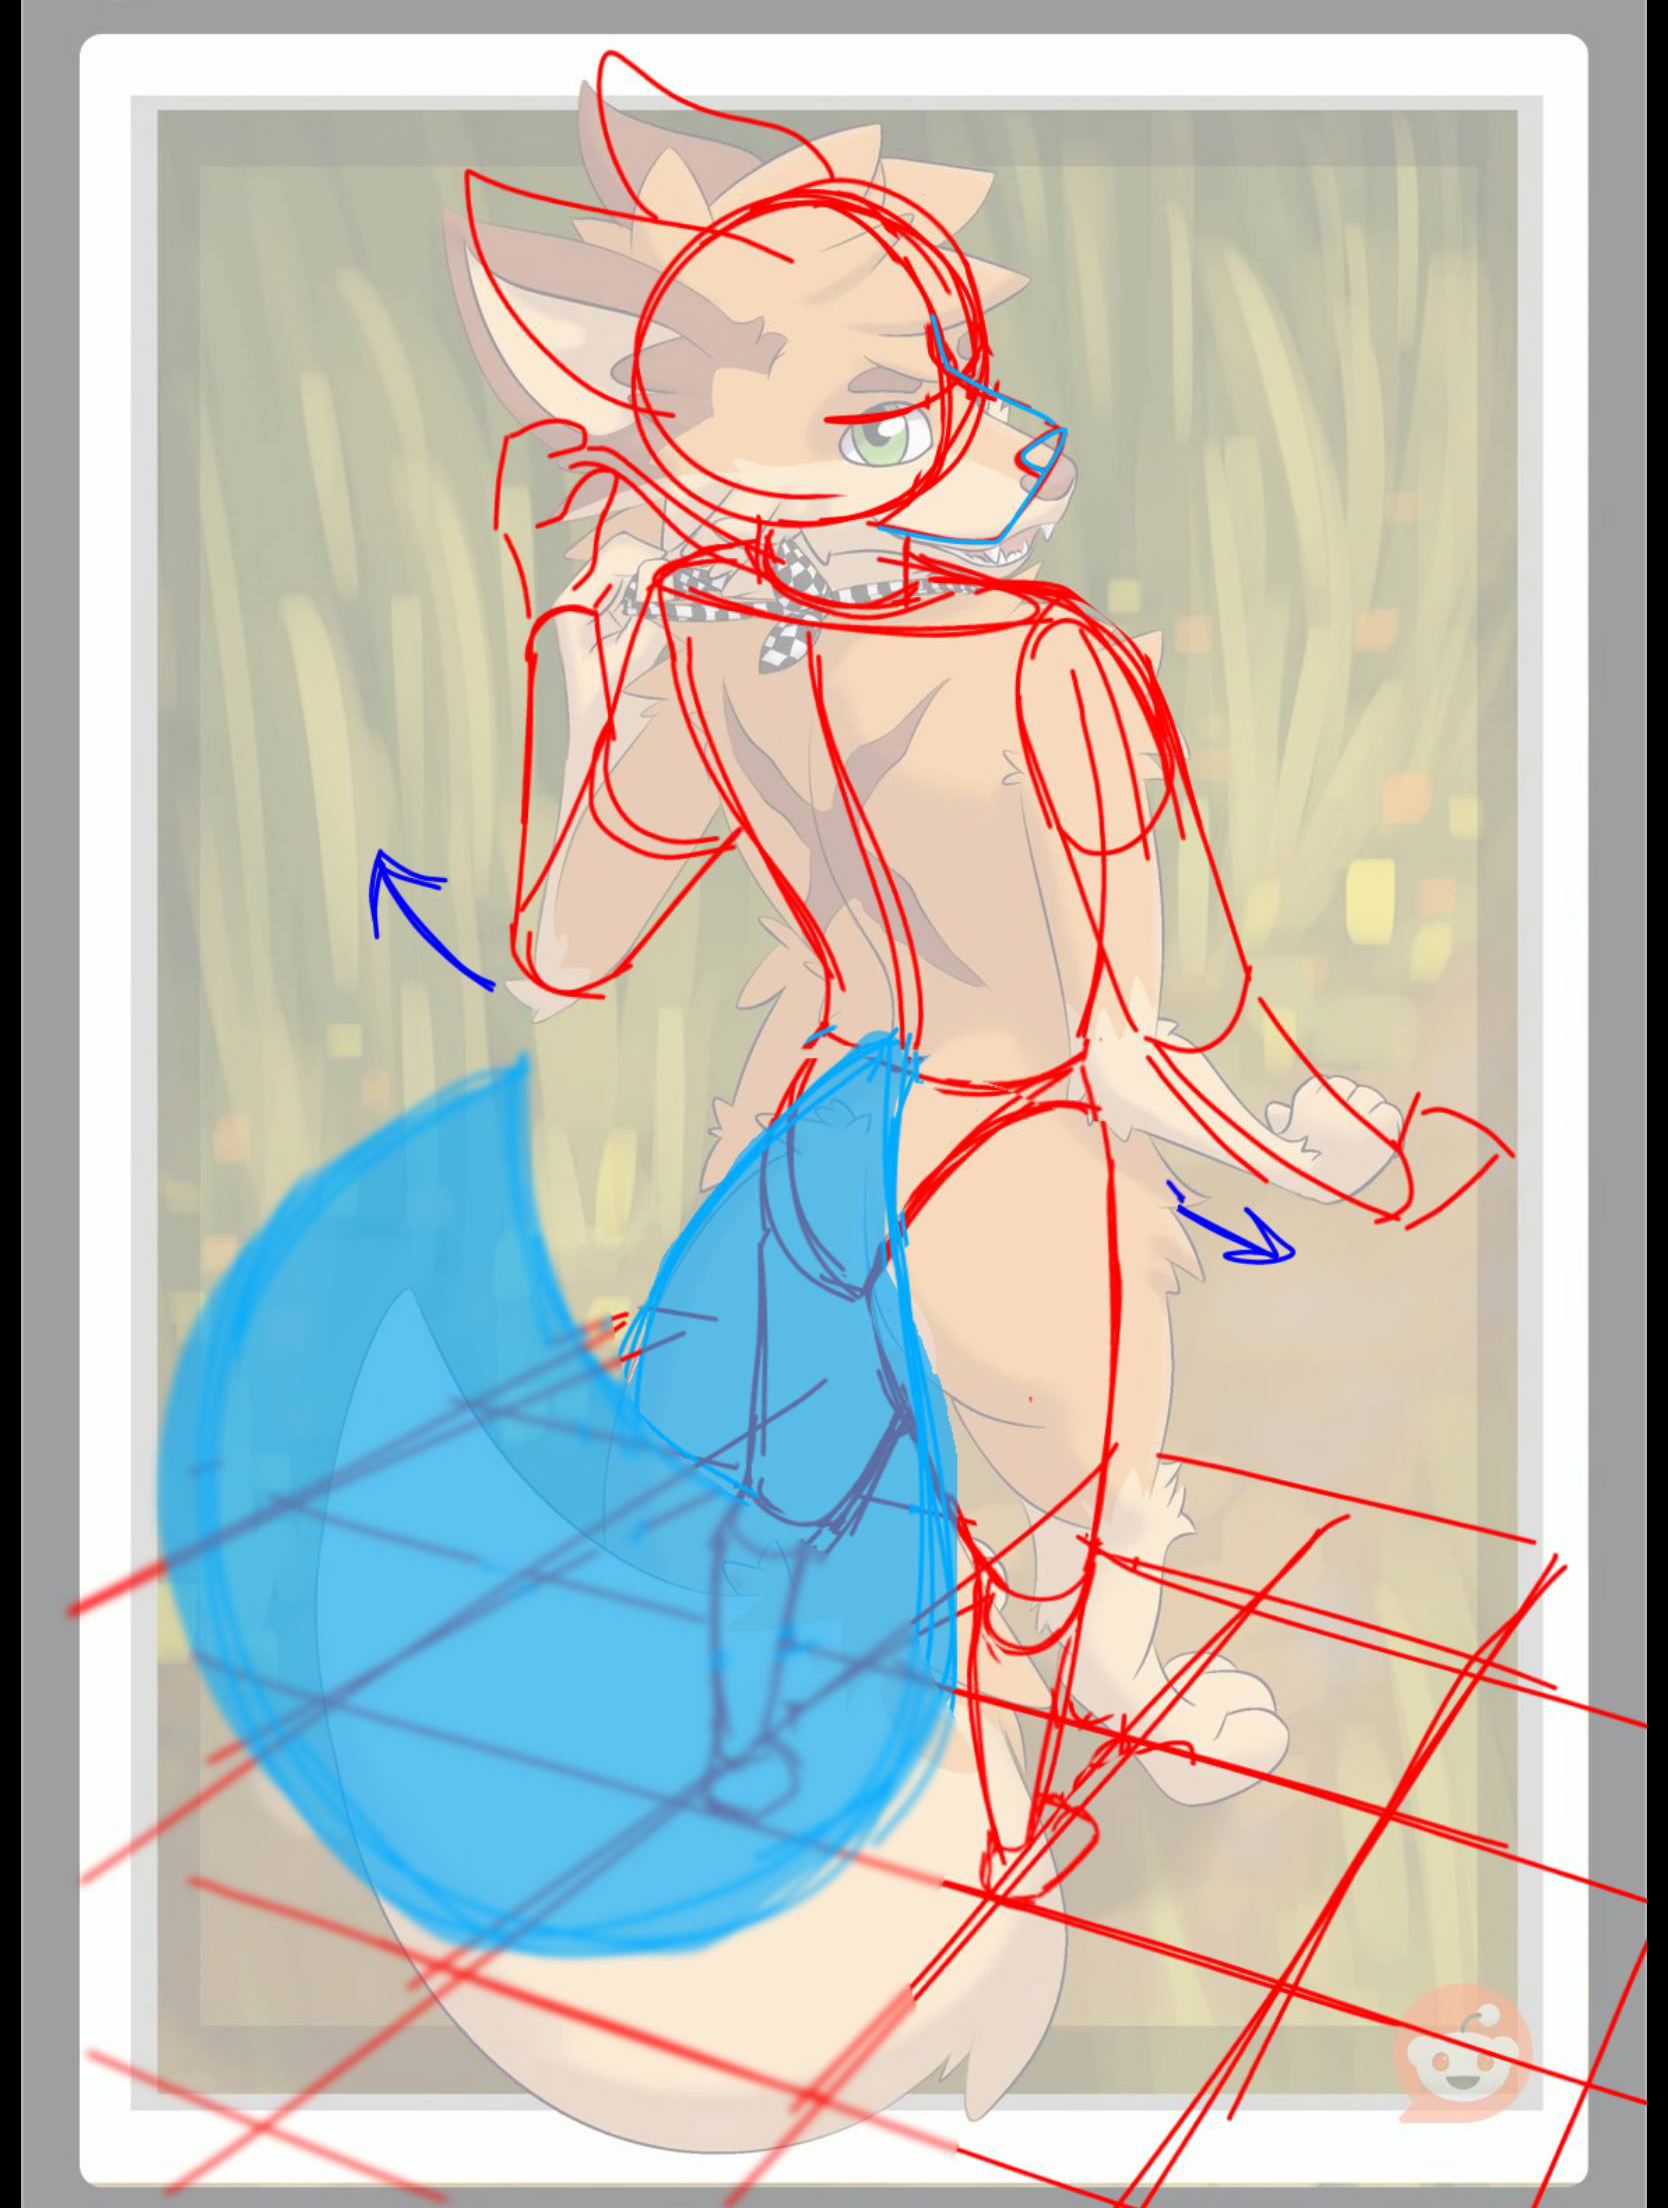
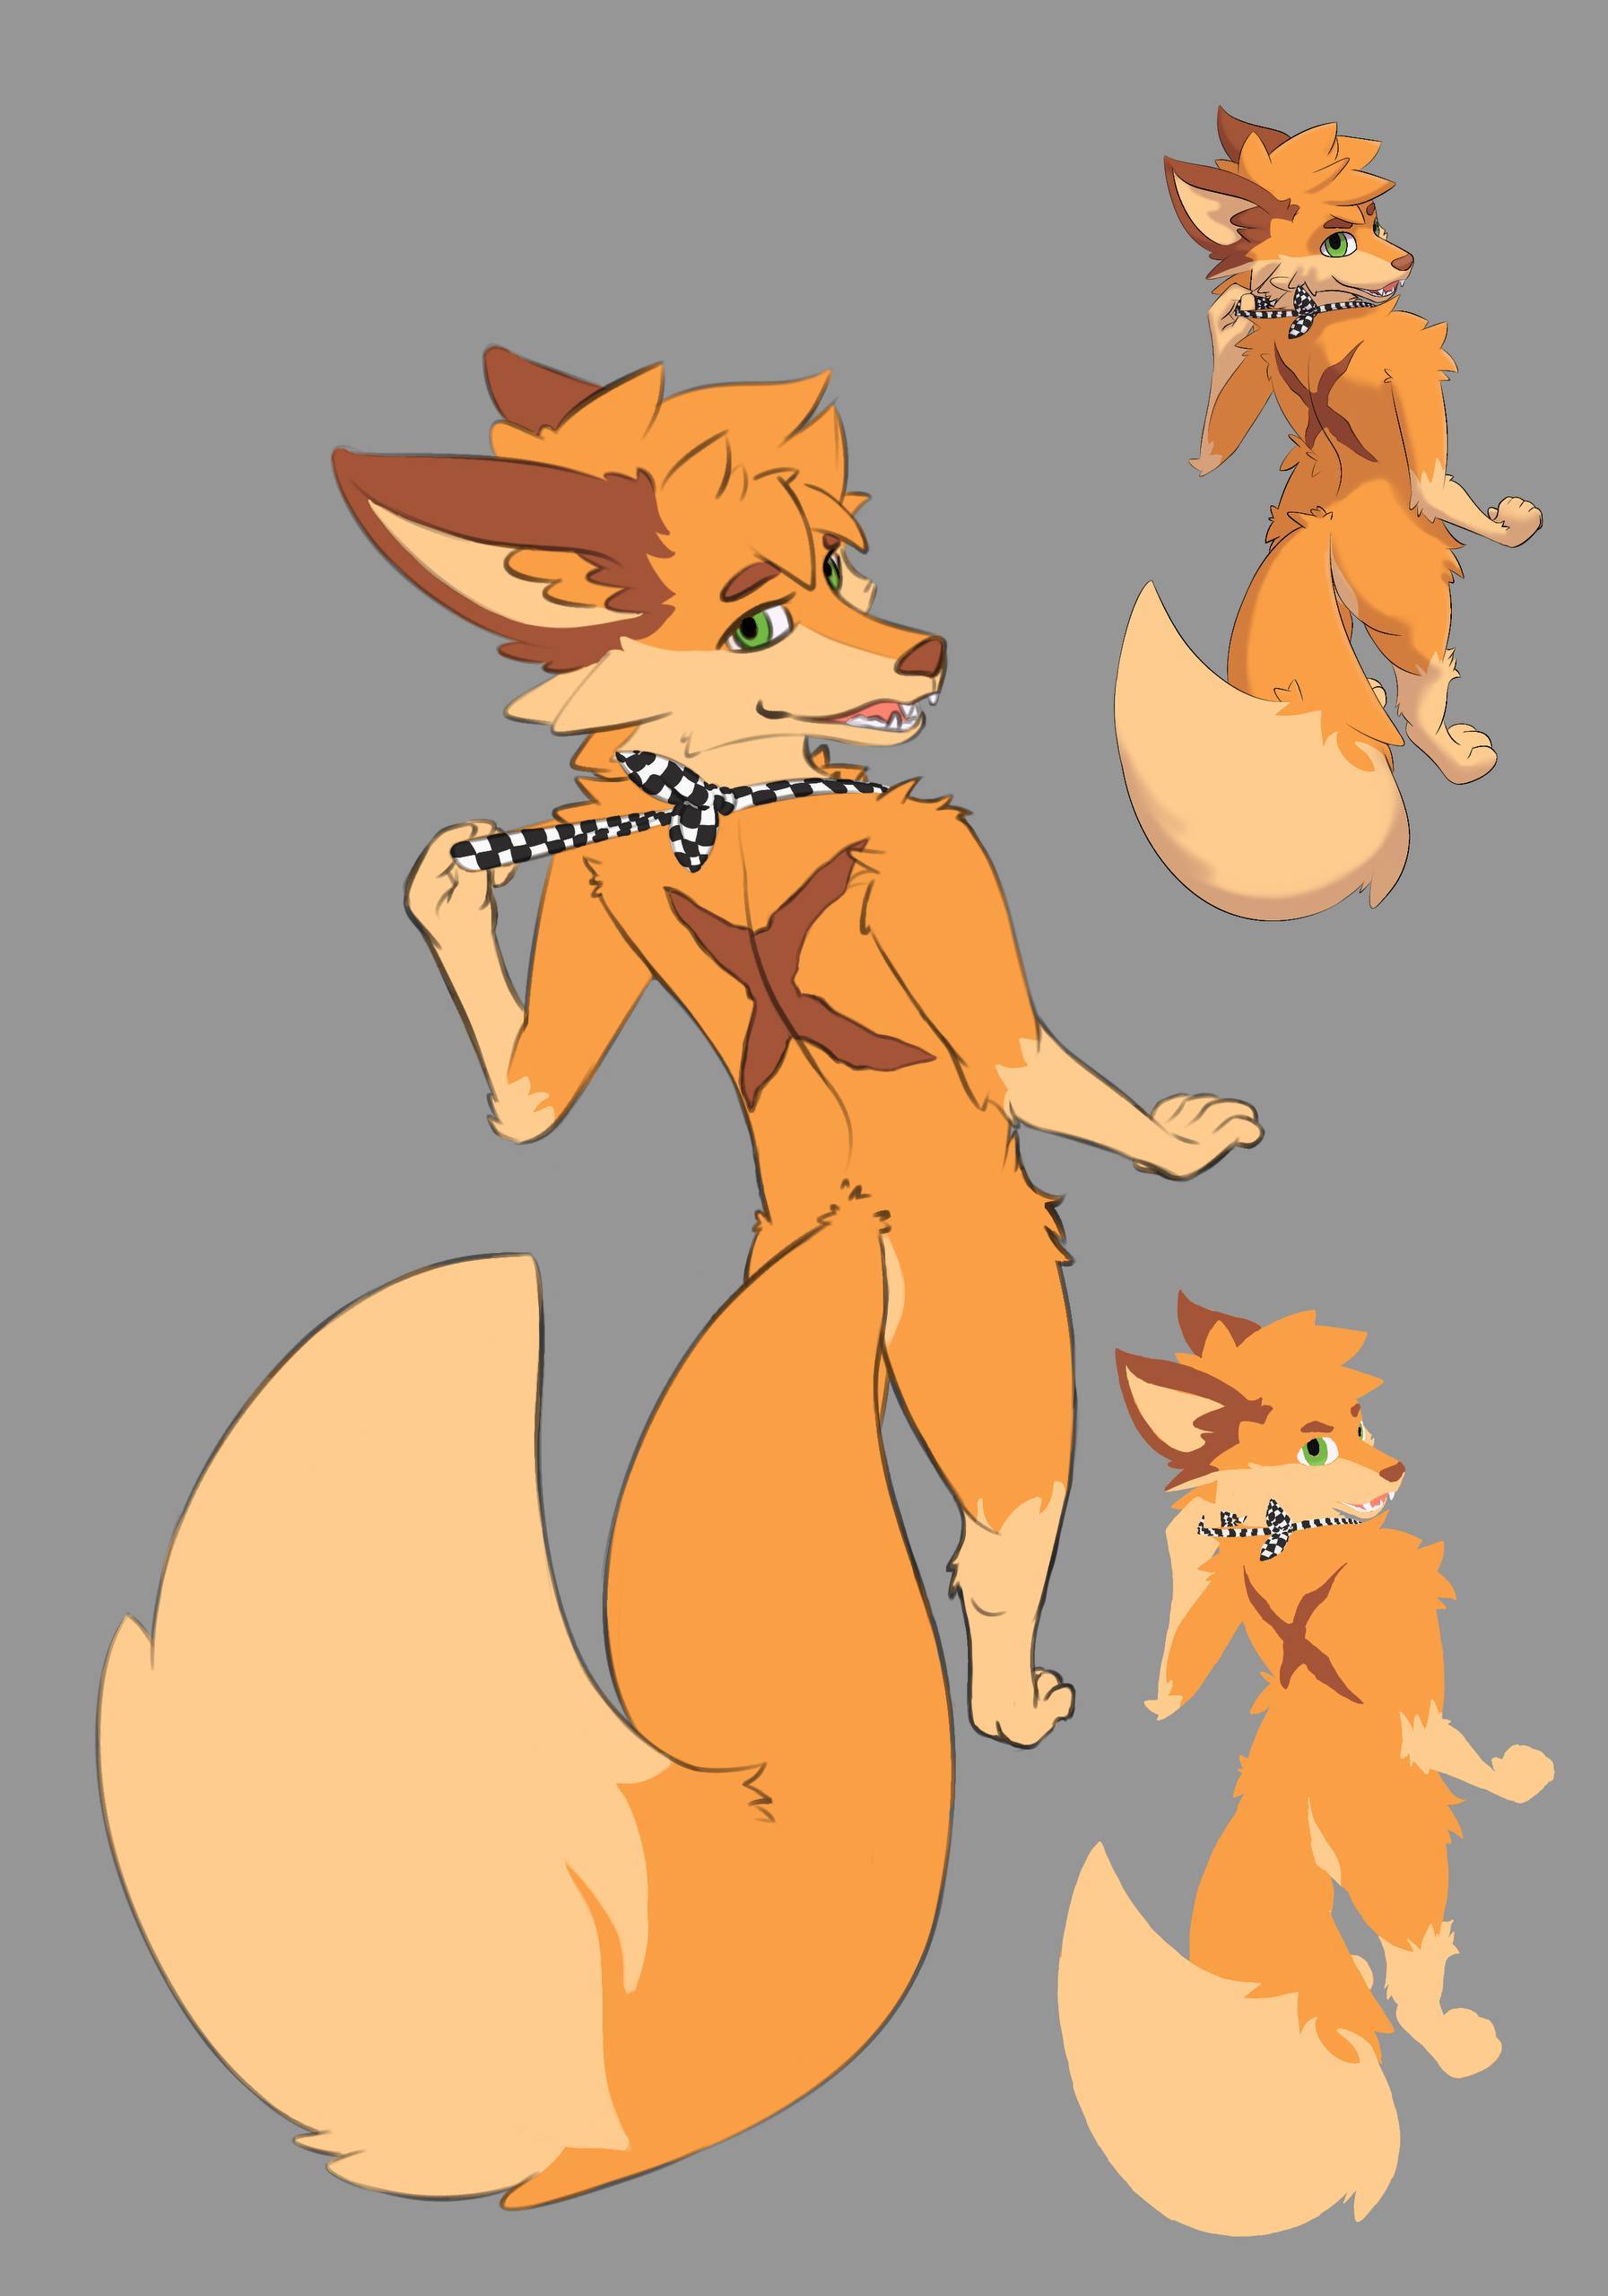
Torso Practice - hip bowl.
Your torso's do not seem to represent the pelvic bowl very well in the rhythms and sketching.
Construction Technique
Not gestures, construction. The abstraction of form utilizing simple shapes for joints and body forms. Utilizing a simplified construction method - and sticking too it - No matter what it is going to give you some consistency - which you are seeking right now. That constant that you desire isn't there because you are seeking answers from all over the place perhaps. Stick to one method - Change it if you want to later to your own. But you need to finalize being able to draw a mannequin in perspective AND change it proportions.
Zooming into references - don't do it.
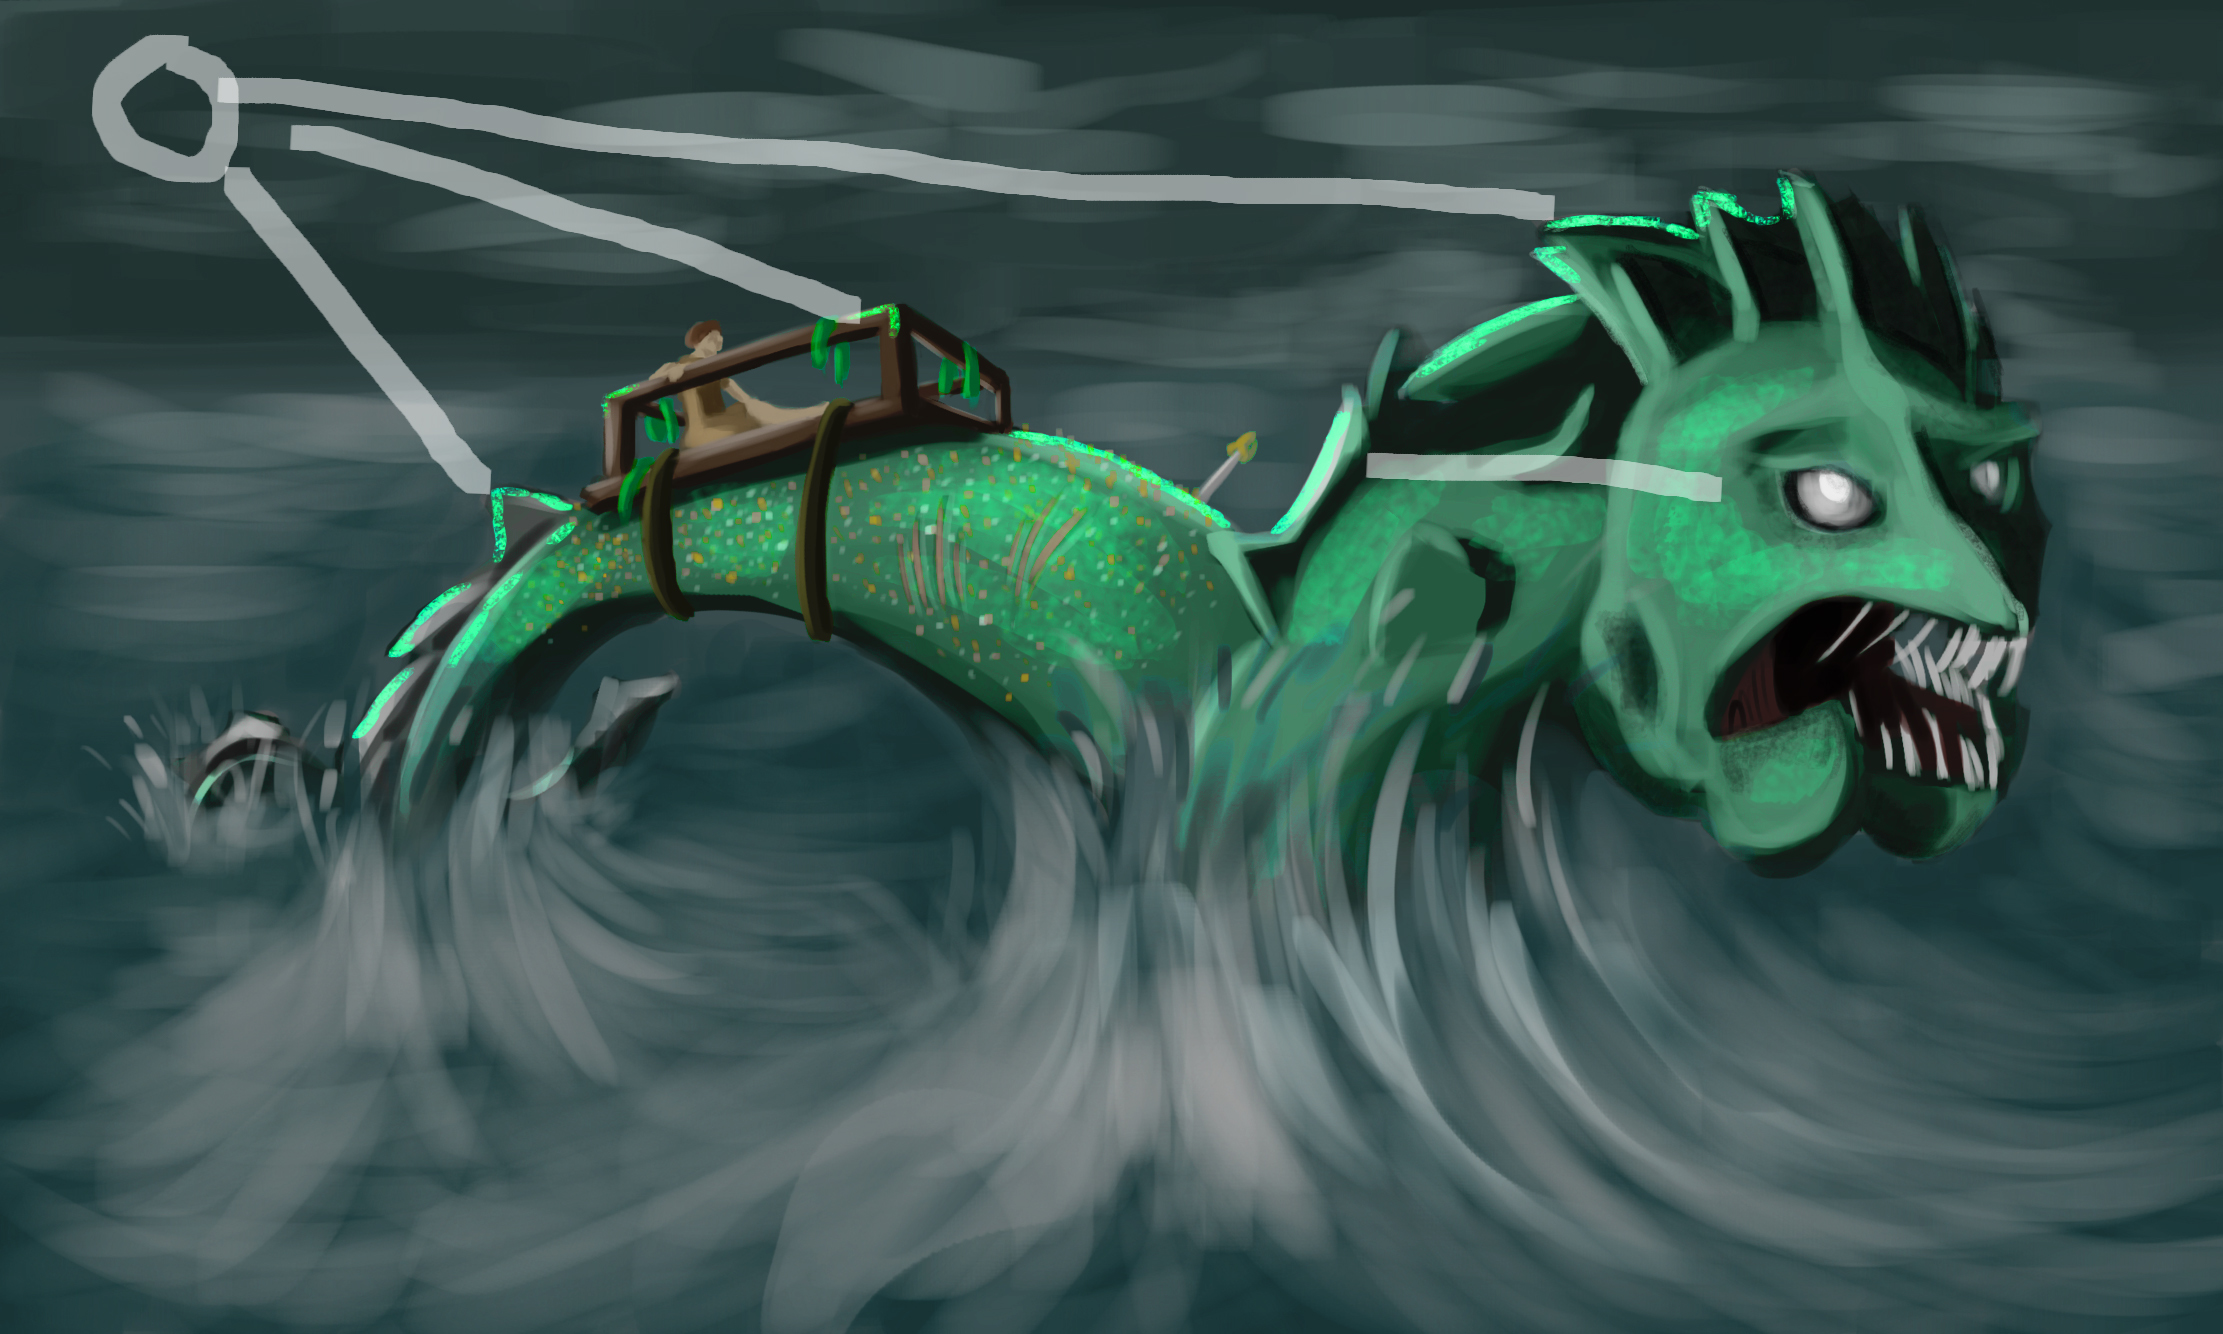
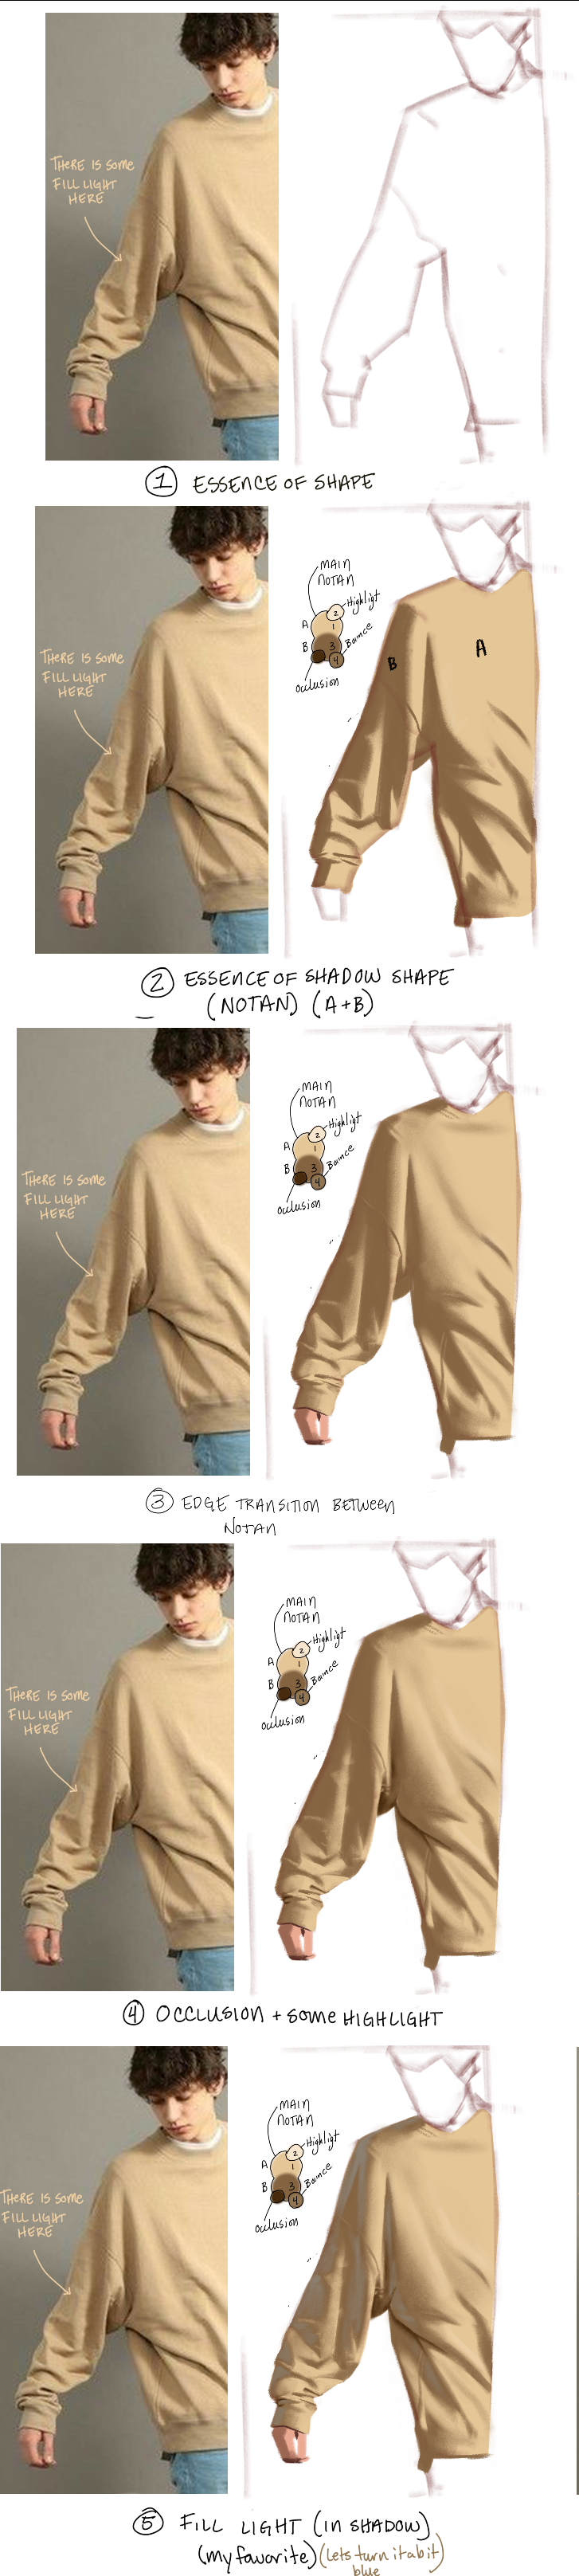
Four (4) Values Method for single light source.
(different from the composition lighting talk I gave back on your critique)
NOTAN is the clear separation from the light and shadow. But each of those parts has two more sides within their shapes.
A- Light Side = 1:Highlight 2:Mid-Tone
B - Dark Side = 3:Shadow 4:Fill light
(5: Occlusion shadow last for depth)
Separate A and B first, then within each of them find extra form.
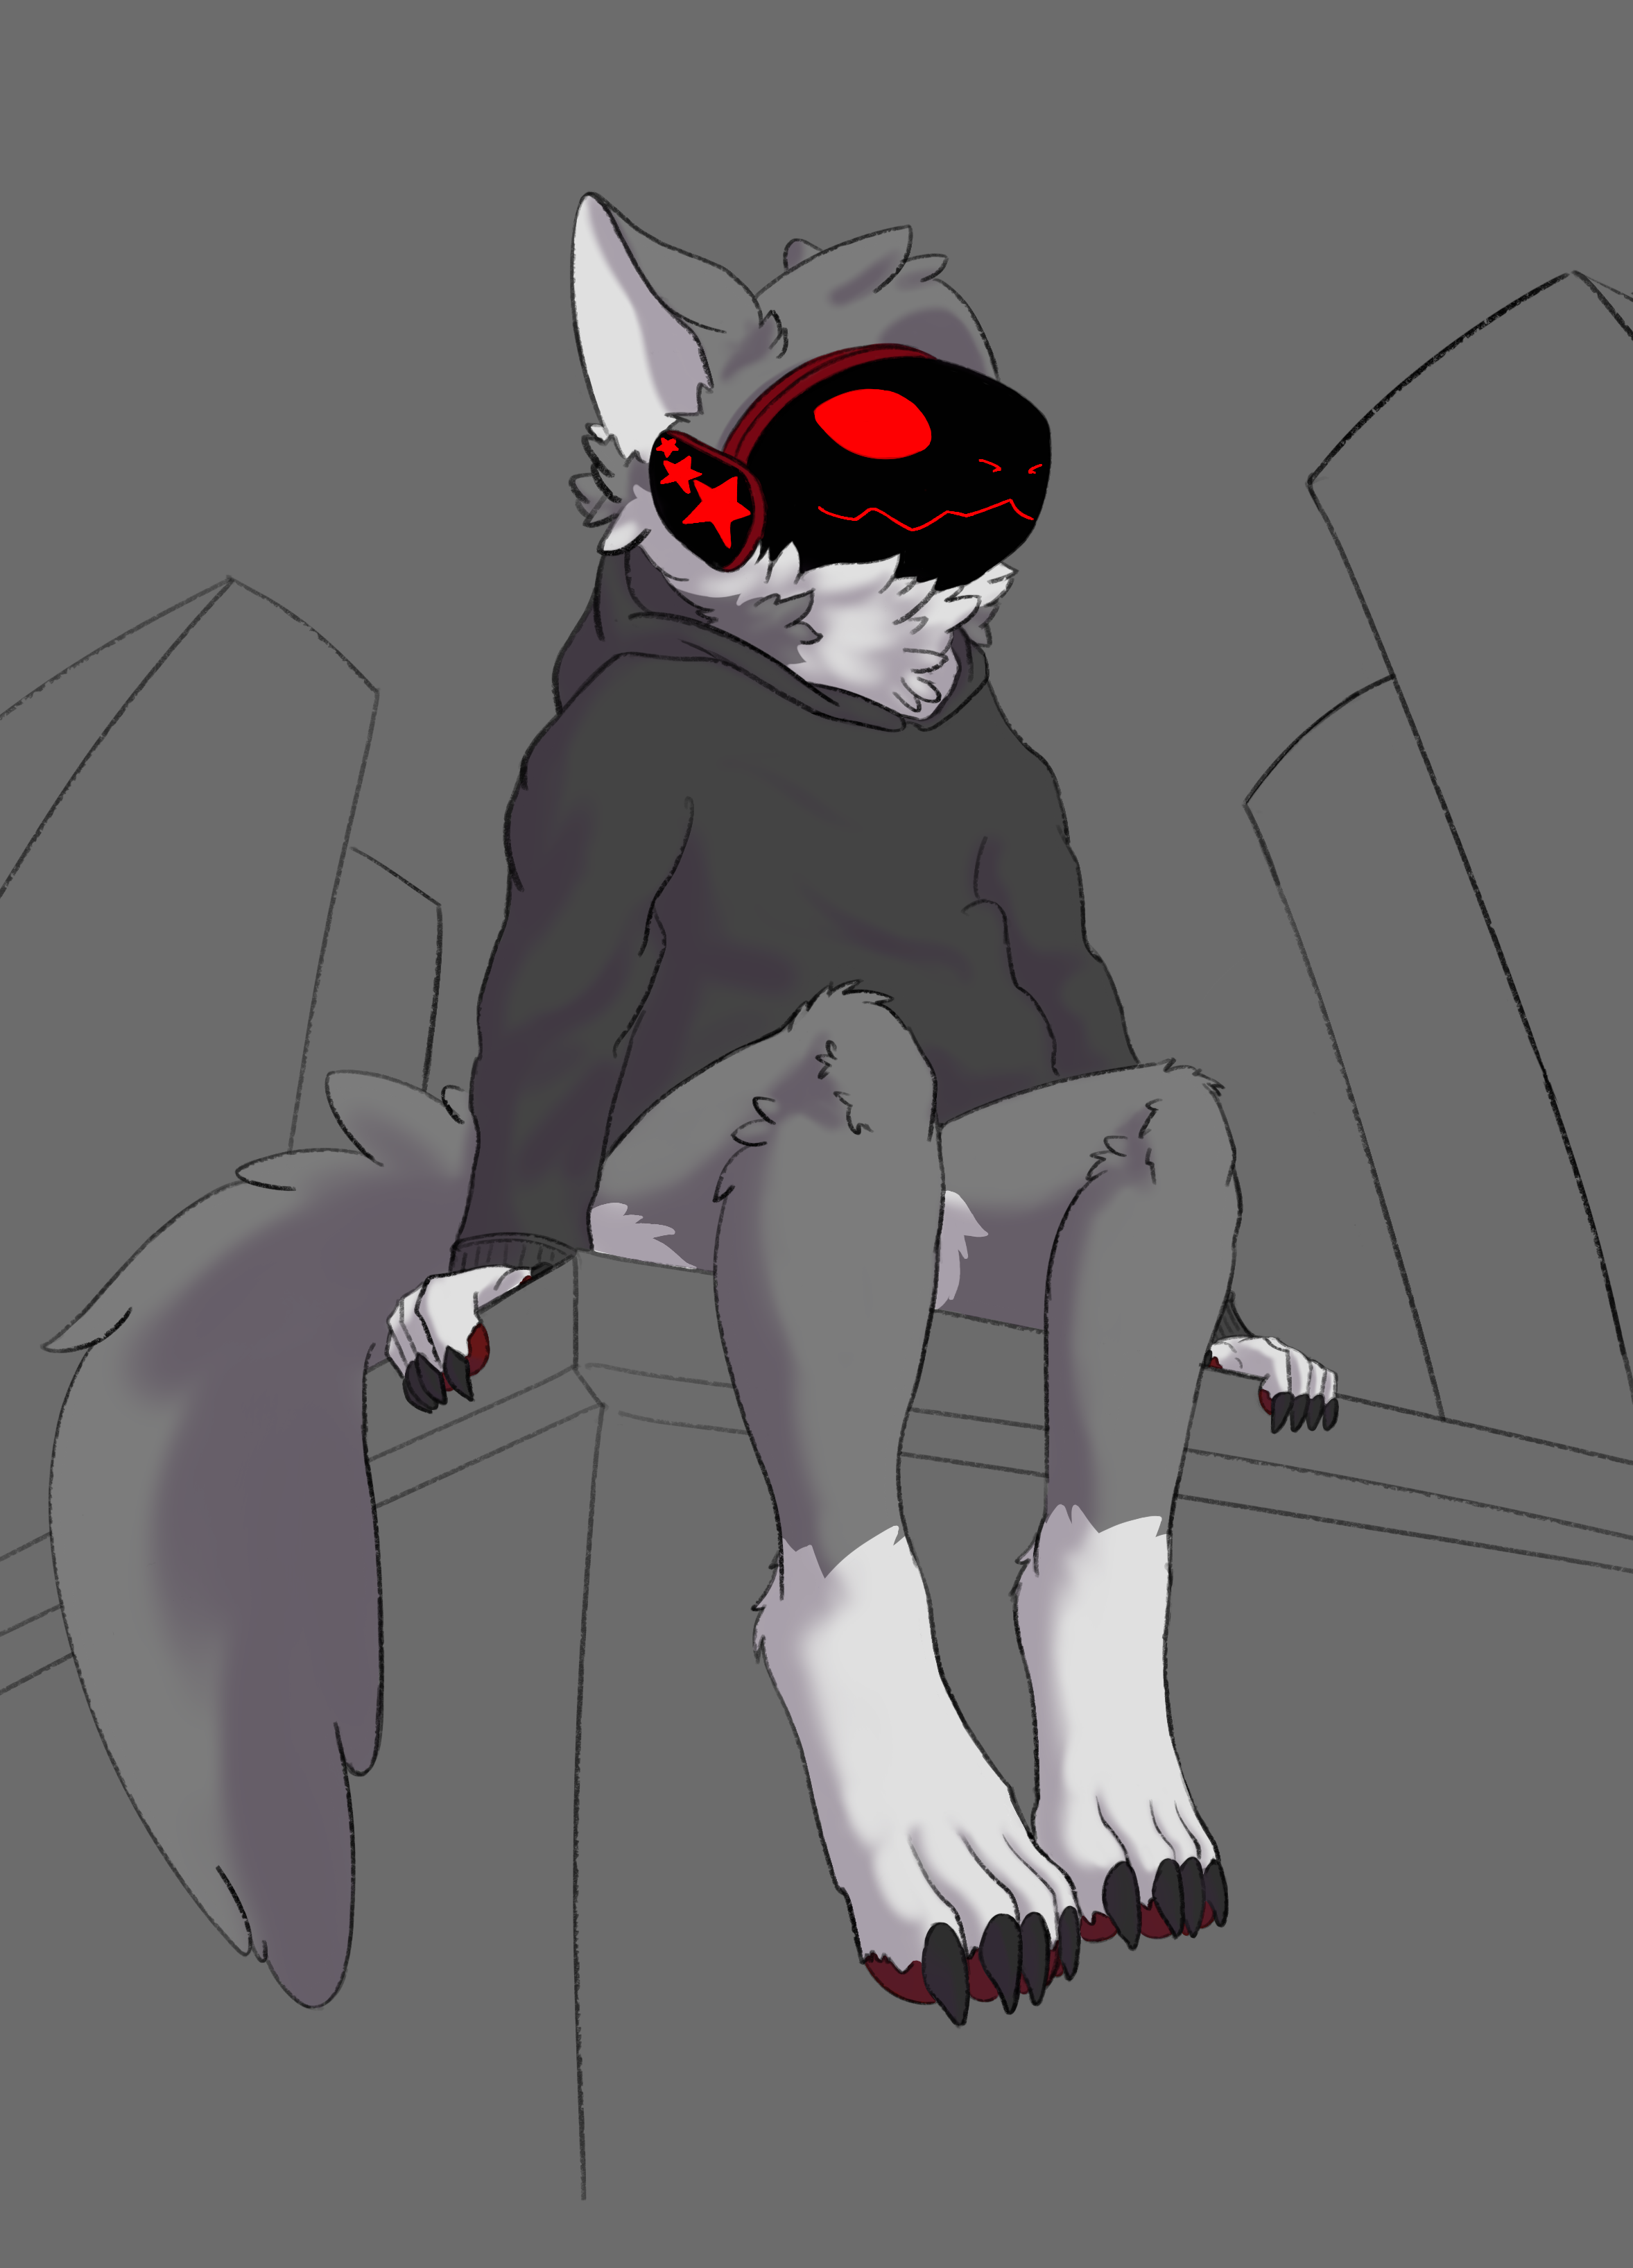
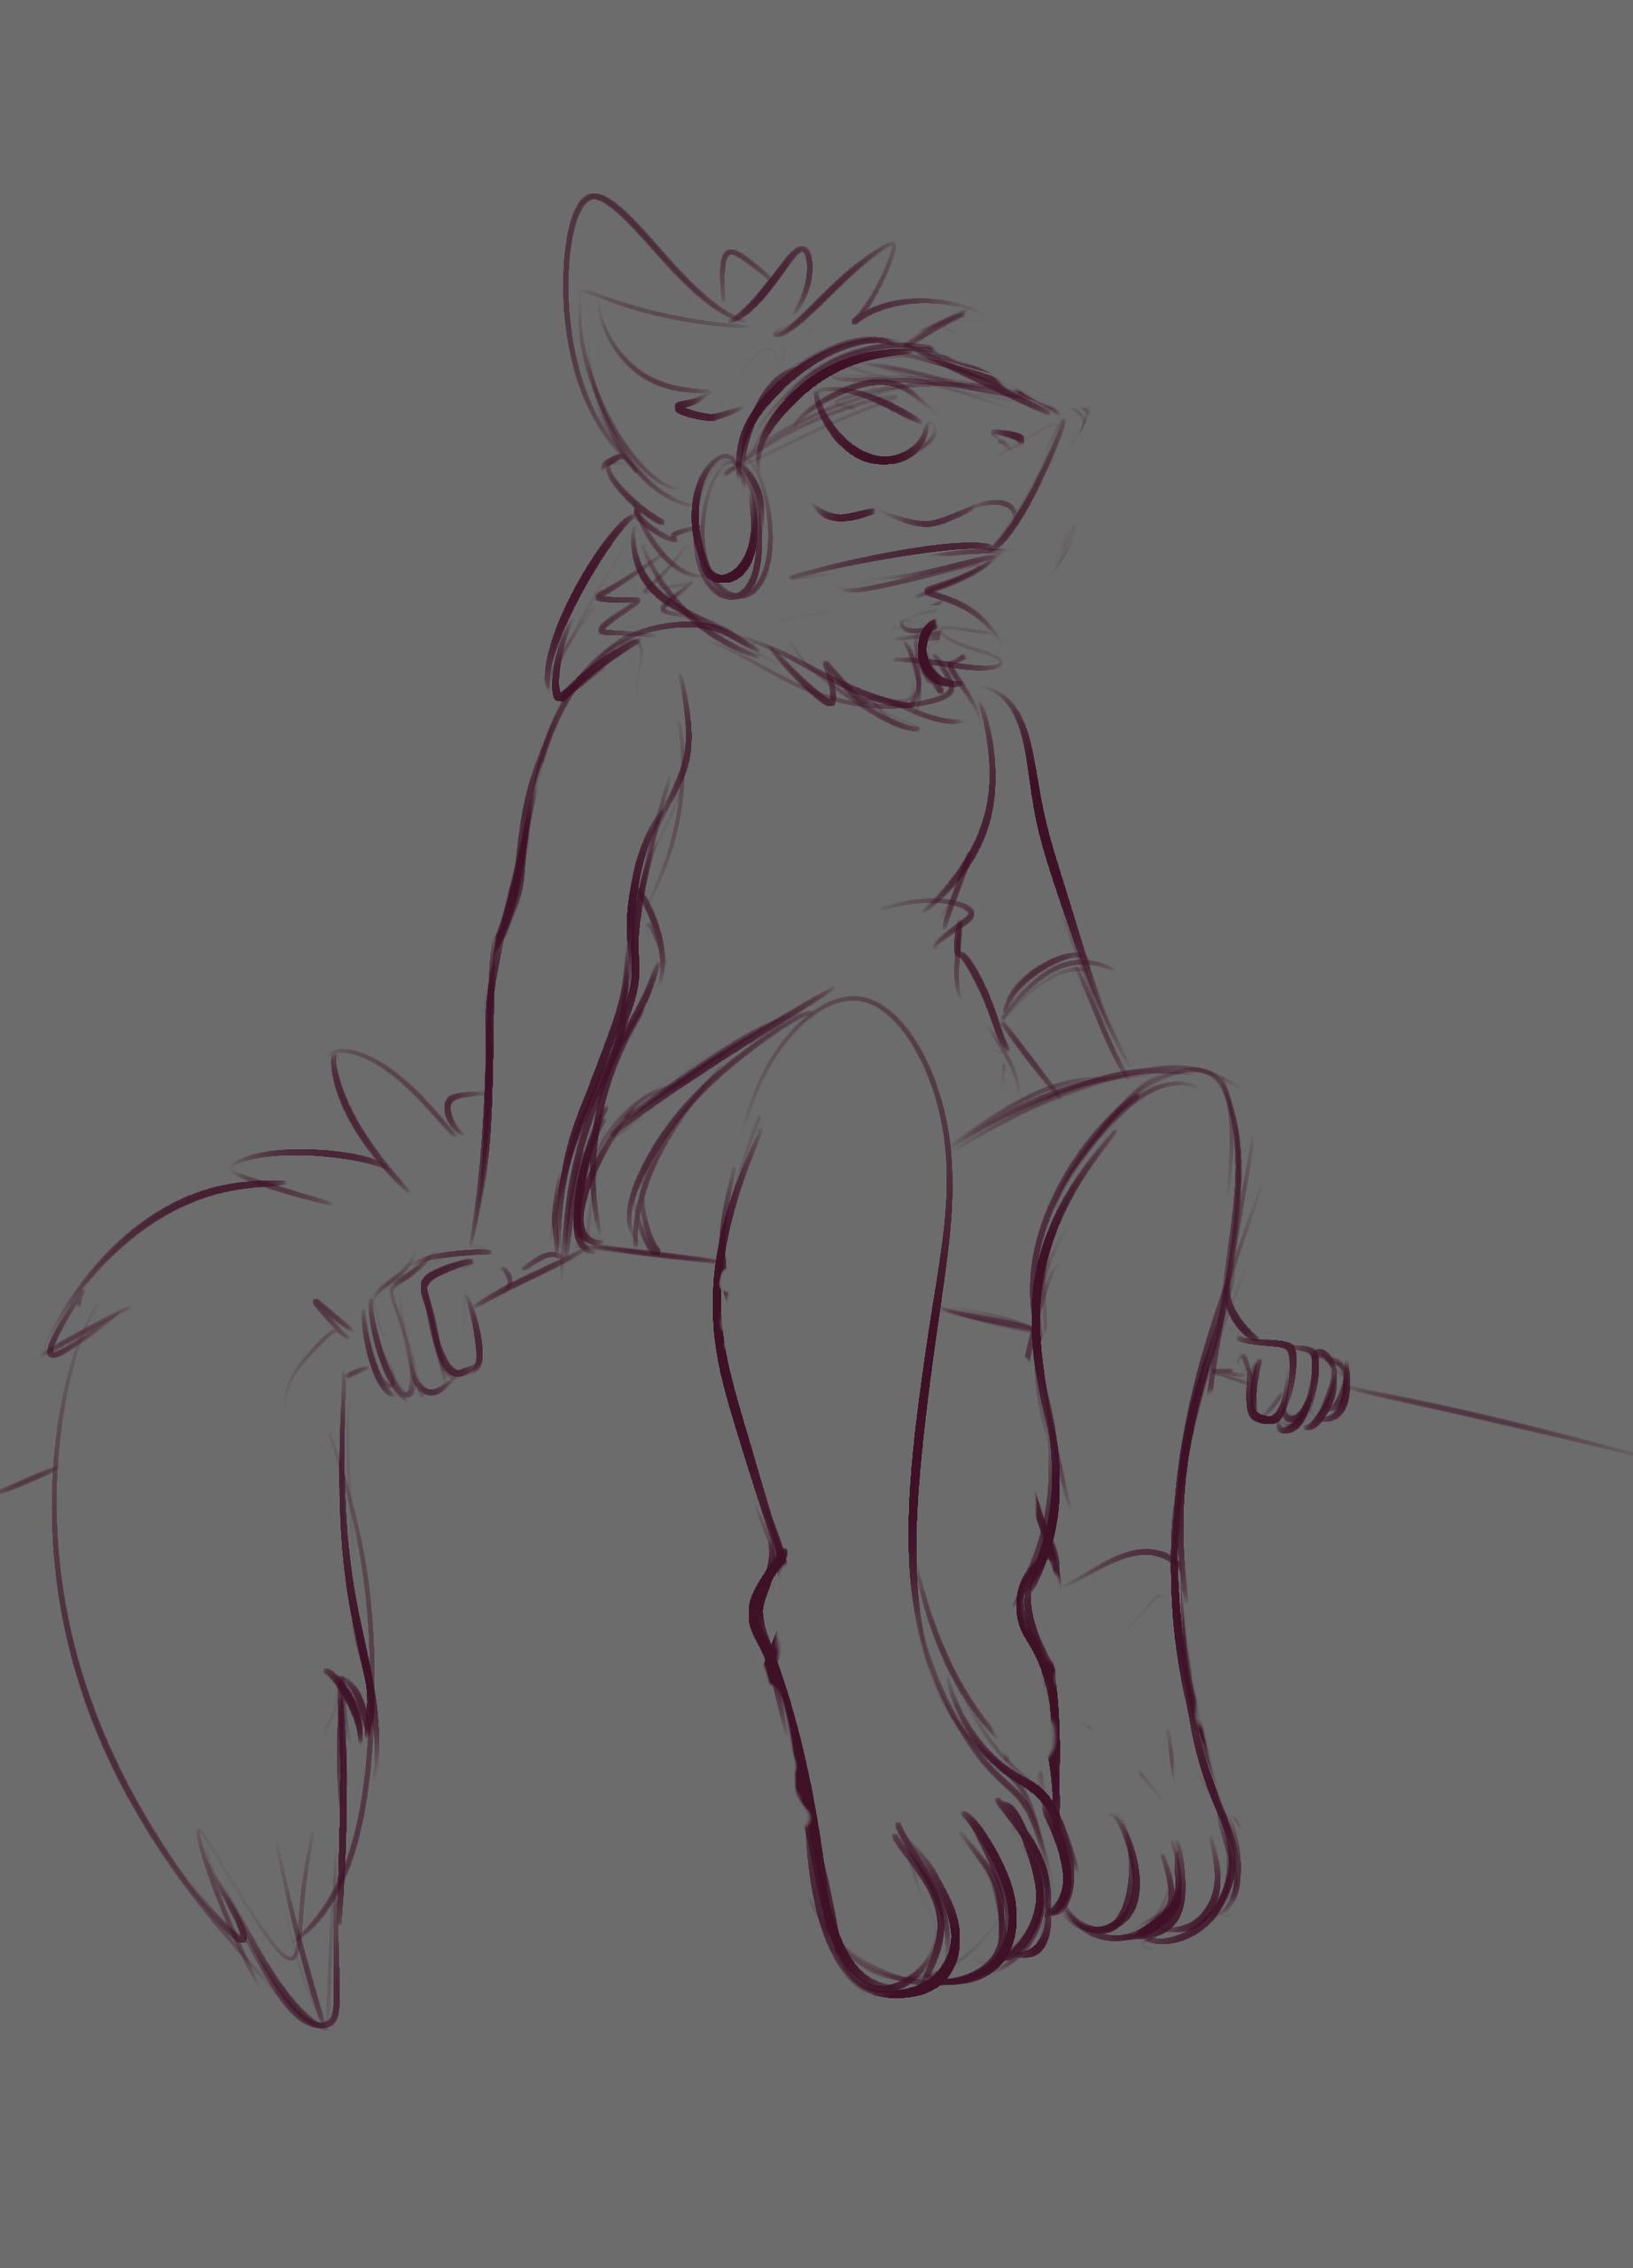
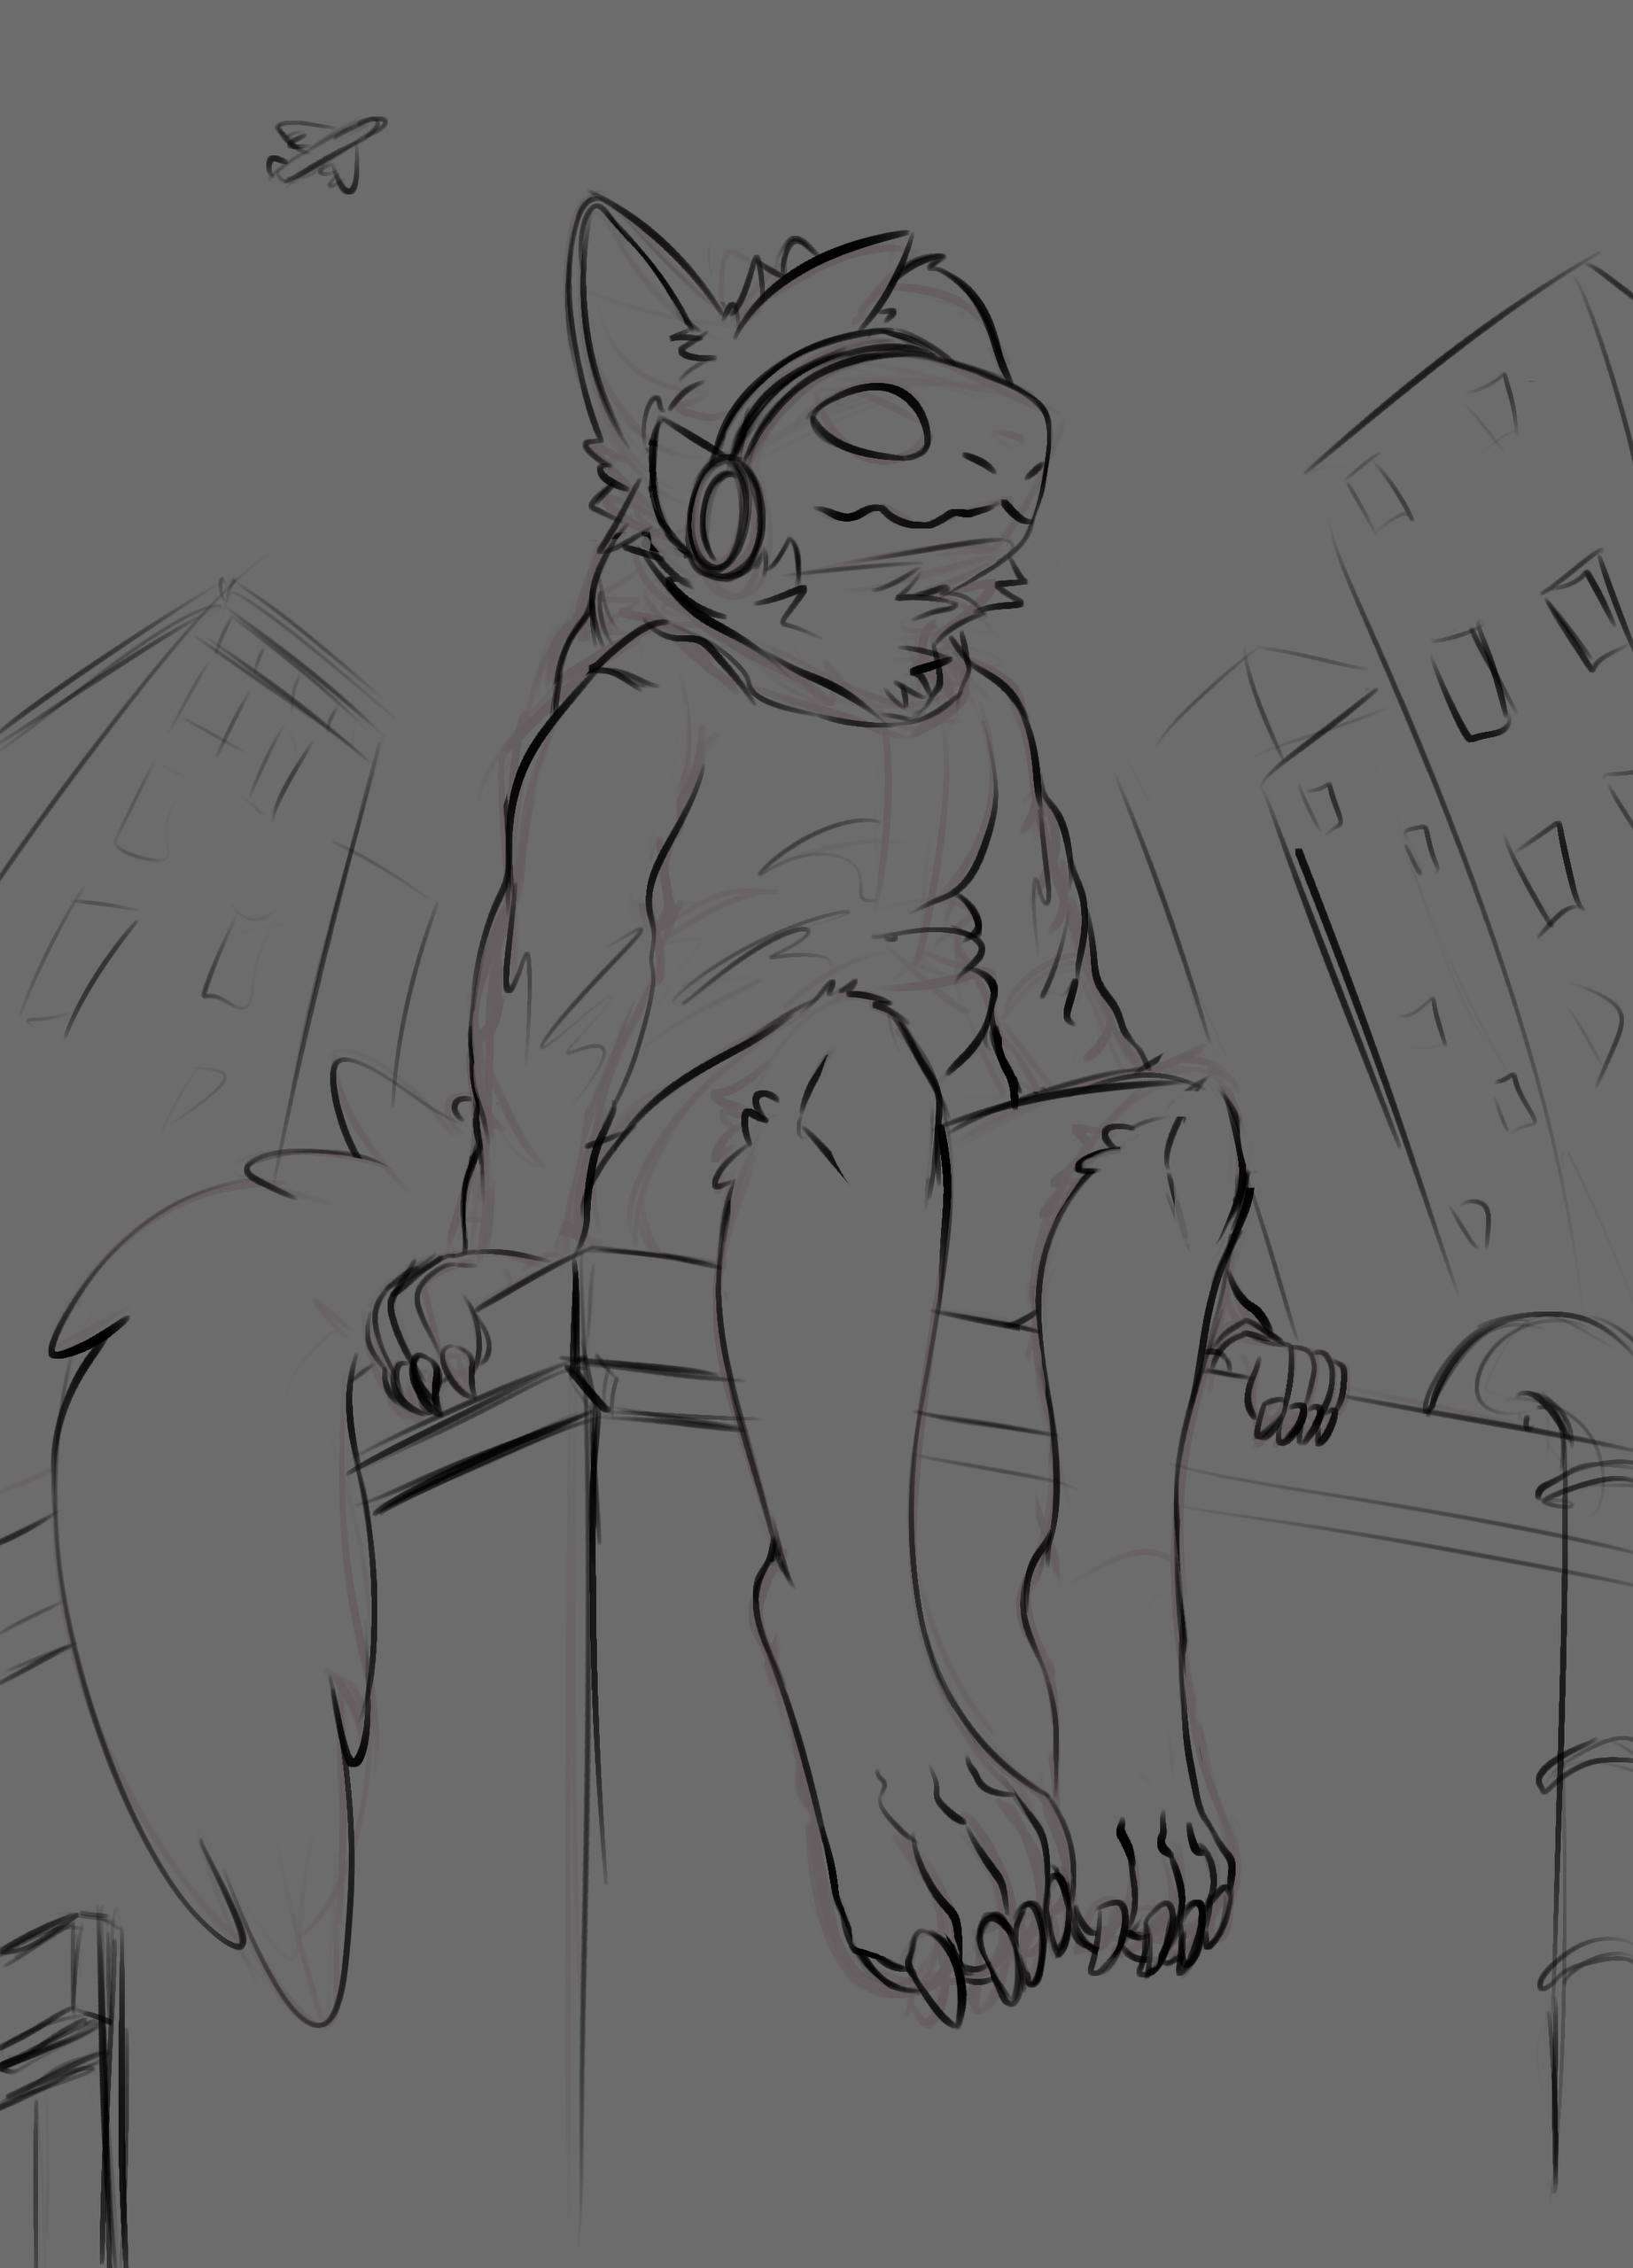
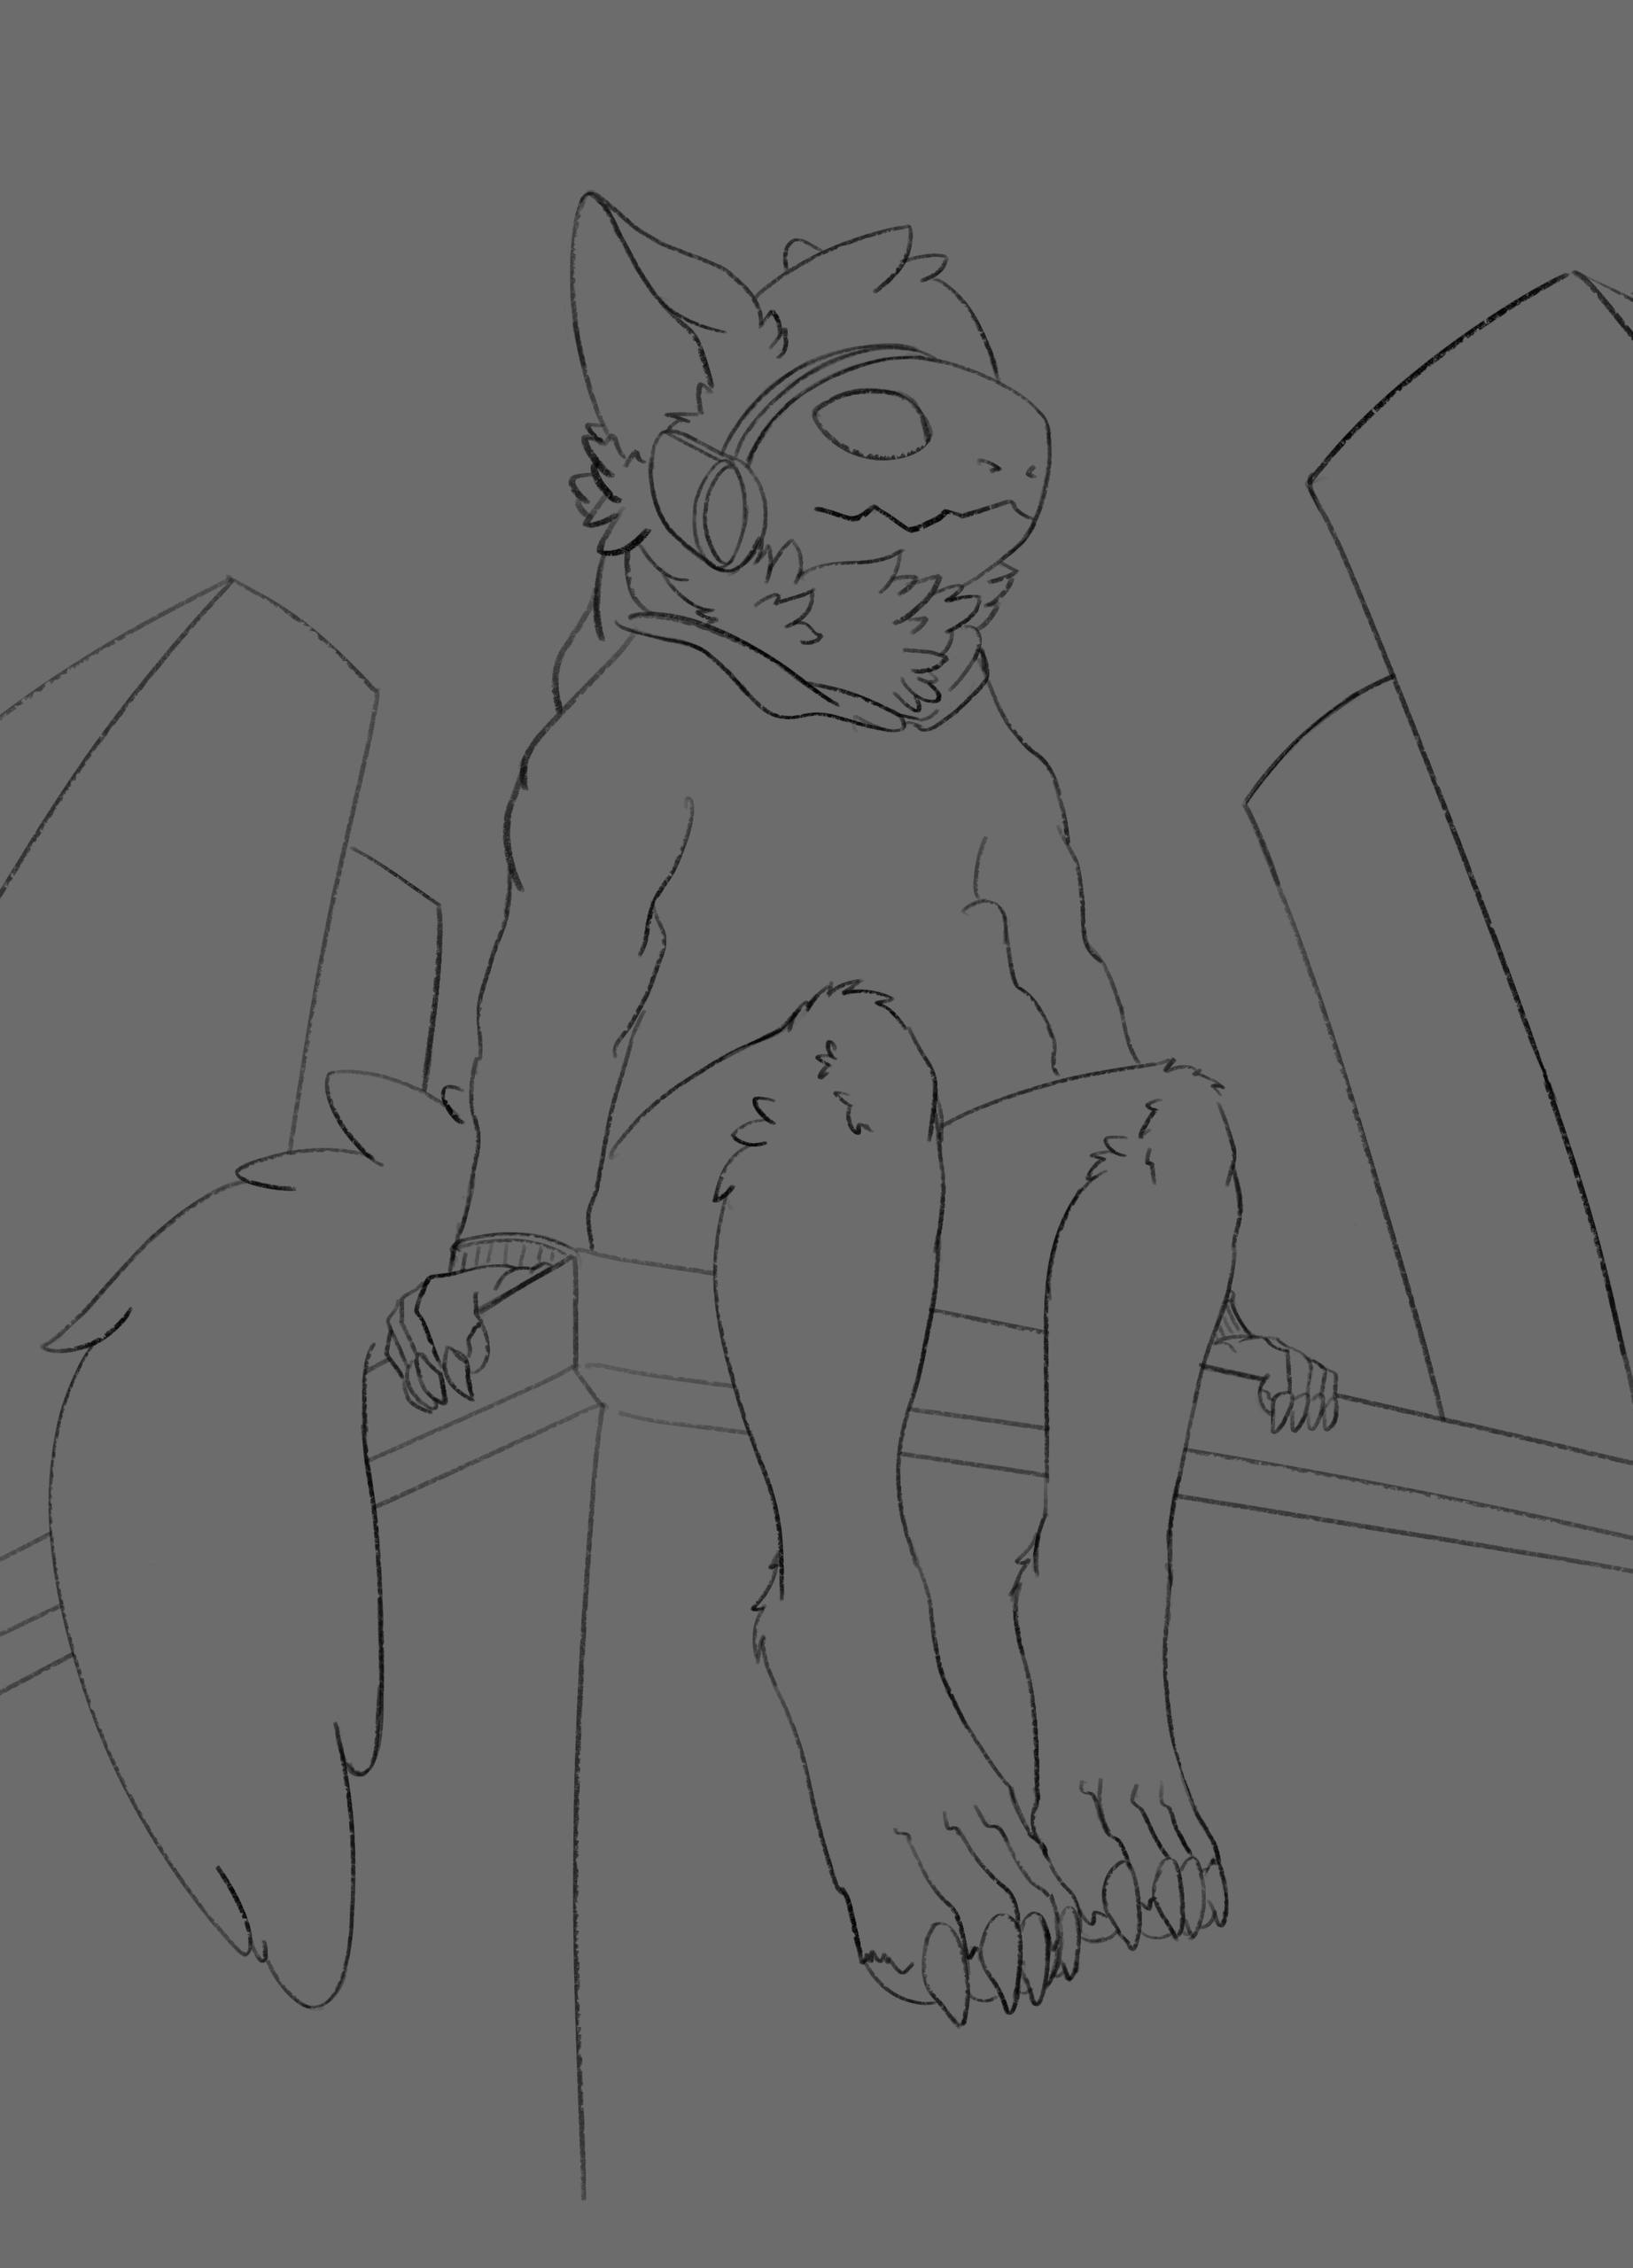
Tried to make an example here - it isn't perfect but I think it illustrates the different stages that one has to think about while making a drawing/painting accurate for rendering form.
Get the 'Willies' out -
You need to draw in shapes and quickly to get some drawing therapy going for a warm up or something. But drawing is too accurate and takes more time than shapes in order to do that. You need to make a triangle brush or flat square brush that you can draw in shapes sharply - so that you can expend that energy to create something. Drawing in shapes will have you something made in a few minutes compared to something that takes hours to draw in perspective. Use layers, flats, attempt being accurate, or not. It is just the warm up. Write down an intention for that too.
CONSTRUCTION
You can already draw those primitives well enough to achieve this stage in the game. You only need this for drawing things without reference. And after a while you wont need them - but you will have to use them for quite some time. I've seen over and over again - when people started doing this (making a base mannequin) they started improving.
The trick is you are going to have to do some homework on anatomy parts of the body one at a time. Start with the Torso masses, and the muscles that hold them together and make them move. Then go out to each extremity starting with the shoulders to arms. Learn where every muscle group is - not every single muscle. But get an idea of where they start and stop on different sets of bones.
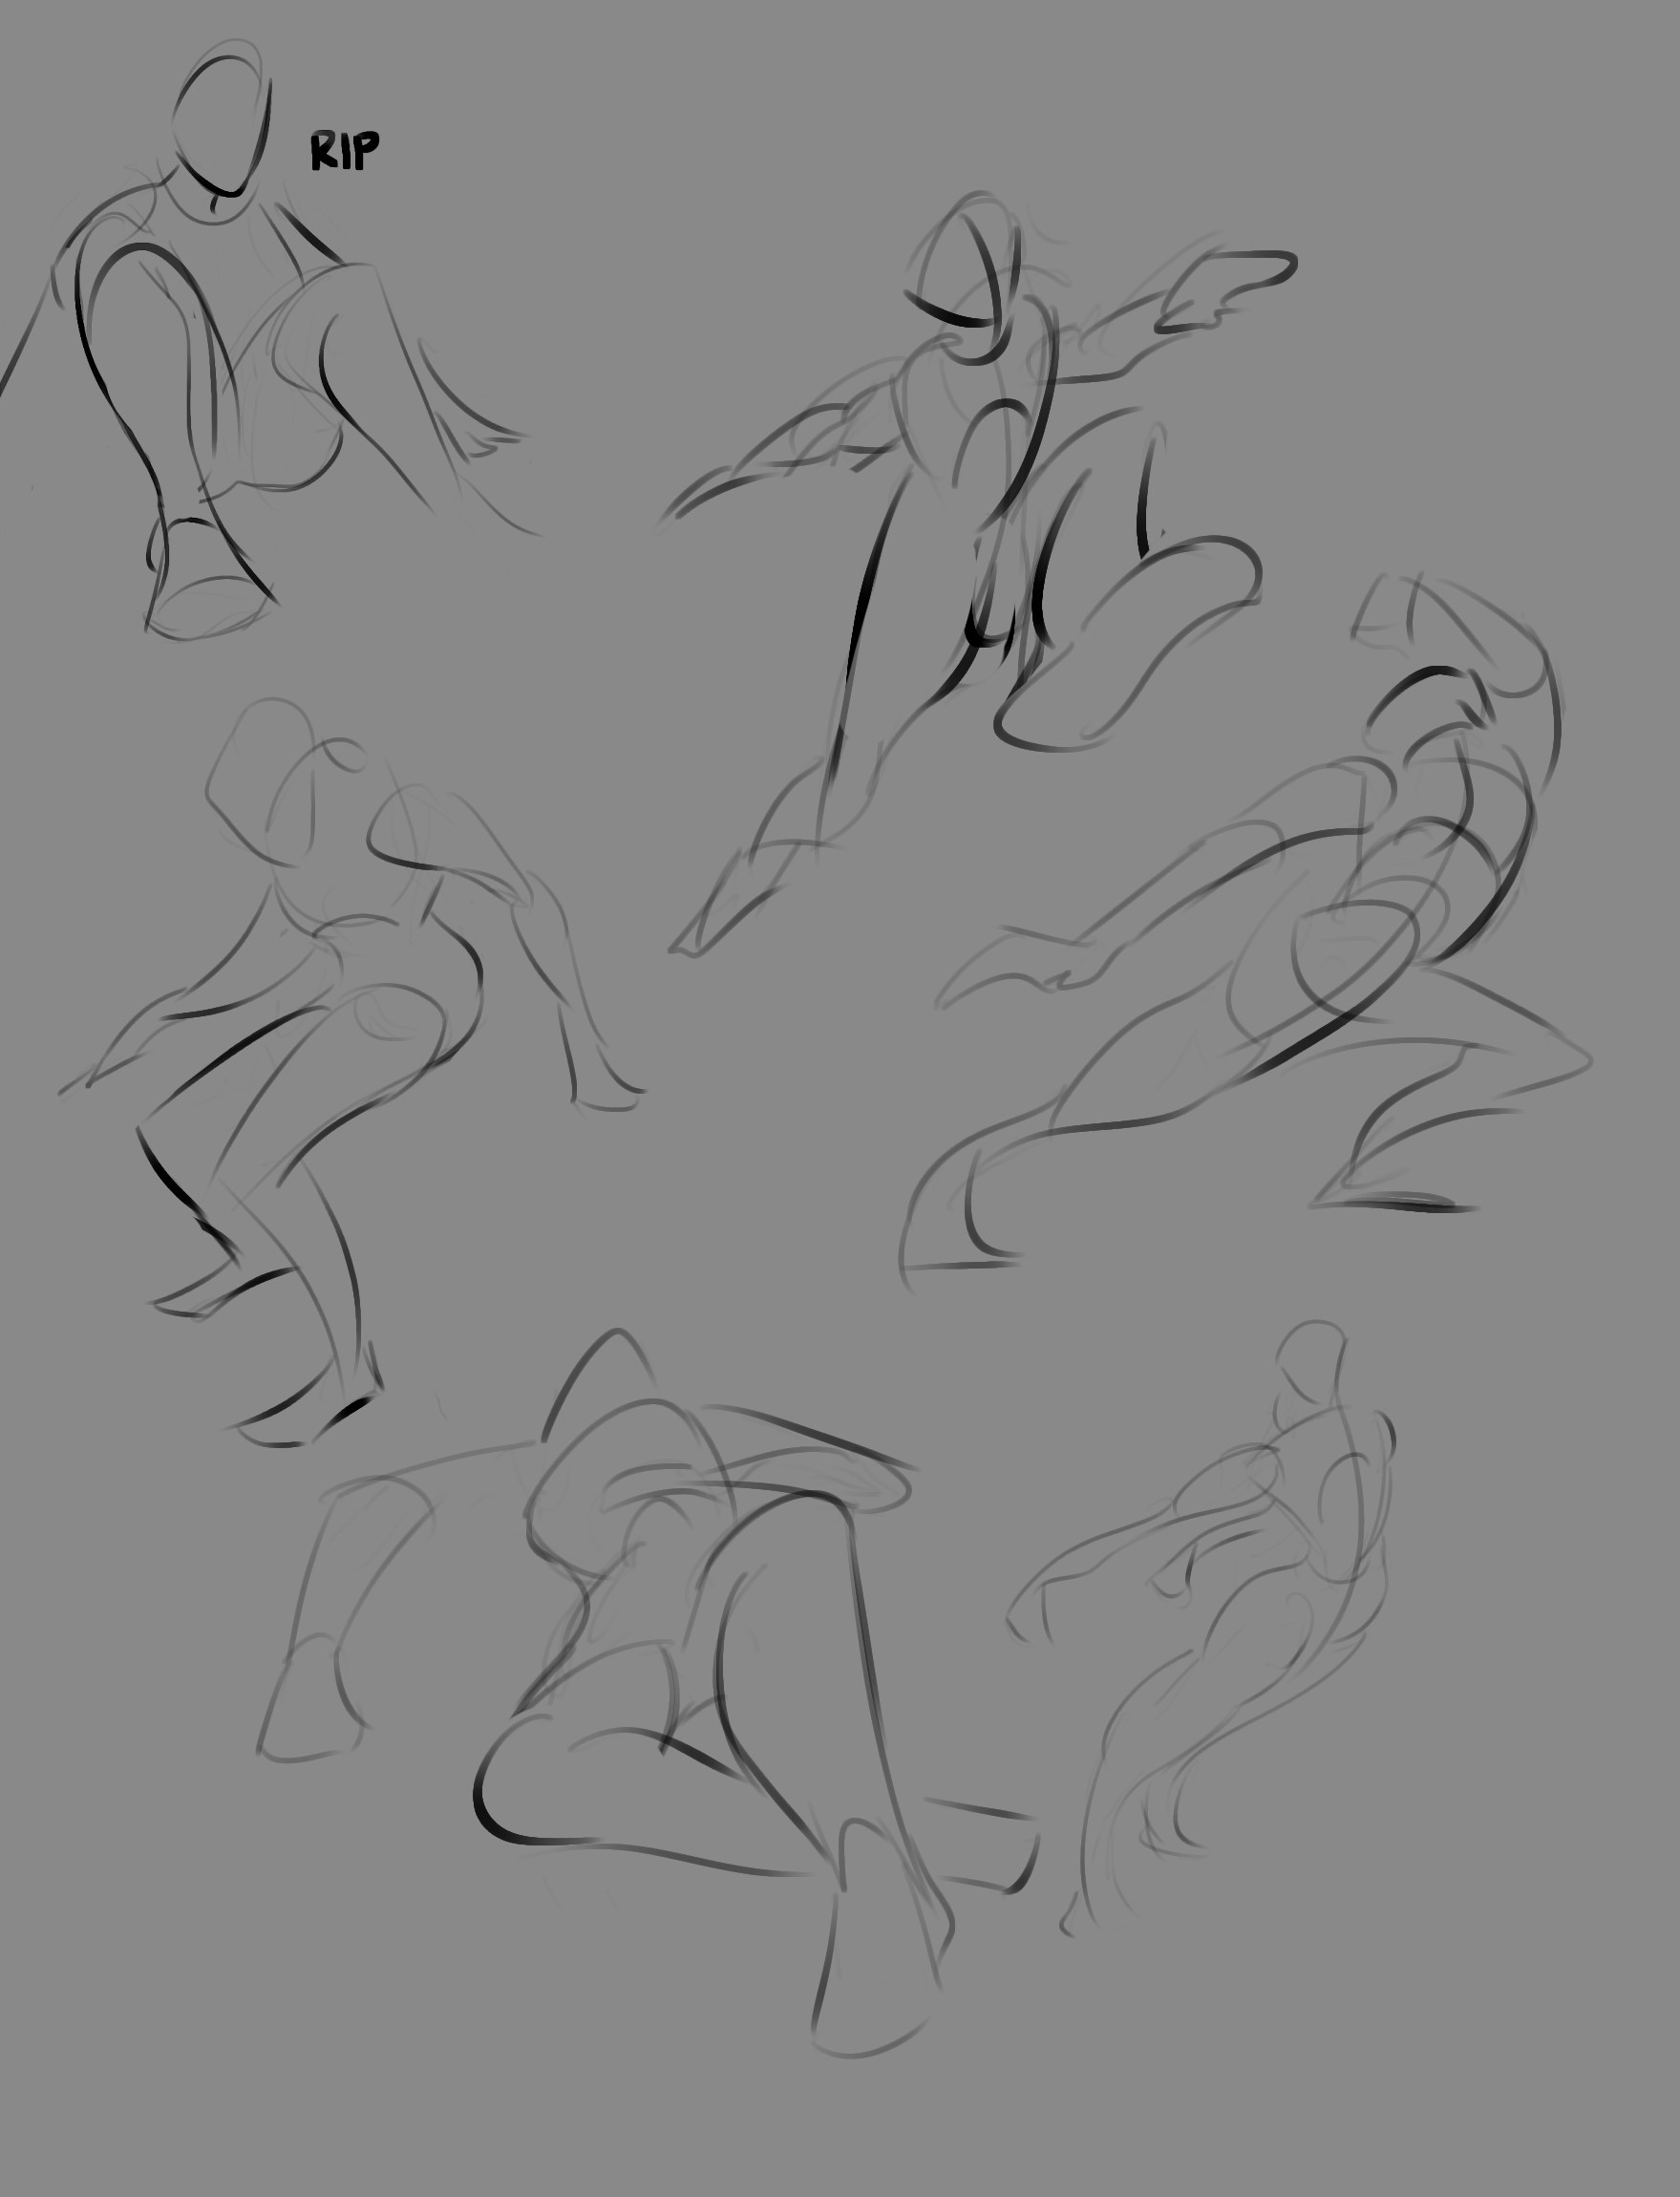
GESTURE and CONSTRUCTION PRACTICE
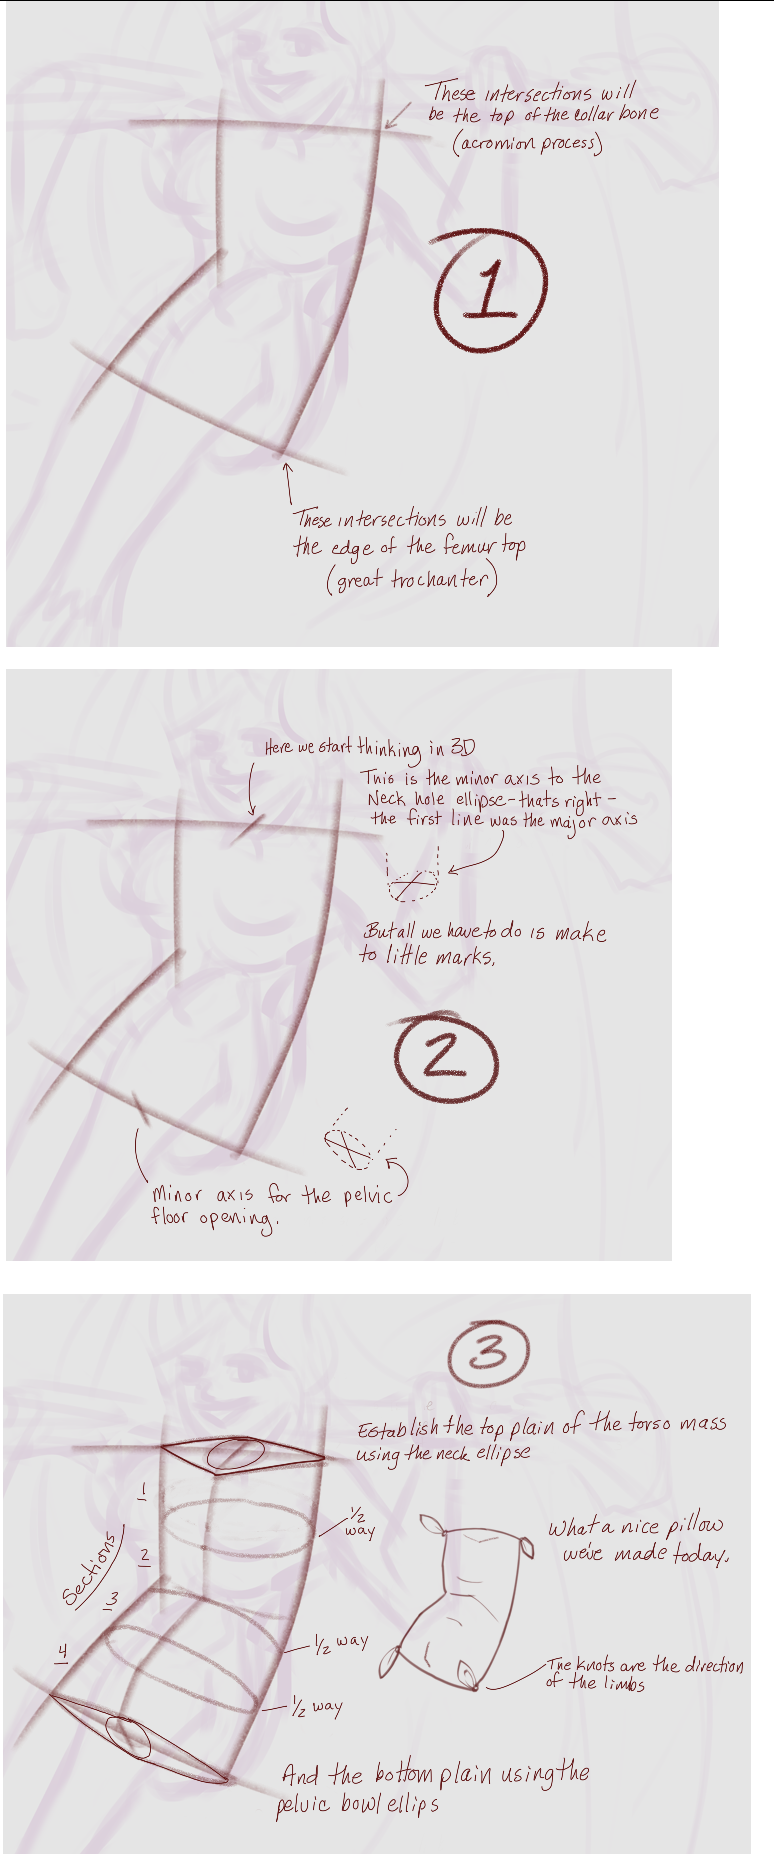
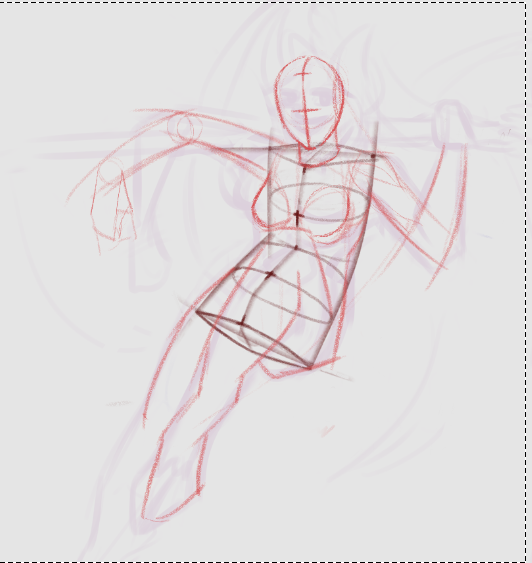
I would start with the Torso mass - which consists of three things always. Head, ribcage and pelvic bowl.
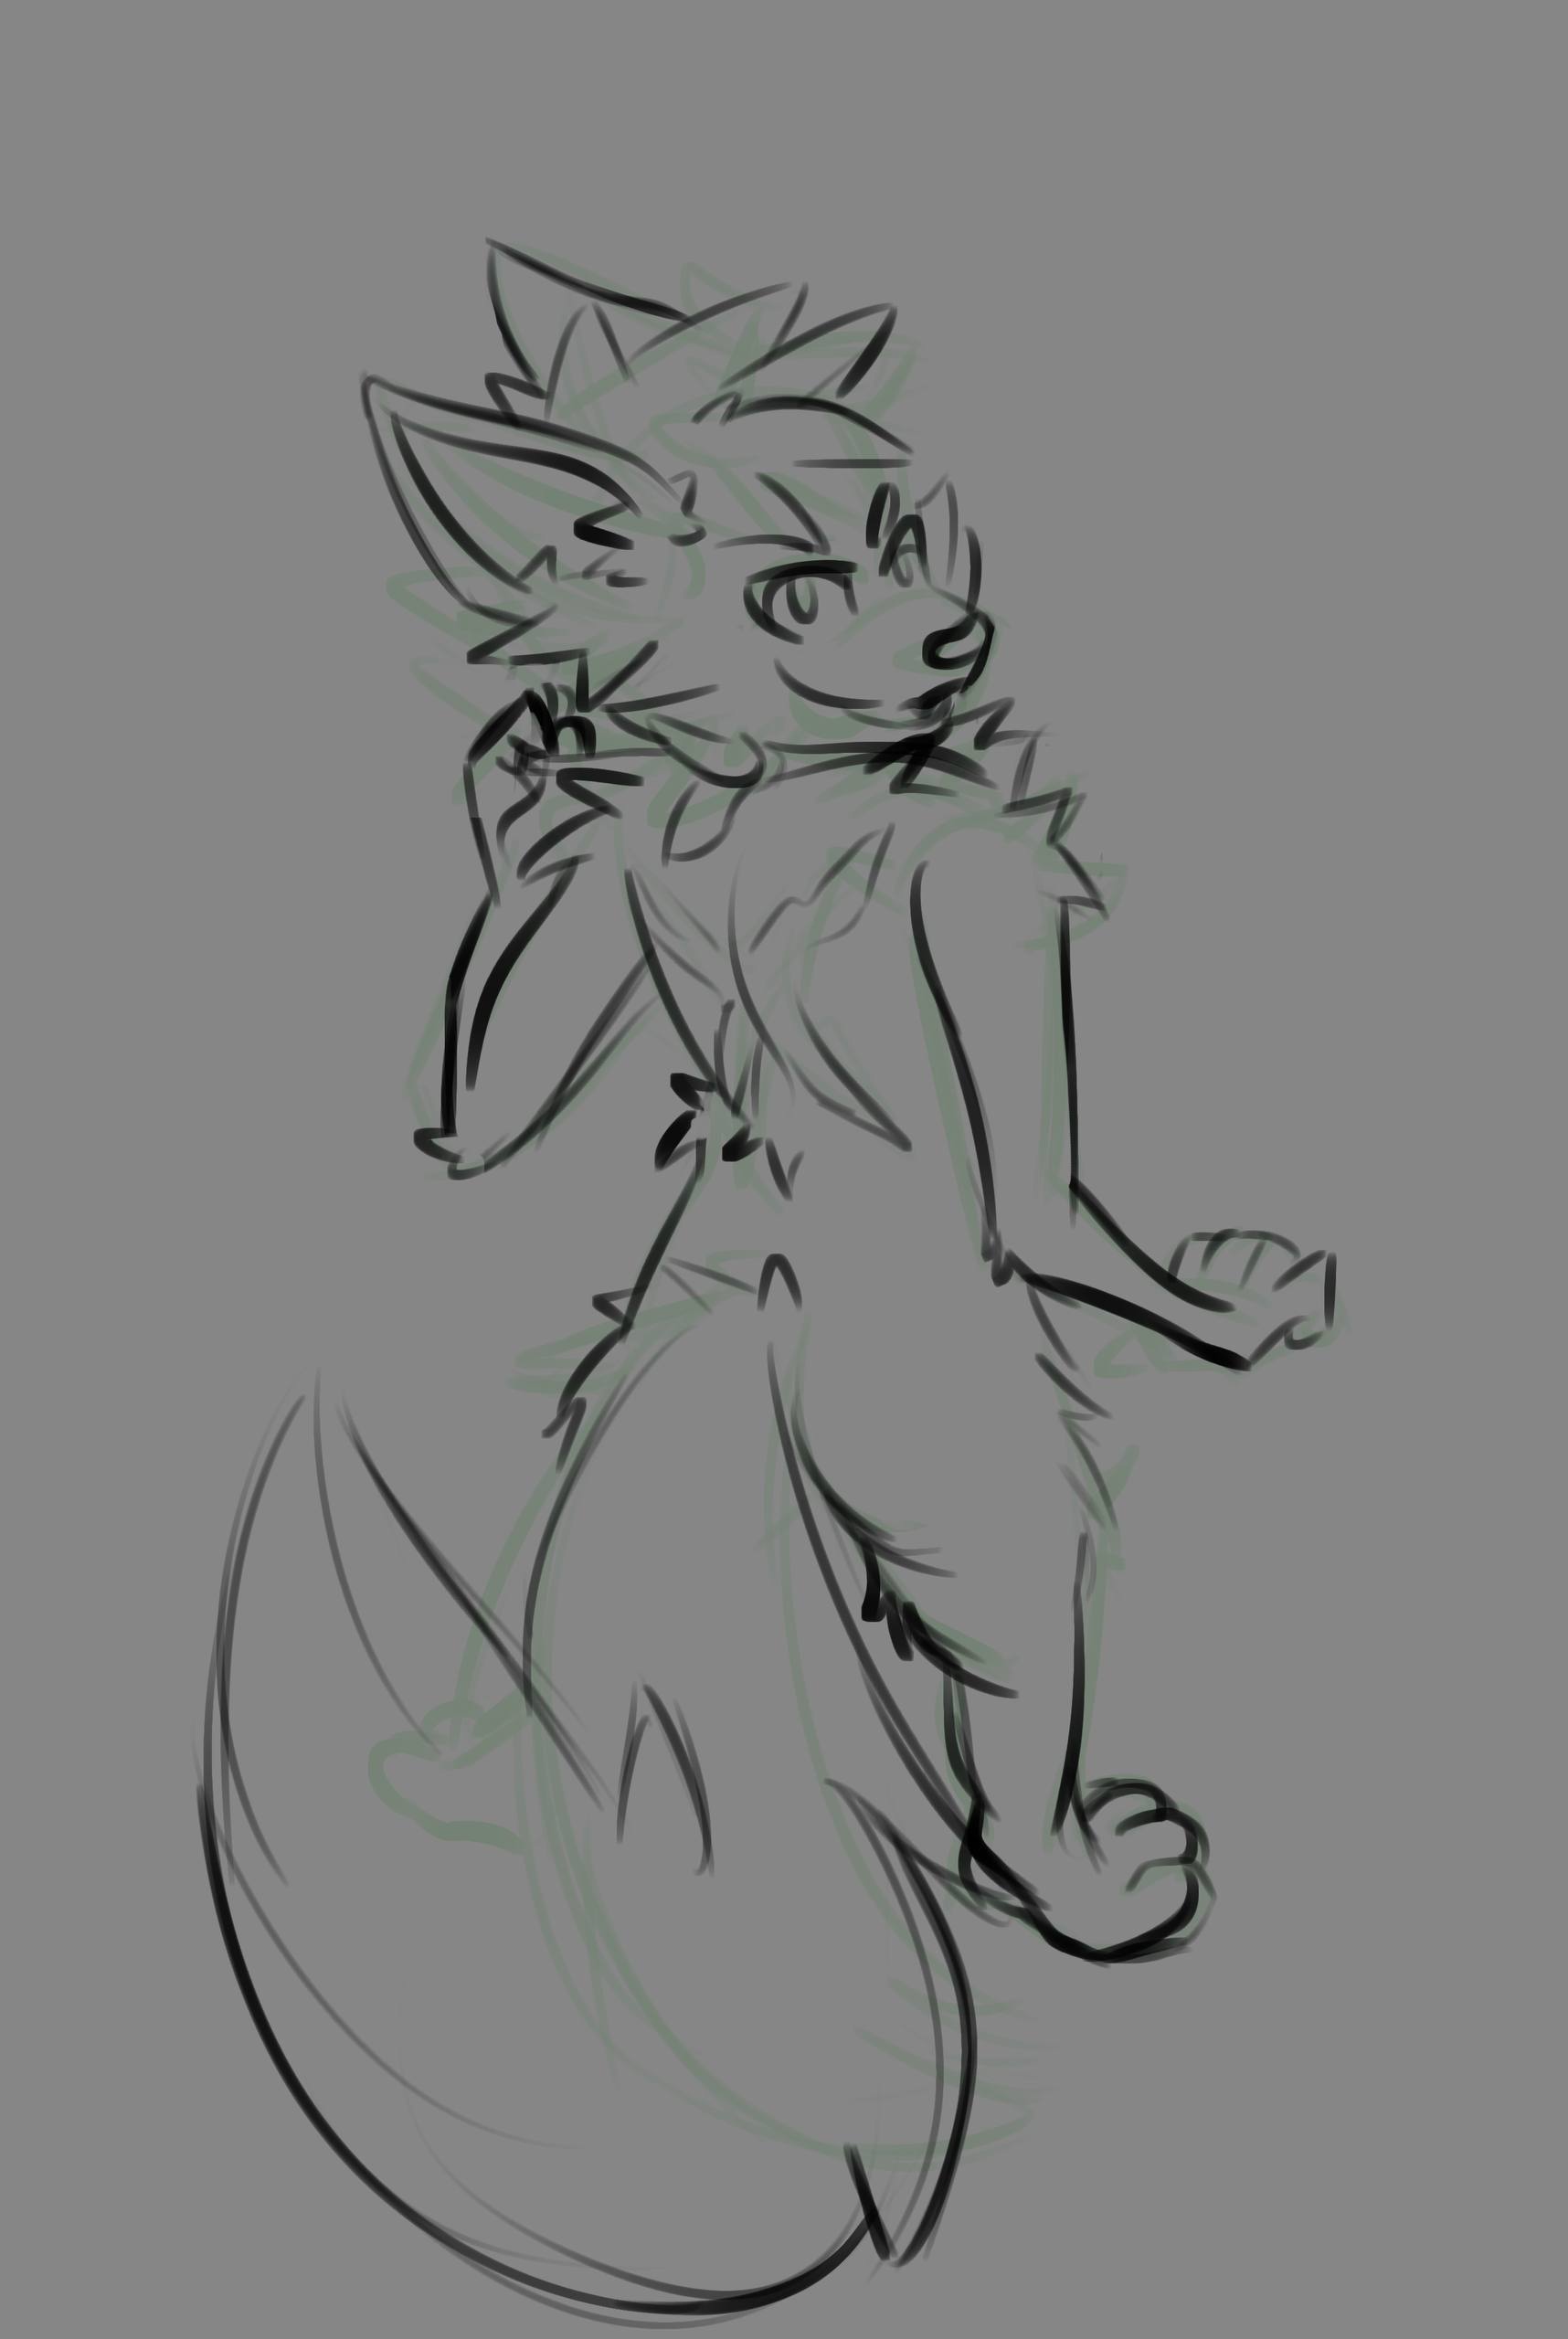
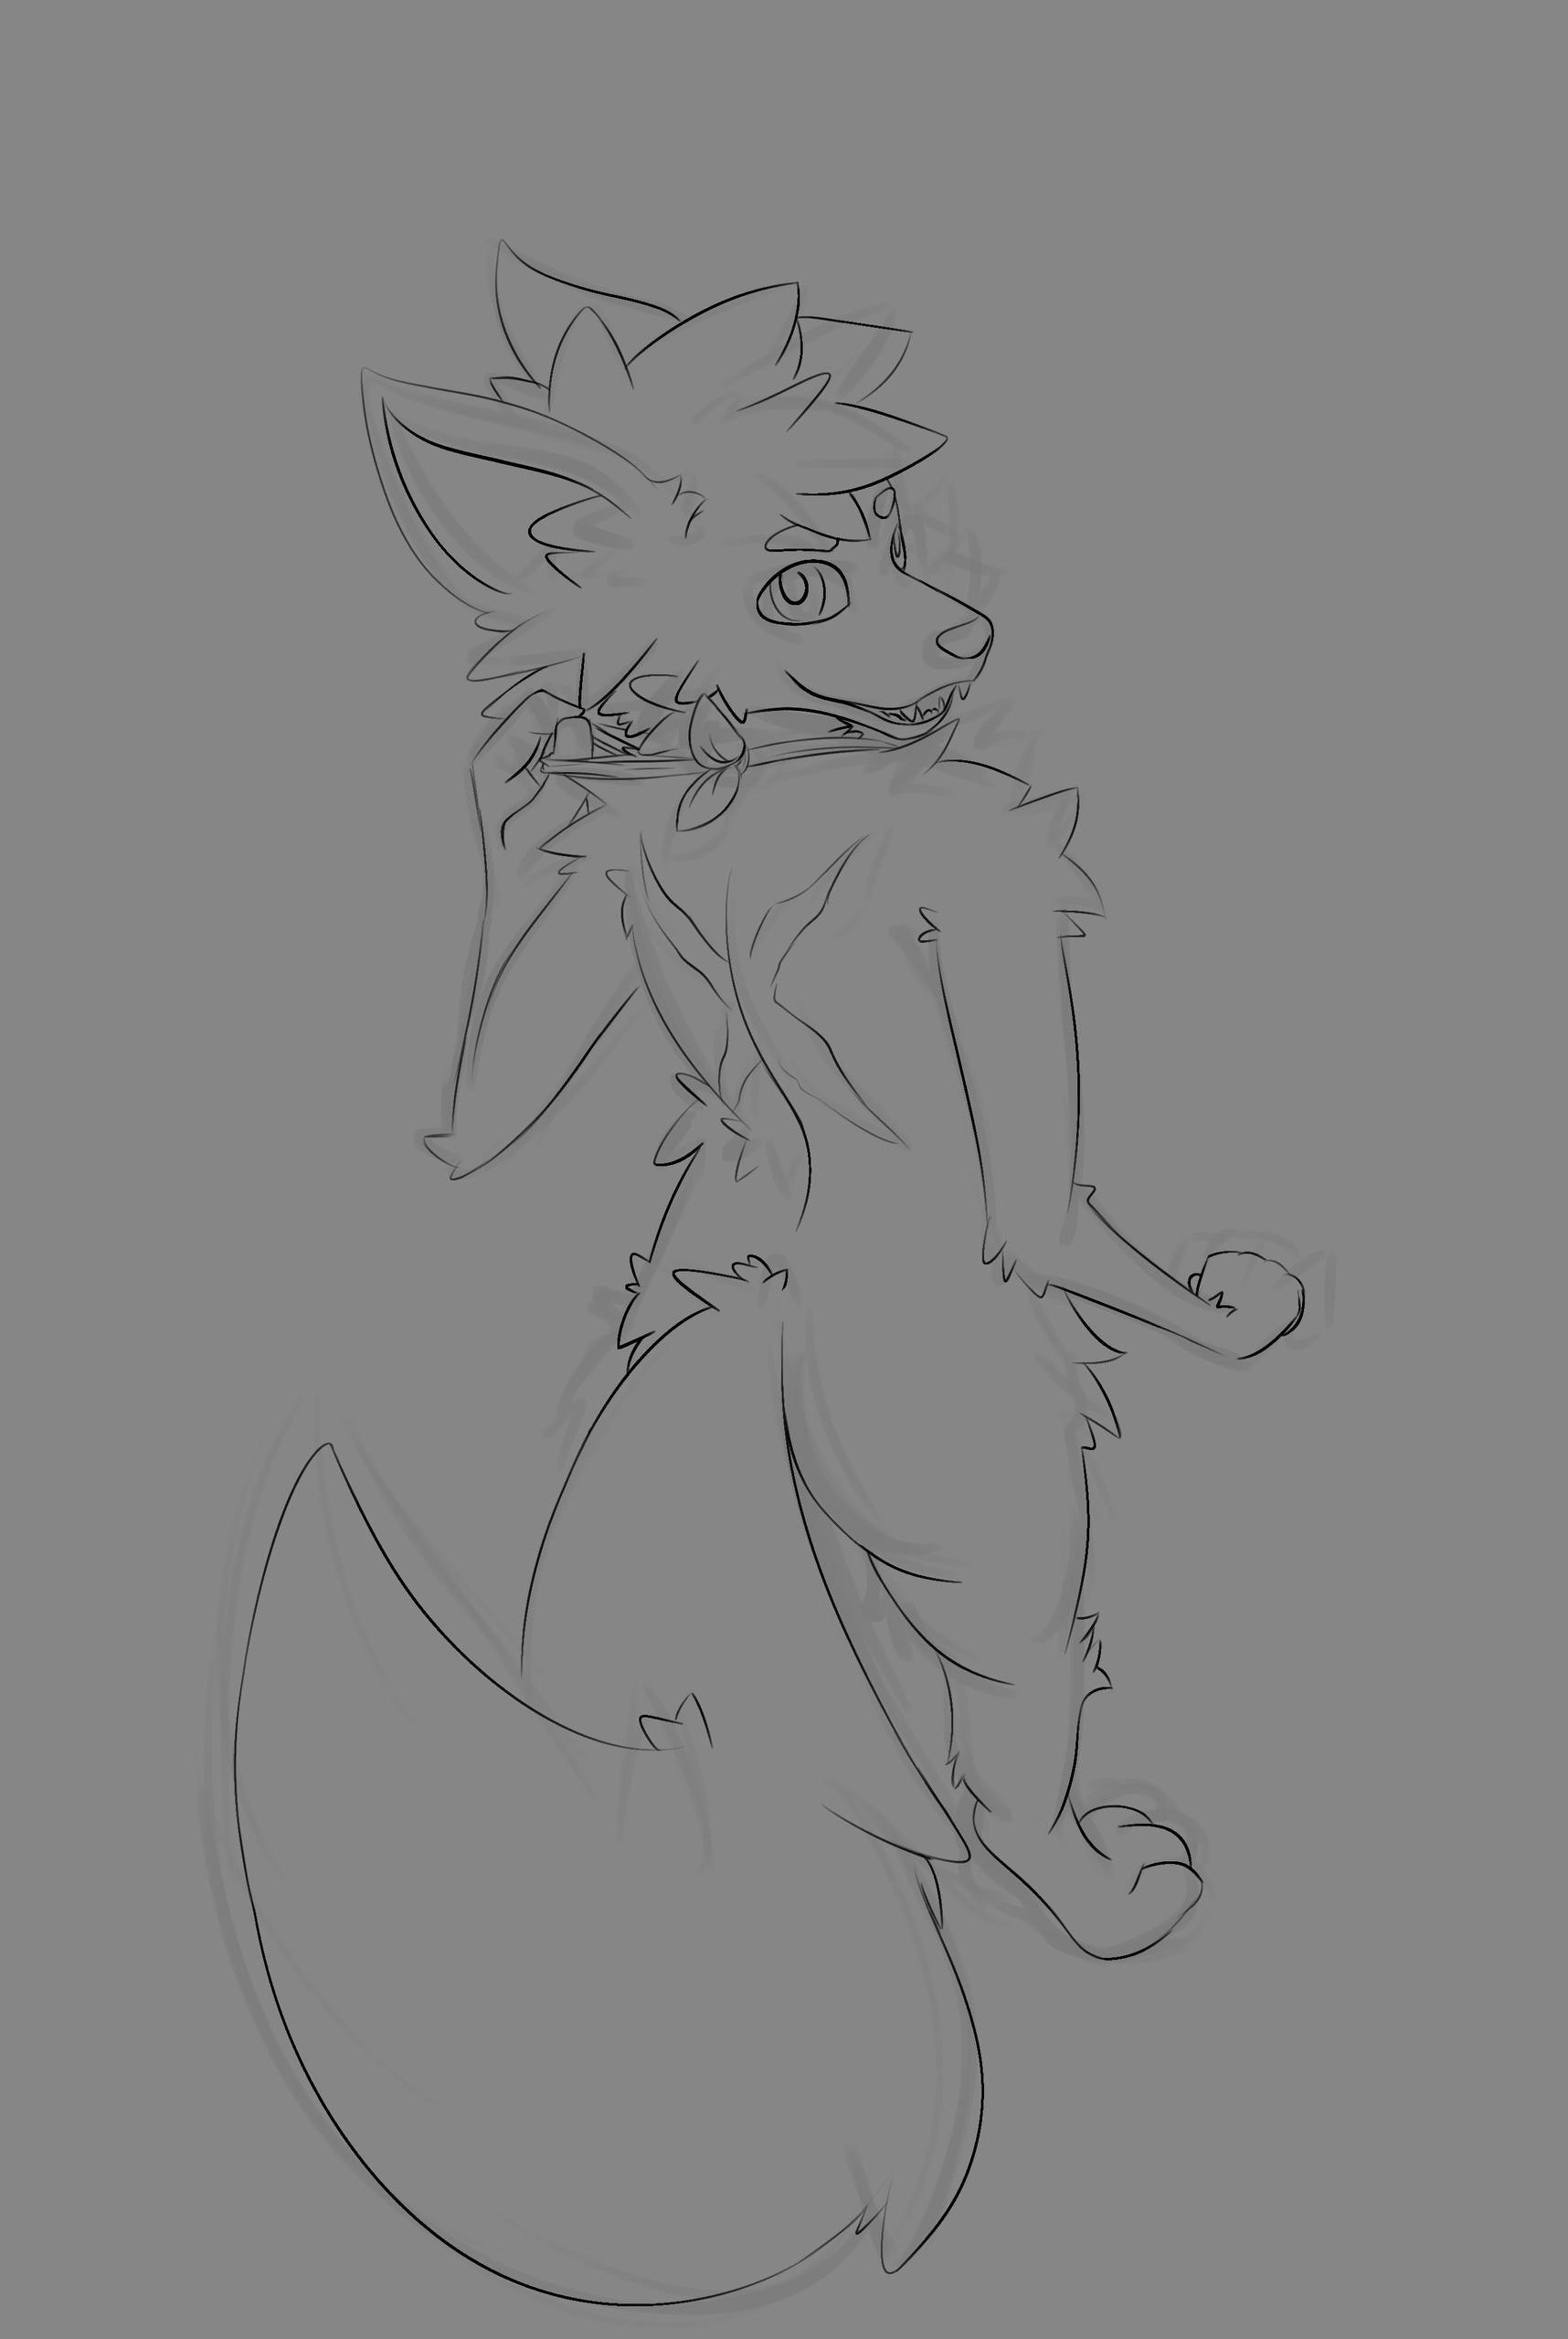
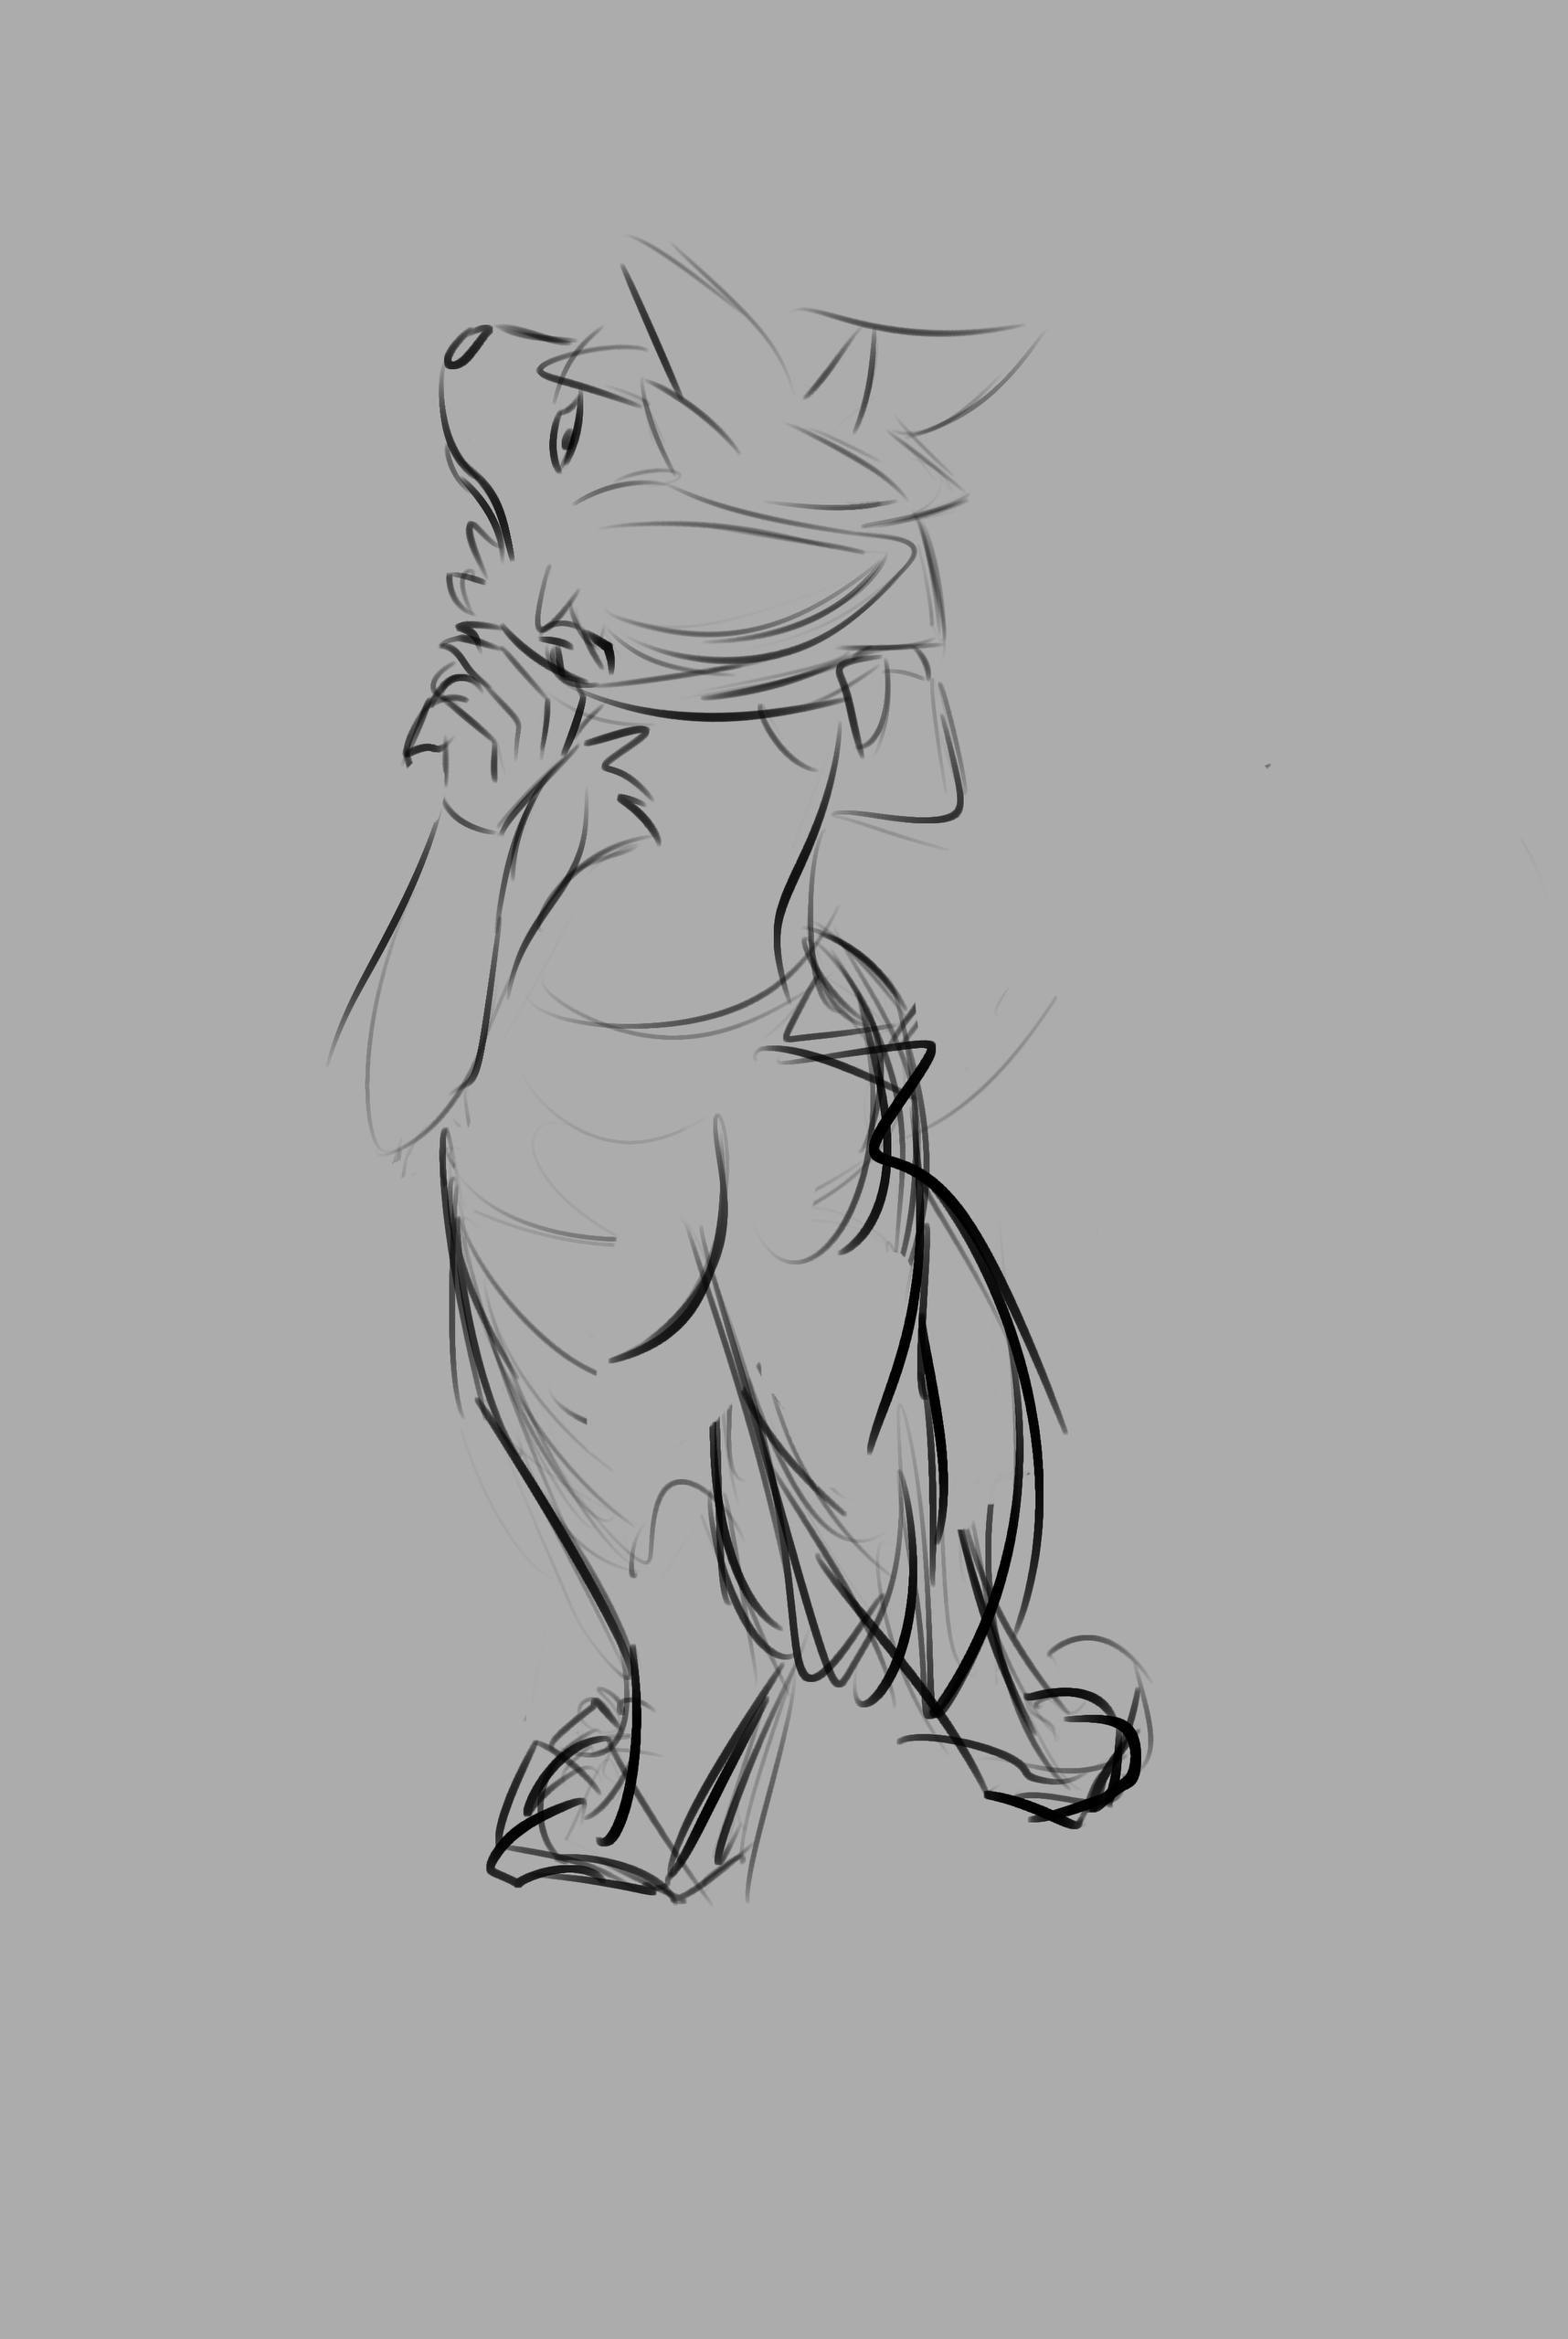
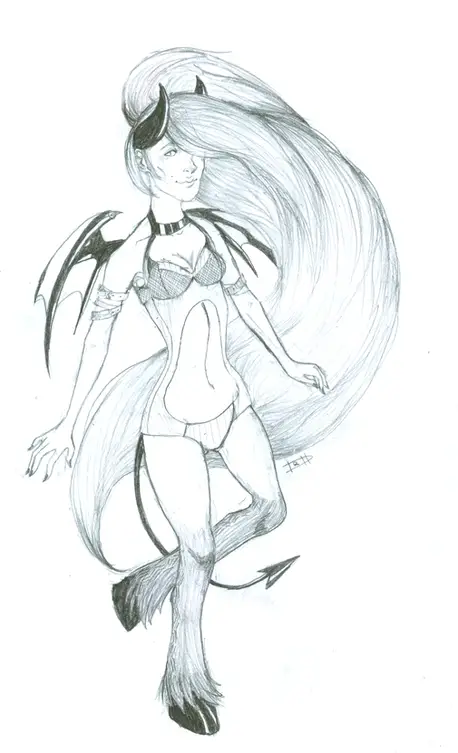
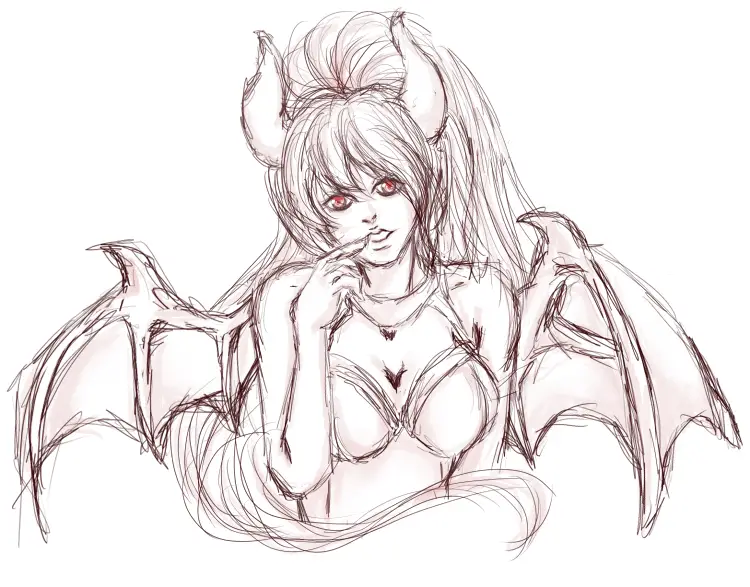
One of the first errors that I'm seeing in your gestures - is your torso mass is not having the top and bottom established clearly. Specifically the pelvic bowl. Your lines are either implied but they are not present.
Always remember top, bottom, side, side, center line.
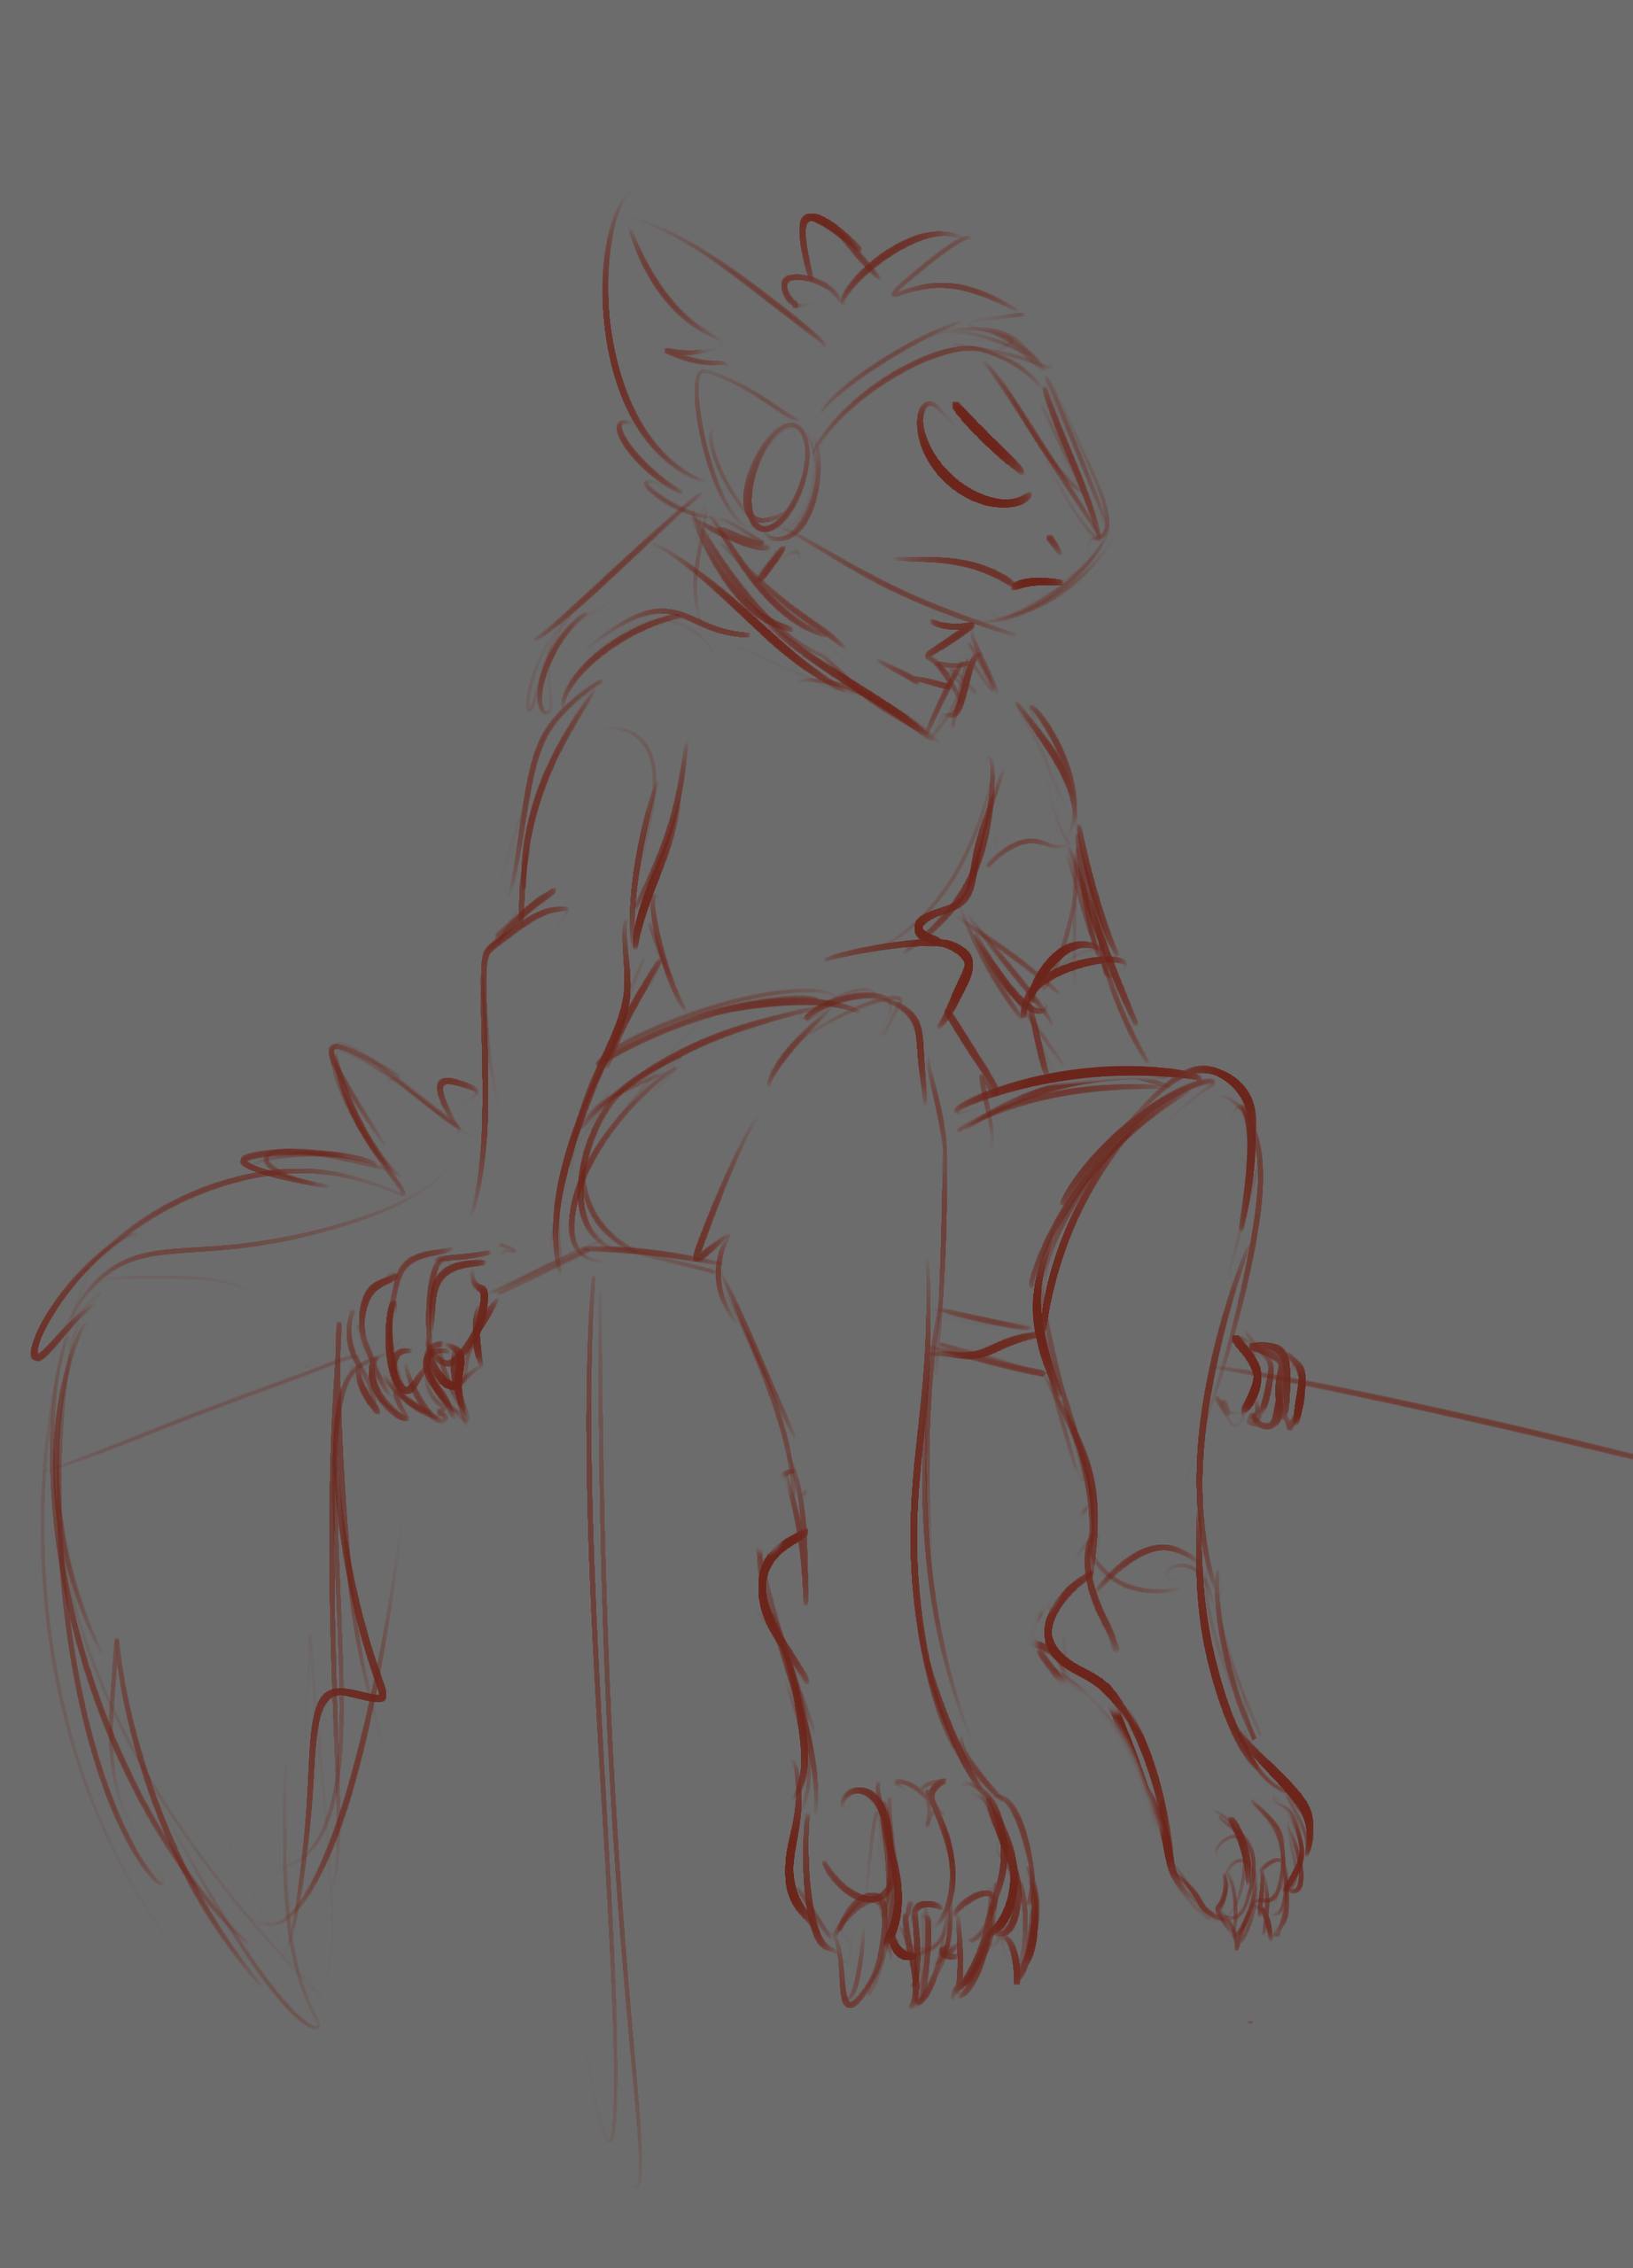
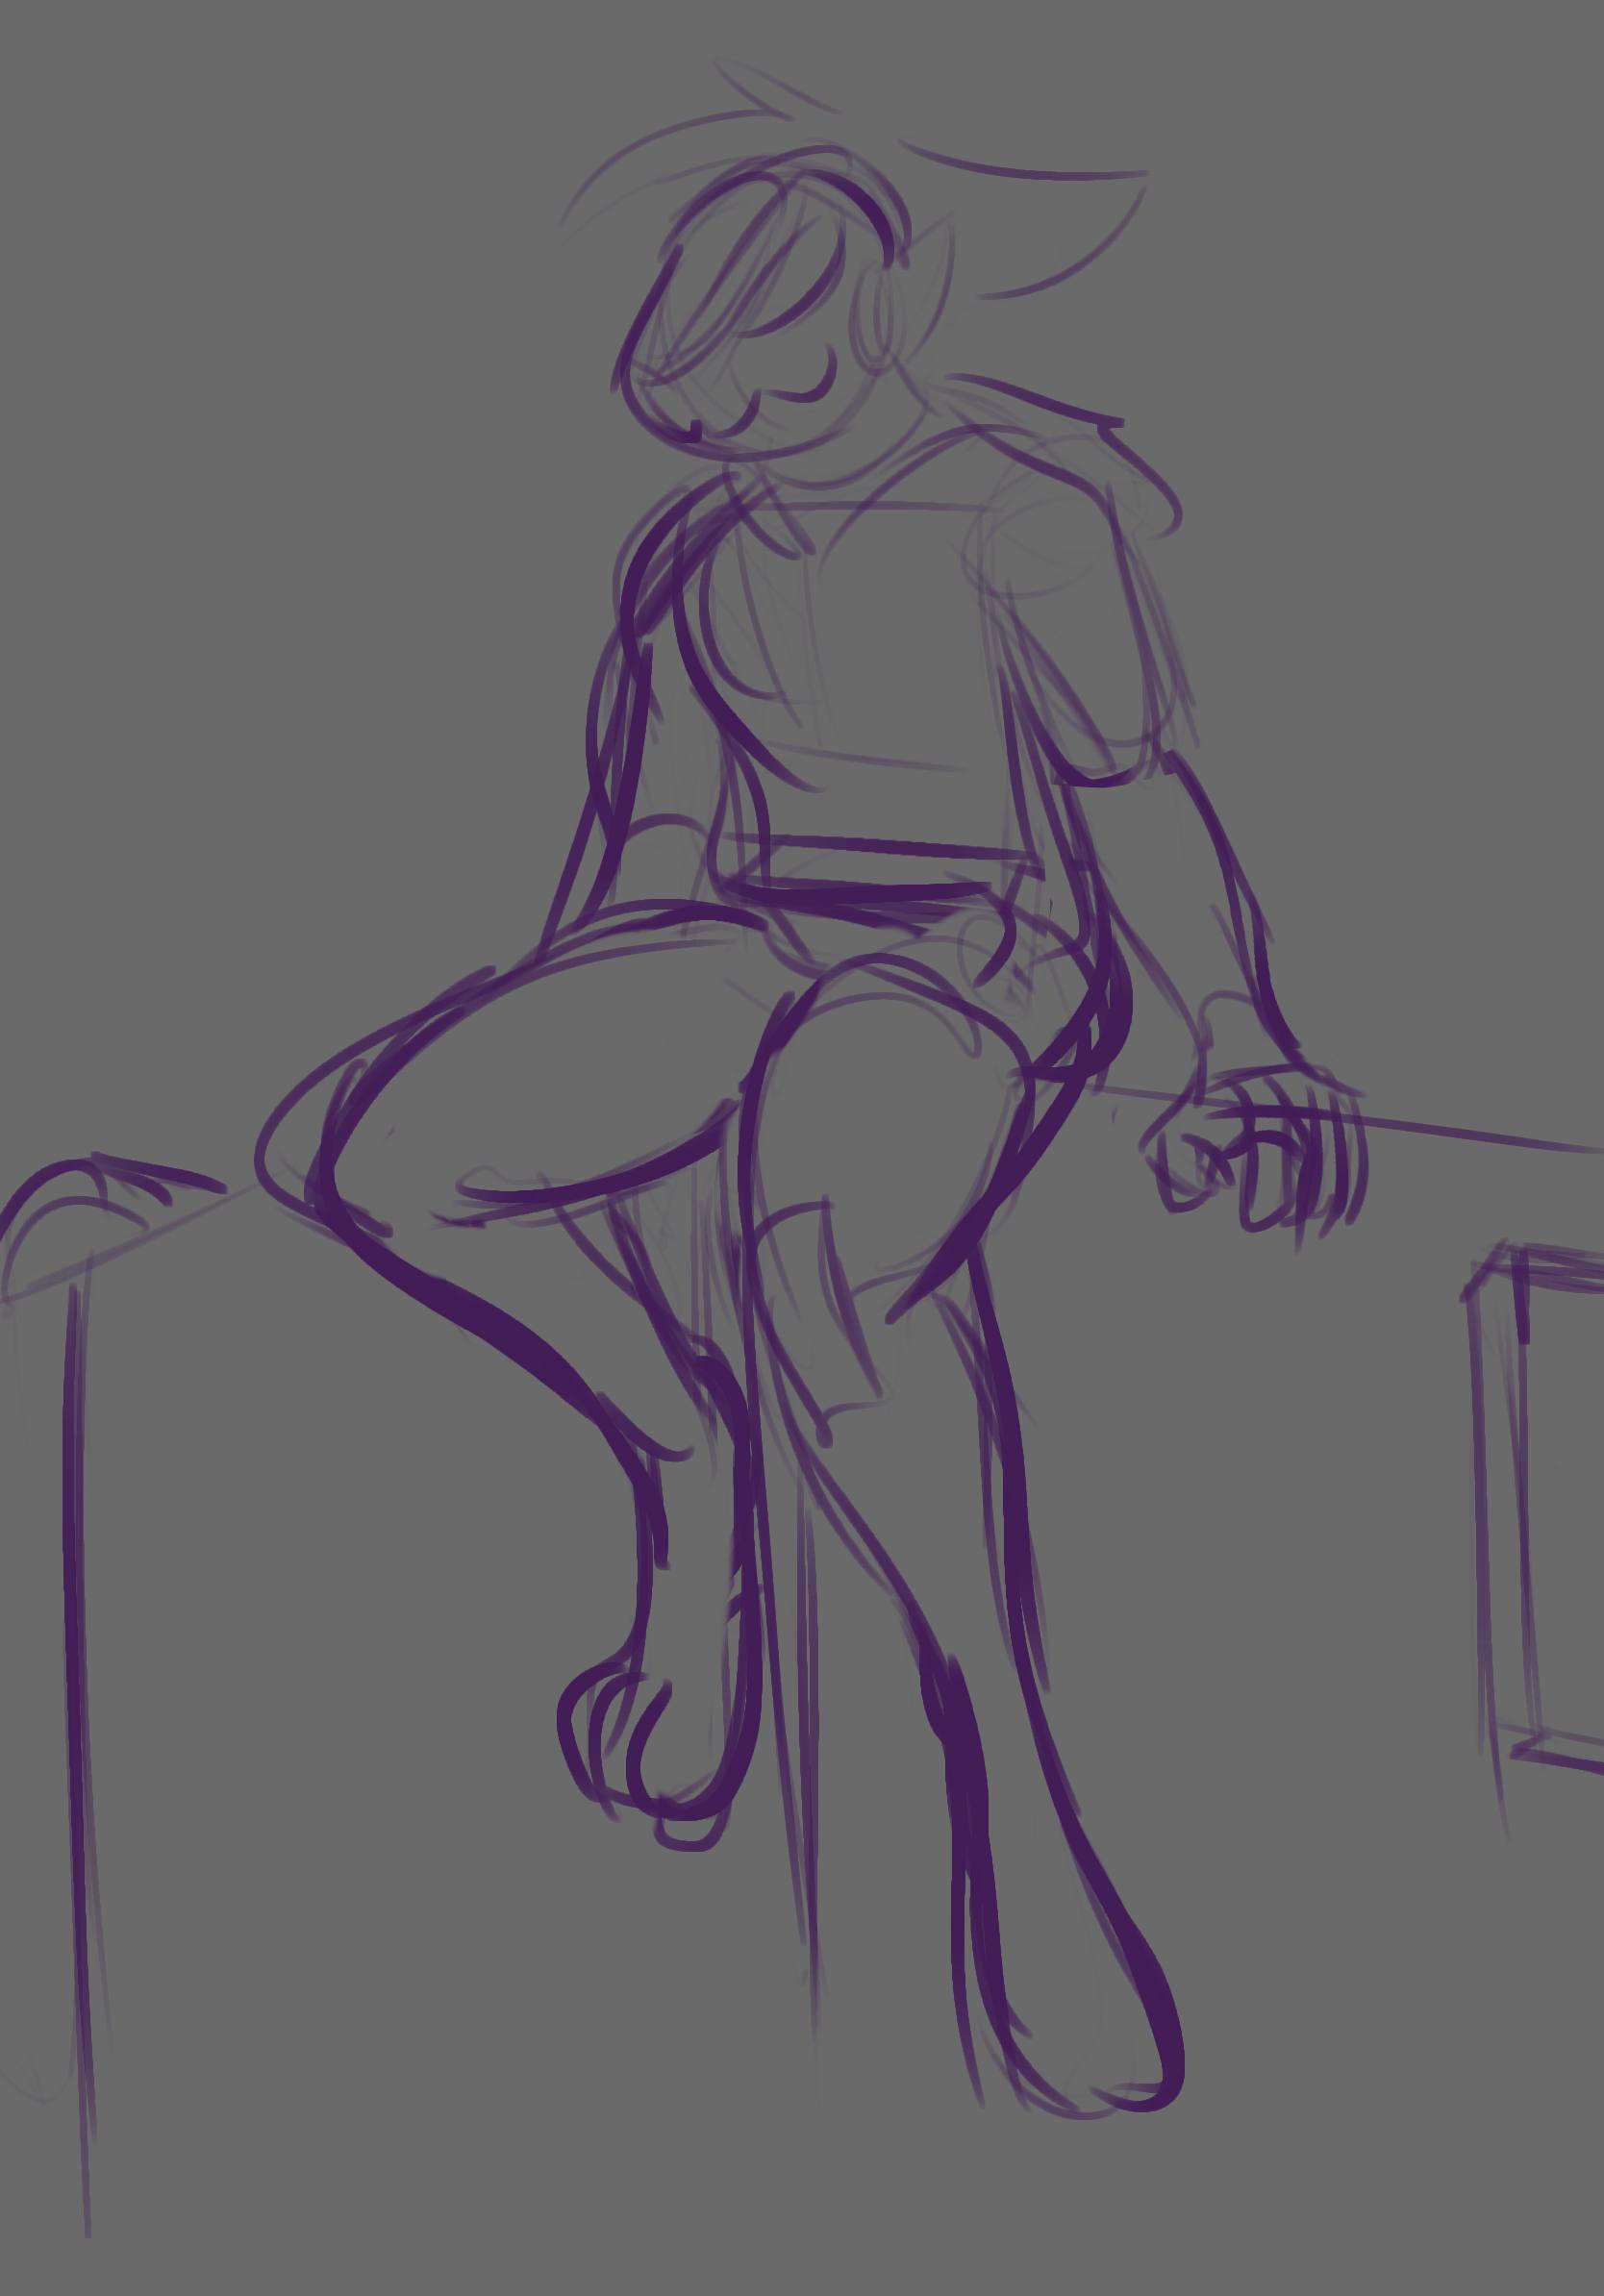
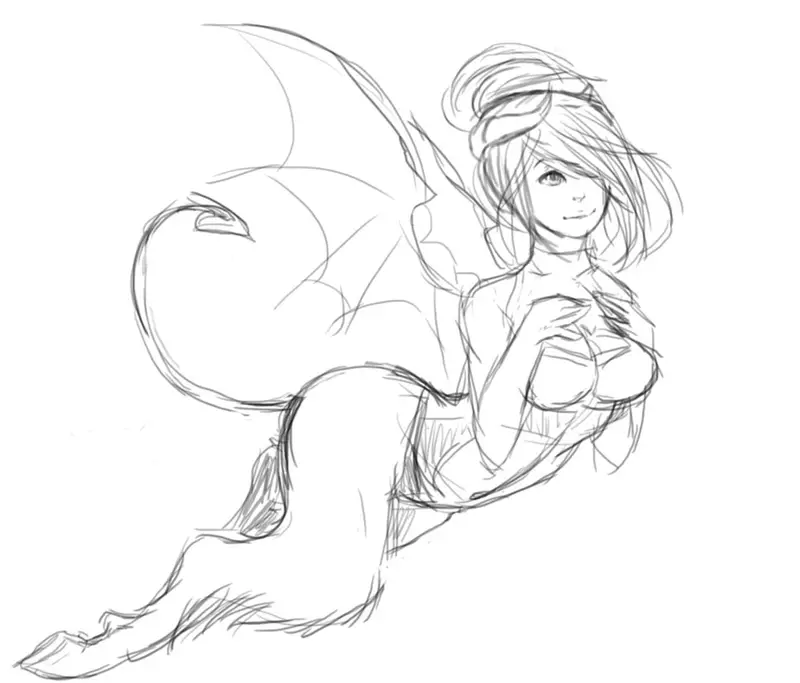
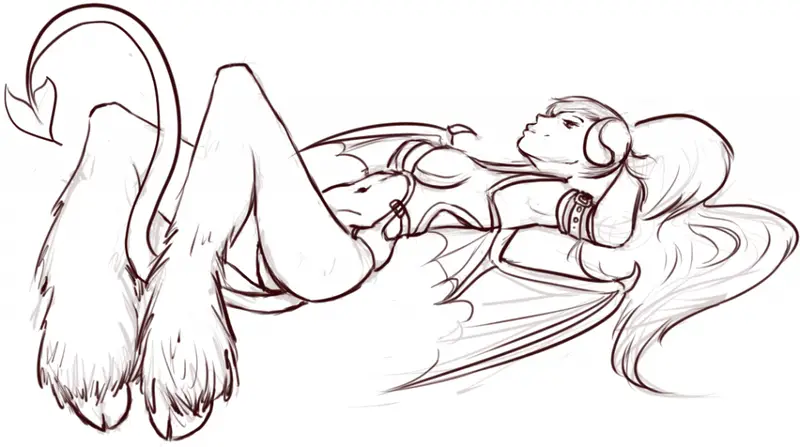
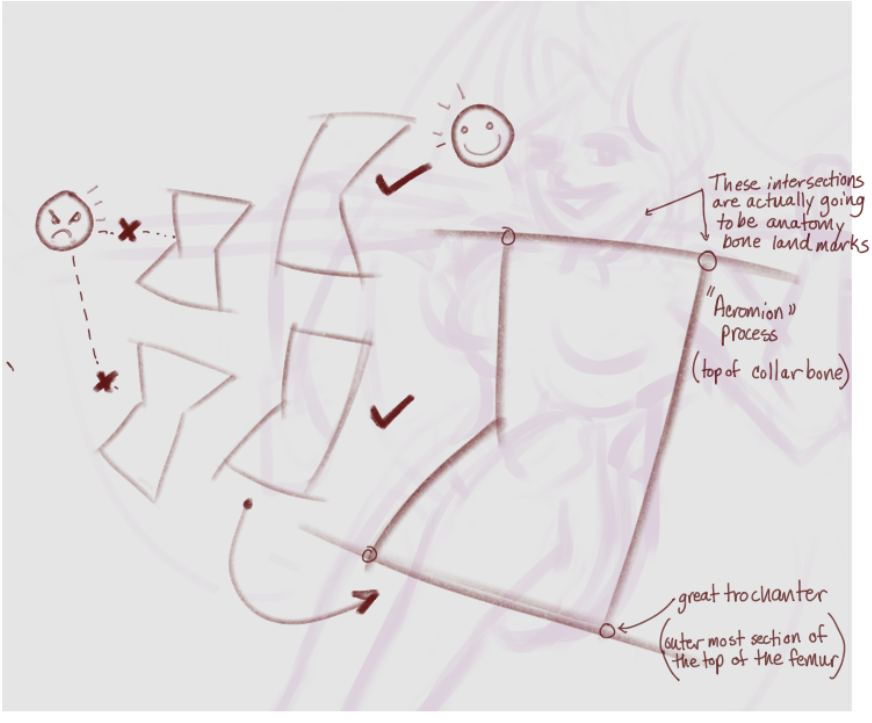
In the above drawing early stages - Even though you are drawing from an imagination - and have to invent the things that don't exist - we still need to practice some control. Every single part with the human body needs to feel connected and rhythmic in its gesture AND construction. But also has to have bones, and feel solid with that underlying bone structure - and we do that with having straight lines and connected construction drawings at the correct landmarks. It will honestly feel opposite of all of the gesture drawing that you are doing.
Start with the longest side (convex side) first for torso, and every single limb. Then follow up with the short side (concave side) Never have the two sides point towards each other unless you want the figure to remain static.
The reason that we make gestures so outlandish and push them is because when we start adding structures they start to stiffen up immediately. So to avoid that you overcompensate with the gestures.
During this phase you establish your proportions for male or female as well as bulk or slim.
This all takes less time than fixing a bad drawing from the jump.
That is probably enough food for thought for now - if you have any questions please ask I was trying to throw a lot of information up there pretty quickly and I may have left some things out.