Hello everyone! My name is Gordon from Sydney, Australia. I primarily worked in programming and technology but maintain an art hobby since the end of high school. Art-wise, I have drawn for 5 years and only have done cartoon artworks, in particular Total Drama.

My main art interest is character pose, highlighted by my continuous attempt to convert real world pose to cartoon version. Despite my interest, I often questioned myself on whether to take it seriously that I may consider it a career or maintained it as a hobby which is my current plan now.

However, I want to continue my art journey so that's why I joined Art School in order to build up my fundamental skill which may be flawed via self-learning and have a future realistic outlook ahead. As a structured person, I feel like I need a direction before I can make my own self-journey to do what I want in the future.

Quite a long intro but I hope it describe me and my intention. I'm looking forward to interacting with you all!

There are 201 replies with an estimated read time of 86 minutes.

Welcome! Can't wait to see your studies ^-^

How will I structure my progress?

When I did animation electives back in my uni, my uni teacher told my class to write an online journal on our processing and understanding. This particularly helps me in my 3D animation so I figure I give it another shot.

So for each lesson I do, I split the lesson into key section where I:

  • Summarises key points gained

  • Explains my view and perspective on this section

  • Displays my work after some practices on it
  • With that in mind, it's time to go with the first lesson - Photoshop Manipulation (I)

    Photoshop Lesson (I)

    I have used Photoshop before but not for digital drawing purpose. No, I rather used Photoshop to add special effects such as shadow via a reference vector image or remove a particular part from an image. Drawing wise, I use both Krita and Sai.

    As a result, my Photoshop skill is decent as I can produce good manipulated images for particular idea, but I believe that I haven't used all of the tools available in Photoshop.

    Key note to make is I'm using an old version of Photoshop which is CS6. So, I may not do some of the section of this lesson due to the limitation.

    Lesson Notes

    The lesson may be quite slow and dreary as I already know most of the tools on Photoshop. However, in the best interest of going slowly, I watched the whole Photoshop lesson video... while doing something else such as programming or moving around.

    After watching and rewatching key parts again, there are some tools that Marc touched on that I was surprised to not know, let alone try it...

  • You can manipulate your image colour via Hue/Saturation, Levels or Curves.

  • Healing Brush is great to remove minor detail such as scratches.

  • Clone Stamp Tool is great to add part of other images into the primary image, which is then blended in carefully via the healing brush.
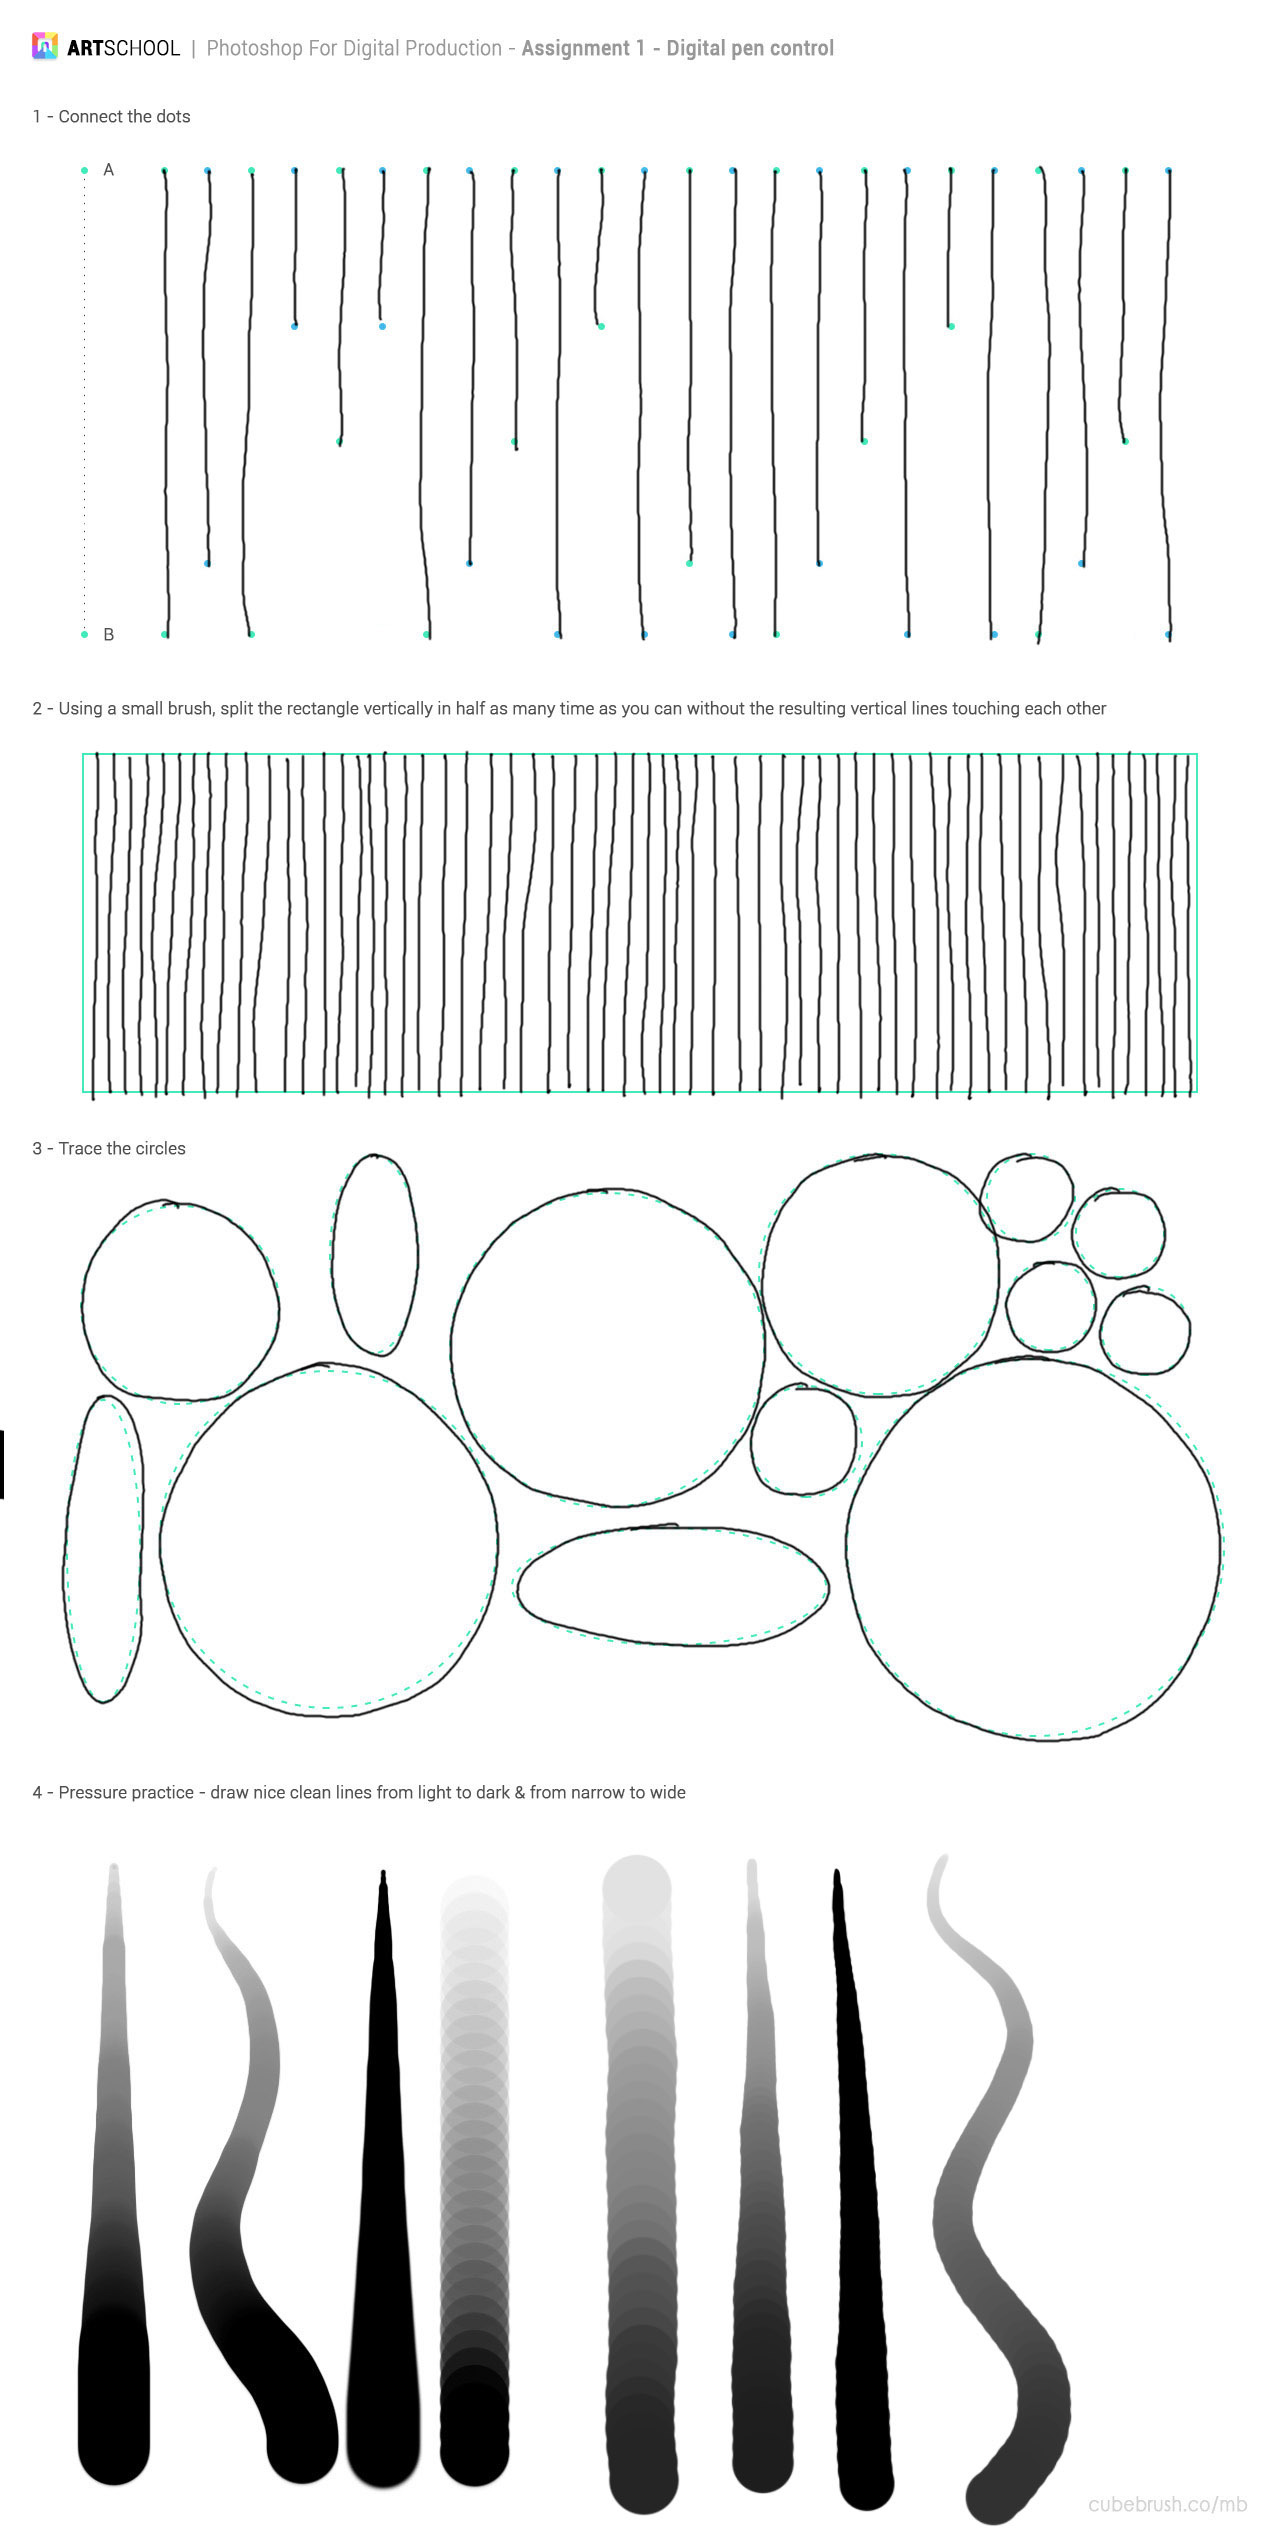
  • Part 1 - Pen Control

    I'm relatively new to my XP Artist Pro 15.6 tablet (only been 2 months so far) as this is my first visual graphic tablet. Before, I have used my Wacom Medium Tablet for the past 5 years.

    As a result, this is relatively no trouble when doing pen control. For me, there's no particular technique to make this easier; just practice using the pen/pencil more and more.
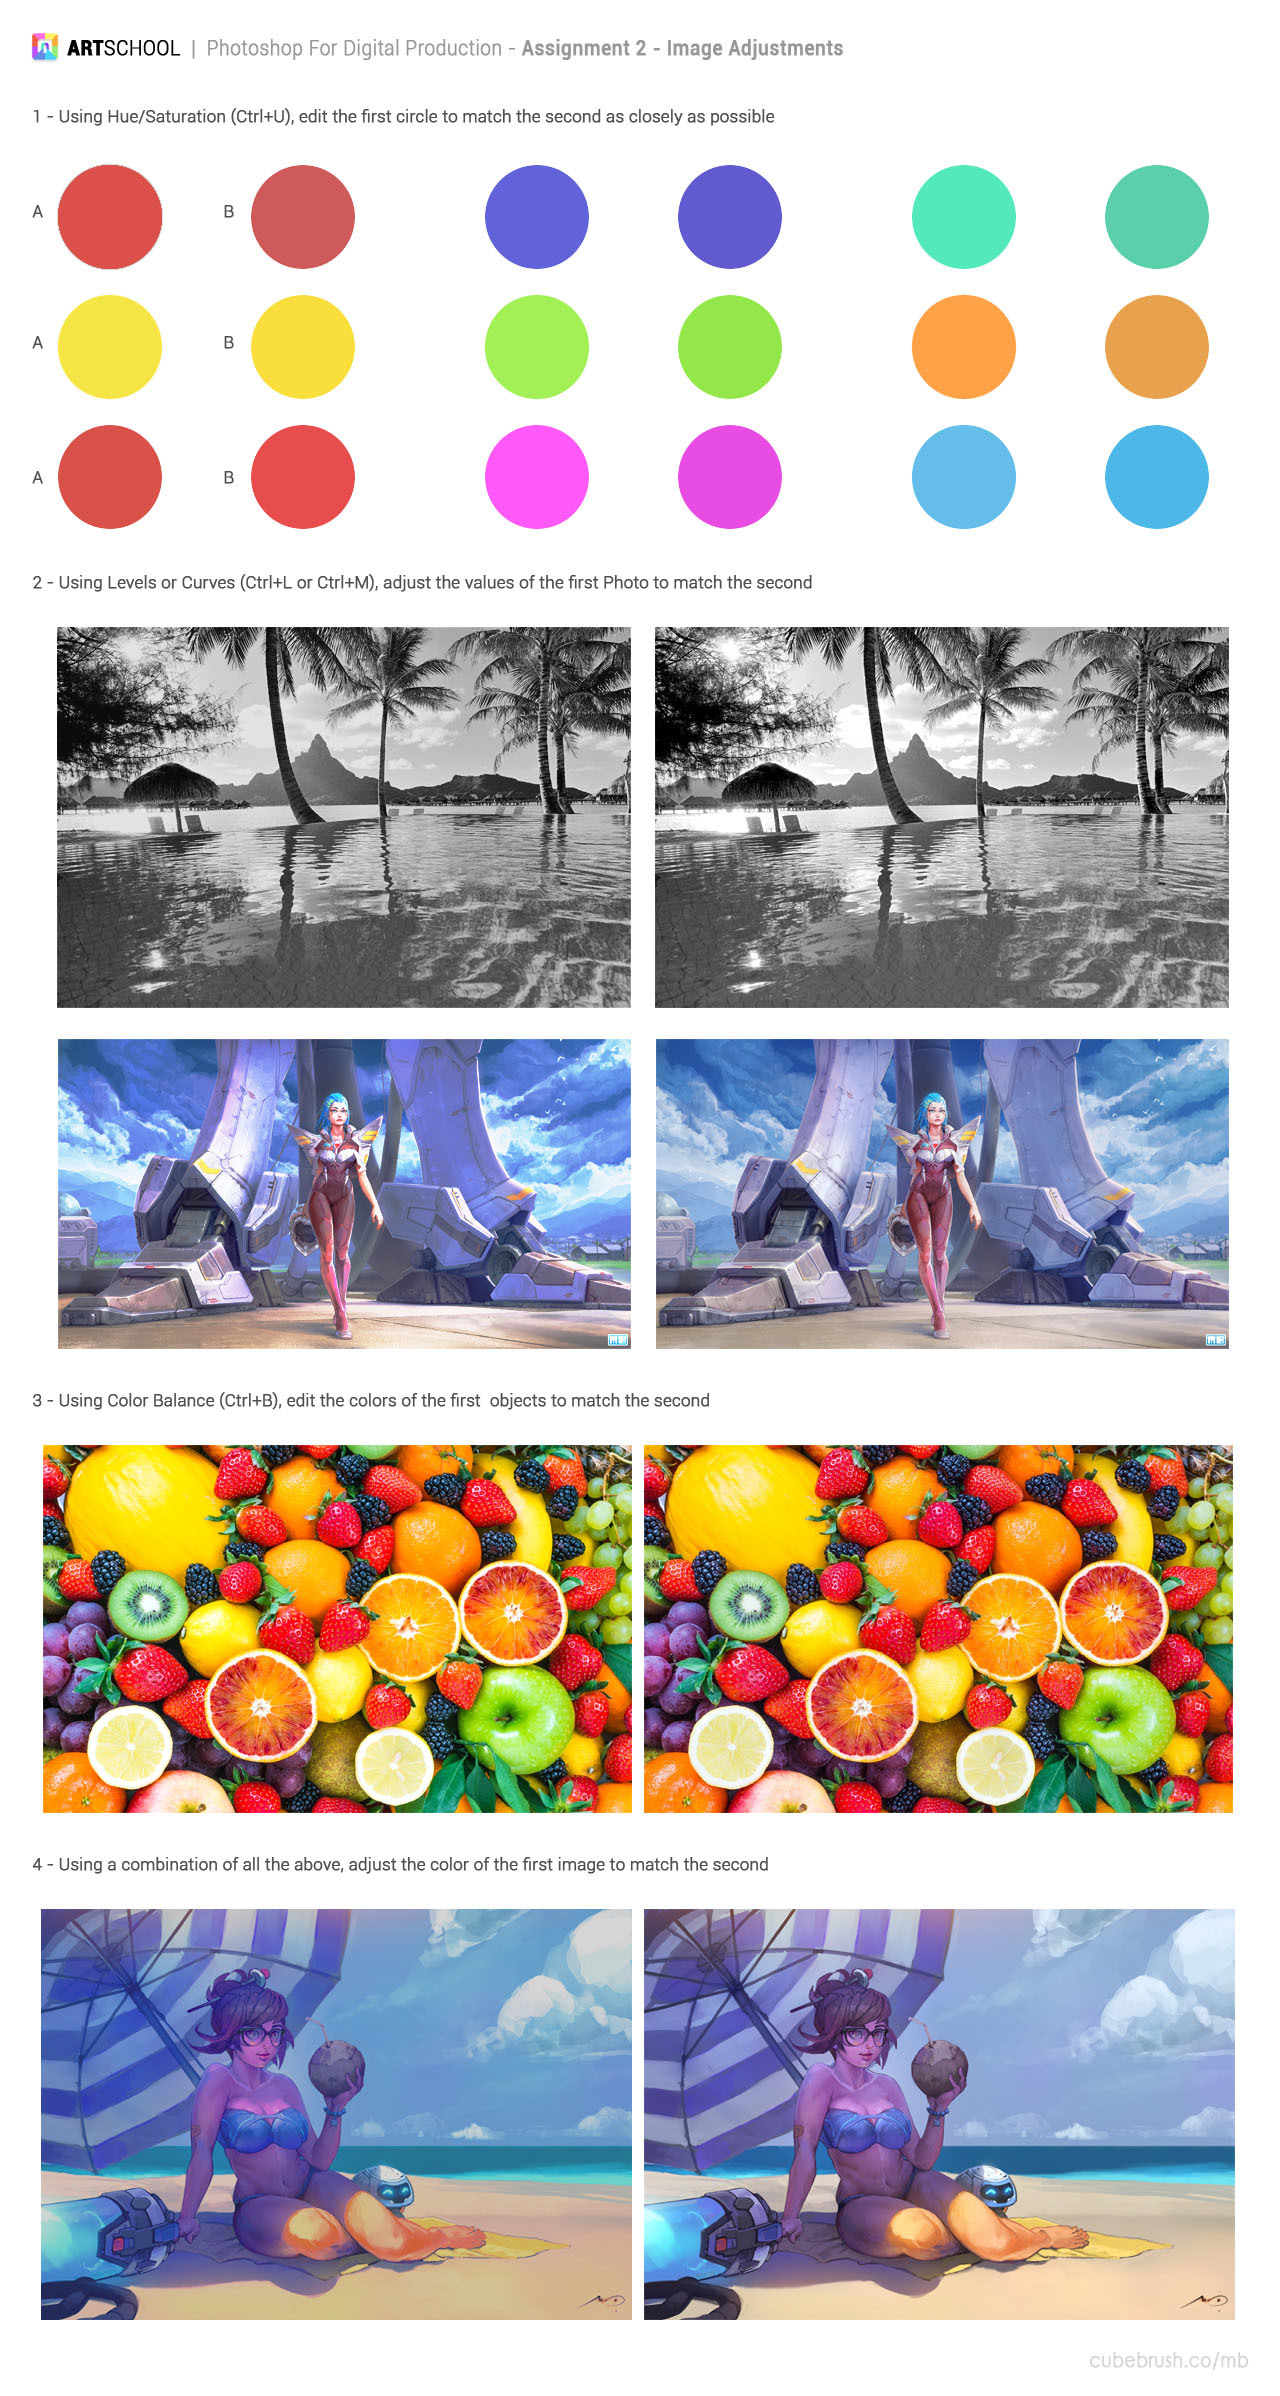
    Part 2 - Image Adjustment

    An interesting challenge as it's more touch and feel if it is right or not.

    In the first part, I note that it's easier to brighten the colour via the hue/saturation and then try to get the hue right. Then, you can slightly adjust the saturation and lightness to then get the target colour. As a result, my accuracy was pretty high and quicker as I continued onto the exercises.

    The last exercise proved to be a big challenge as there are multiple ways of getting the colour nearly right. I think my downfall was that I look and compare just one item (e.g. the sand). In a hindsight, I think I need to stop and think about how the current effect affects the WHOLE image, not just one part.

    This part definitely worth a review in the future once I get better at manipulating image colour.
    Part 3 - Combining Image

    Again, this has some challenges as although I have experiences using the selection tools, I have never adjusted the image colour ever so this is a first time for me.

    In my opinion, I think I got the correct atmosphere appearance for my main building. I put the building on the right to not only ruin a great view of the Chinese lake but also challenge myself to place the building behind the trees. Pretty difficult but it just shows the power of Photoshop as with more touches on it, you can easily make it look like the building actually belongs in the lake, when really it's not.

    I may want to do this one again at a later basis to have a new view on this work and do this one more time.

    Part 4 - Selection/Liquify/Heal/Stamp

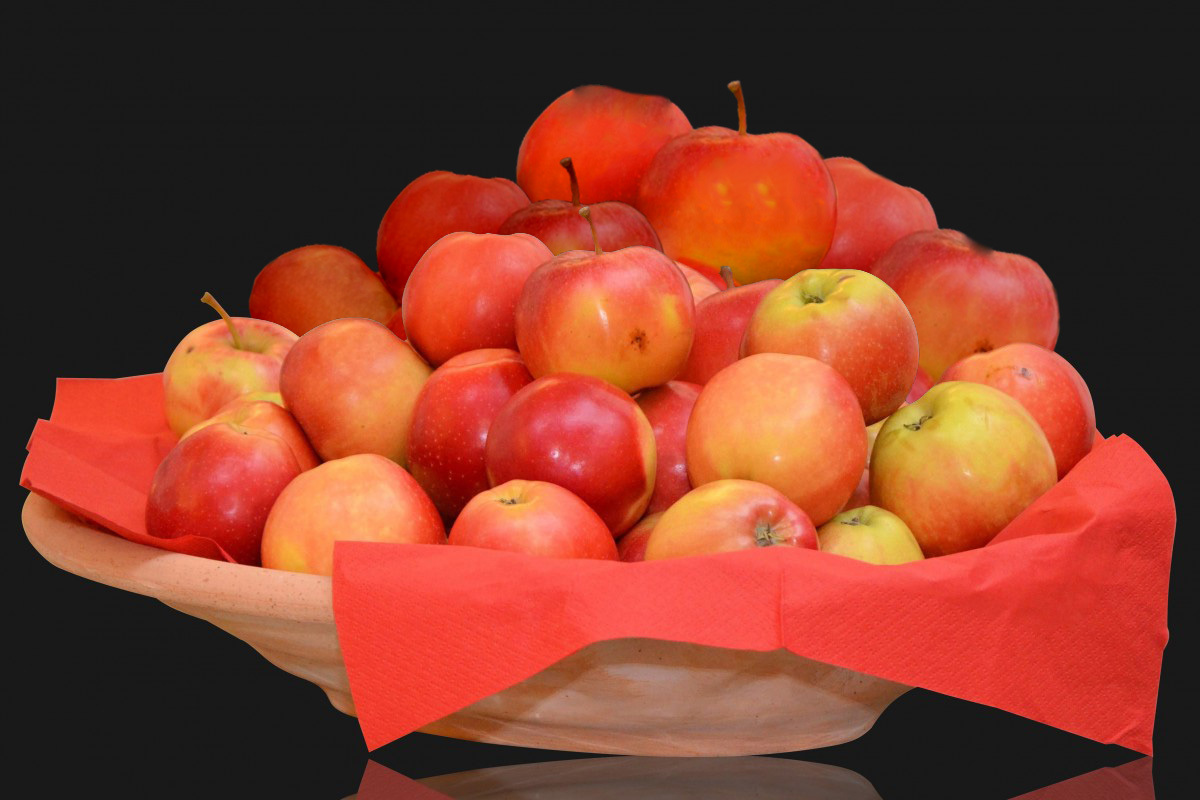
    Due to my Photoshop version, I was unable to do the last task. However, I did complete the other tasks.

    For the first task, the main challenge is to add apples from existing image but make sure it doesn't look like it's from the existing image! This involves some manipulation techniques such as adjusting the image colour and using healing brush to remove key feature of existing apples (e.g. black spot).

    I placed the duplicated apple layers in the back as it's easier to blend in, supported by a quote from somebody who said to me "The easiest way to animate a walk is to put a bush in front of their leg!". That quote somehow stuck to my head for a long time...
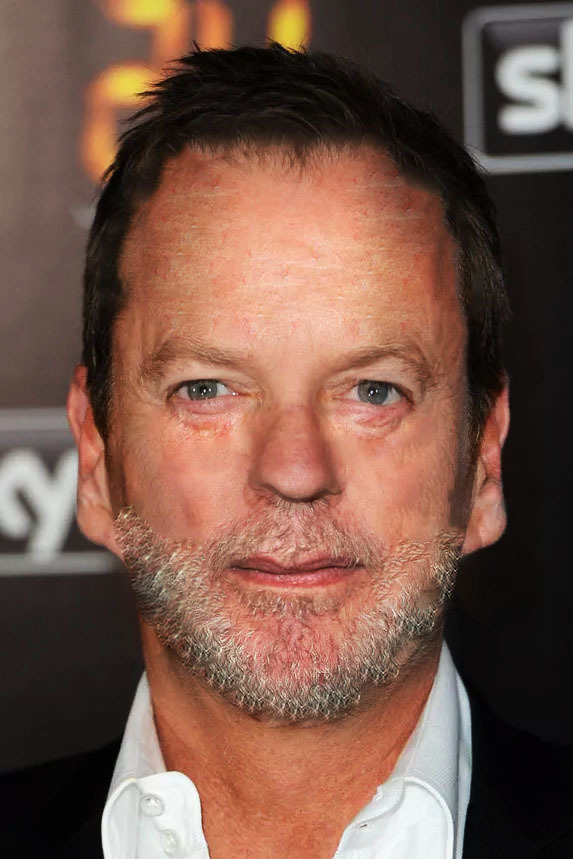
    The next challenge is harder but kinda fun to lay around with the cloning tool. I was kinda shocked as how easy it is to use Photoshop to manipulate a person image into something else entirely. Sorry Kendrick Lamar but I'm not sick and tired of Photoshop.
    Overall

    First video, this was a refresher for me. Yes, it was kinda tedious as I know most of the tools on Photoshop. But so is programming concept back in my uni time so I remain committed and it paid off as I now learnt how to use the healing brush and manipulate the image to my liking.

    14 days later

    Perspective 1

    Much like the Photoshop lesson from before, this is a pretty quick lesson as I have done perspective drawing before (thx to engineering and maths) so I'm kinda familiar with 1 and 2-point perspective but not in a drawing sense. But the key is "kinda" so I went through the video in full.

    Key Lesson Notes

  • Vanishing point and Horizion Line help us set up perspective.

  • The most common perspective is 1-point and 2-point . It depends on how many vanishing points you want to use.
  • Part 1 - Horizon Line and Vanishing Point

  • You can find vanishing point by drawing all straight line together.

  • Horizon Line is basically the horizontal line of the vanishing point.

  • Part 2 - 1 Point Perspective

  • Involves 1 vanishing point.

  • Just draw straight line via the vanishing point.

  • To draw a cube, draw a square face in front and then draw toward the vanishing point to display "depth"
  • Part 3 - 2 Point Perspective

  • Involves 2 vanishing points.

  • Involves twice as much lines drawn compared to 1 Point Perspective

  • To draw a cube, draw a straight line and follow the lines drawn through each vanishing point
  • Room Assignment

    I didn't spent too much time compared to other people whose perspective work are simply amazing. The main reason is I want to focus on nude figure drawing which was my goal for this term. However, I don't want to just draw some cube and be done with so I add some non-cube object such as the machine on the right and an air-con on the top left.

    In the future, I may need to do more perspective drawing but as of this moment, I feel my current perspective skill are good for now.

    Overall

    Like the Photoshop video, this was a refresher for me. However, I learnt new concepts at some time such as how to draw curve in 1 point perspective. Aside from that, it was mostly straight forward but worth rewatching.

    Nice job! I like how you added that stool in there. Good to practice round forms in perspective like that.

    If I were to leave some pointers, I'm going to assume your vanishing point is on the horizon line. If that's the case, you will be able to see the top plane of the window sill on the left since the top plane will be visible for everything below the horizon line.
    Also on the couch(?) there to the left. The distance between the lines indicating the separation of the couch cushions will get closer and closer as it moves toward the vanishing point. I'm pretty sure there was a method on accurately measuring the distance, but I don't quite remember. I think Marc does go over it on a video though.

    I hope these have been helpful! You're doing well :smiley:

    Nice work! I love the sci fi feel. I have been working on one point perspective a lot recently so I thought this may be helpful. If you draw an X in between the rectangle you are working in you can find the halfway point. Then you can repeat this as many times as needed. This is pretty simple if you are working on just the horizontal and vertical planes as the lines are straight. However if you are working at an angle, the lines must be parallel to the other angular lines on the side. I don't know how to divide the cushions into thirds but here is an example of how to divide it into fourths. You can also use this to find the halfway point on other objects such as the circles and checker pattern on the ceiling. Take this advice with a grain of salt please as I am very new and it may not be correct it just seems to work for me. I hope this is helpful. Also love this style!

    @leeireo

    aha yes! I think that's the method I was thinking of. Thanks for clarifying it for the both of us

    Thanks for explaining your view on my Chinese couch (random inspiration), @leeireo. I was trying to indicate equal distribution. But yeah, I should used @Lockenheim solution to draw the couch in equal distribution.

    Thanks for your awesome explanation on how to split the couch equally. That's something I and @leeireo didn't know but should have due to mathematics knowledge lmao. And no, the advice makes absolute good sense.

    Btw, the orange and blue lines you draw are not parallel if I'm assuming correctly. That's the case, that's me doing work at 1am - brings out the worst accuracy out of me. XD

    But I do appreciate that you read my blogs, @Lockenheim . :smile:

    :laughing: Ive been grinding perspective so much the past few weeks these problems are fresh in my mind and very dear to me :joy:

    Nude Figure Drawing

    Now, this is where the interesting bits is coming in. Drawing people is never my strength (excluding cartoon lmao) so this took some considerable times in comparison to other courses in term 1. But this is very beneficial as it strengthens my observation out on what to look for.

    NOTE - There are a lot of good examples on Discord chat. Go have a look for more reference on there. My Discord is Gordon003#7031 if interested to chat to.

    Part 1 - Line of Action

  • Imaginary Line running from neck to tailbone.

  • First Line ever.

  • Always start with LOA when drawing figure.

  • Avoid S-Curve - our spine can only do much.

  • Can have secondary LOA to complement - in particular, the leg.
  • Part 2 - Head, Ribcage & Pelvis

  • Key parts of human body - each rotate independently of each other.

  • Can use (sphere or circle)/(box or square) to represent each part.

  • Use LOA to help the placement of those parts.

  • Part 3 - Joints

  • More mobile part of the skeleton

  • Represented as a circle which is connected by a line (simple) or cylinder (advanced)

  • Shoulder -> Elbow -> Wrist

  • Hips (at end of pelvis) -> Knee (Bottom Level) -> Ankle

    Part 4 - Cylinders

  • A better representation of joints connection.

  • Cylinder is better to show perspective and foreshortening.

  • Cylinder shows which joint is front/back of each other.
  • Full Process Combined


    Part 5 - Proportion

  • Use head measurement to measure out other key parts.

  • Have reference points to allow you position each body parts accurately.

  • Place your key body parts (head, ribcage, pelvis) and the joints as the first step.

  • Set up skeleton before you add detail.

  • Part 6 - Gesture Drawing

    Most challenging but also the most rewarding. I have done Gesture Drawing before but I don't see the main goal/point of doing it every day until Marc and other Youtubers videos recommended by other artist on Discord explained it.

    Basically, it helps me refine my observation skill in detecting key body parts quickly and find the flow of action since it's meant to be quick. In summary, this one took some considerable time and will continue to do as warmup activity.

    Initial Gesture Drawing

    Current Gesture Drawing

    Overall

    This is the hardest course in Term 1. But it's the most rewarding as it forces to work on my fundamental skill which was one of my art goal and reason to join this art school. And I'm happy to notice that I'm less rigid in my drawing and more fluent.

    I like the improvement on your gesture drawings! The planes on the faces add a lot in my opinion. I try to do that myself but run out of time! :blush: Gesture drawing is also the hardest part for me as well. I also feel like it improves my speed considerably when working on other practice. Keep up the good work!