So I went through your Art Journey and it's really cool to see your evolution on gesture drawing! You definitely put in the work haha.

This is something I'm only now noticing, thanks! When doing gesture, both the ribcage and the pelvis are afterthoughts to me. That is why in some of the poses you'll see them and in others you wont. I'll try to be more considerate of them when doing gesture from now on!

I thought it was wider in the 4th attempt, but I can see that maybe you mean the part of the waist coming from the ribcage?

It's all good! Your advice has been very helpful so far!

The following are the perspective 1 exercises:

First the 1 point perspective simple cubes:

2 point perspective simple cubes:

And finally the complex shapes with 2 point perspective:

I did a very simple drawing of my room in perspective because it really doesn't have much going on at the moment. I'm thinking I could go back and add some more detail to it or just try and create a new one that looks either a bit more futuristic or primal.

The street with three buildings. I added some figures to the image to see if the proportion and sizes were alright and for the most part I think they are.

Also because I liked this drawing I decided to actually paint it. I was going for a late afternoon/sunset type of feel:

This was not my first time doing perspective exercises. In fact since I start to study art more seriously, I have noticed that I was having a lot of trouble with drawing in perspective and so I decided to focus more of my studies on it. The next step in perspective for me before tacking on perspective 2 is going to be to add more complex shapes and details in 2 point and 1 point perspective.

This is a lot of practice keep up the good work! I like the painting you did towards the bottom. for adding details I'm sure you already know but you can do it without trying to conform to the perspective and warp it onto what area you want the design afterward so you don't have to do it the hard way. great work overall! :smile:

Yes that is what I meant when I pointed that out.

Thanks that means a lot! I used to do it every day for an hour but that changed to three times a week, and now I'm trying a new schedule of once a week.

It's all good just thought I would point those out for when you get more comfortable with doing 30 sec and 1 min. gesture.

I'm back with more Nude Figure Drawing today. For the last couple of days I've been gathering some tips and seeing how to improve on this, so here are the results:

I went back to the video regarding Gesture drawing because I felt like I was missing something. I realize it wasn't so much what I was missing, but what I was adding. I stripped back a bit on what goes into my gesture drawing which means, less lines and less shapes.
I also started to randomize the images. Before I always started with a photo where the model was sitting cross legged (as you'll see below) and I think it's a very tricky pose. Randomizing doesn't guarantee a simpler pose, but it felt much better for some reason.


Drawing the body on the grid felt easier last week then this week. I think I started over analyzing where to place the dots and how to connect them. The most trouble I have with this is when drawing the circle on the head. It always seems much bigger than it should be. I've also noticed that the faces tend to be more to the right. This is probably due to the circle problem.

Lastly, the proportion exercise:

So before posting here I was trying to do this type of exercise by measuring with pen and thumb. Not only was that a very hard process when using just an IPad, but the results were also not that great.
Today I decided to implement some tips given here (thanks Kosmonaut!) and I'm happy with the results! I used some line guides to box in the pose, and after that I was able to measure distances between reference points much easier. I still used the pen+thumb method somewhat, but I think this time it came out alright!

Back again with more proportion drawings.

Each took me about two hours. I'm trying not to use too many guides to measure the distances, however because of that I'm constantly checking if the proportions are ok. I check the proportions by overlapping what I've drawn with the picture I'm using.
I had some trouble finding a good starting point for both drawings, but it became easier from there to draw the rest.

As always feedback is greatly appreciated!

Use as many guides as you need to build up your observation, and if it's a style choice with the shading then ignore this but I would try to use a smoother/larger brush for doing the shading on the figures so you can build up line and shape confidence. These figures look good though so good job.

Thanks Kosmo, I'll keep that in mind the next time I do a proportion study.

I wanted to start by sharing a drawing I did on Sunday:


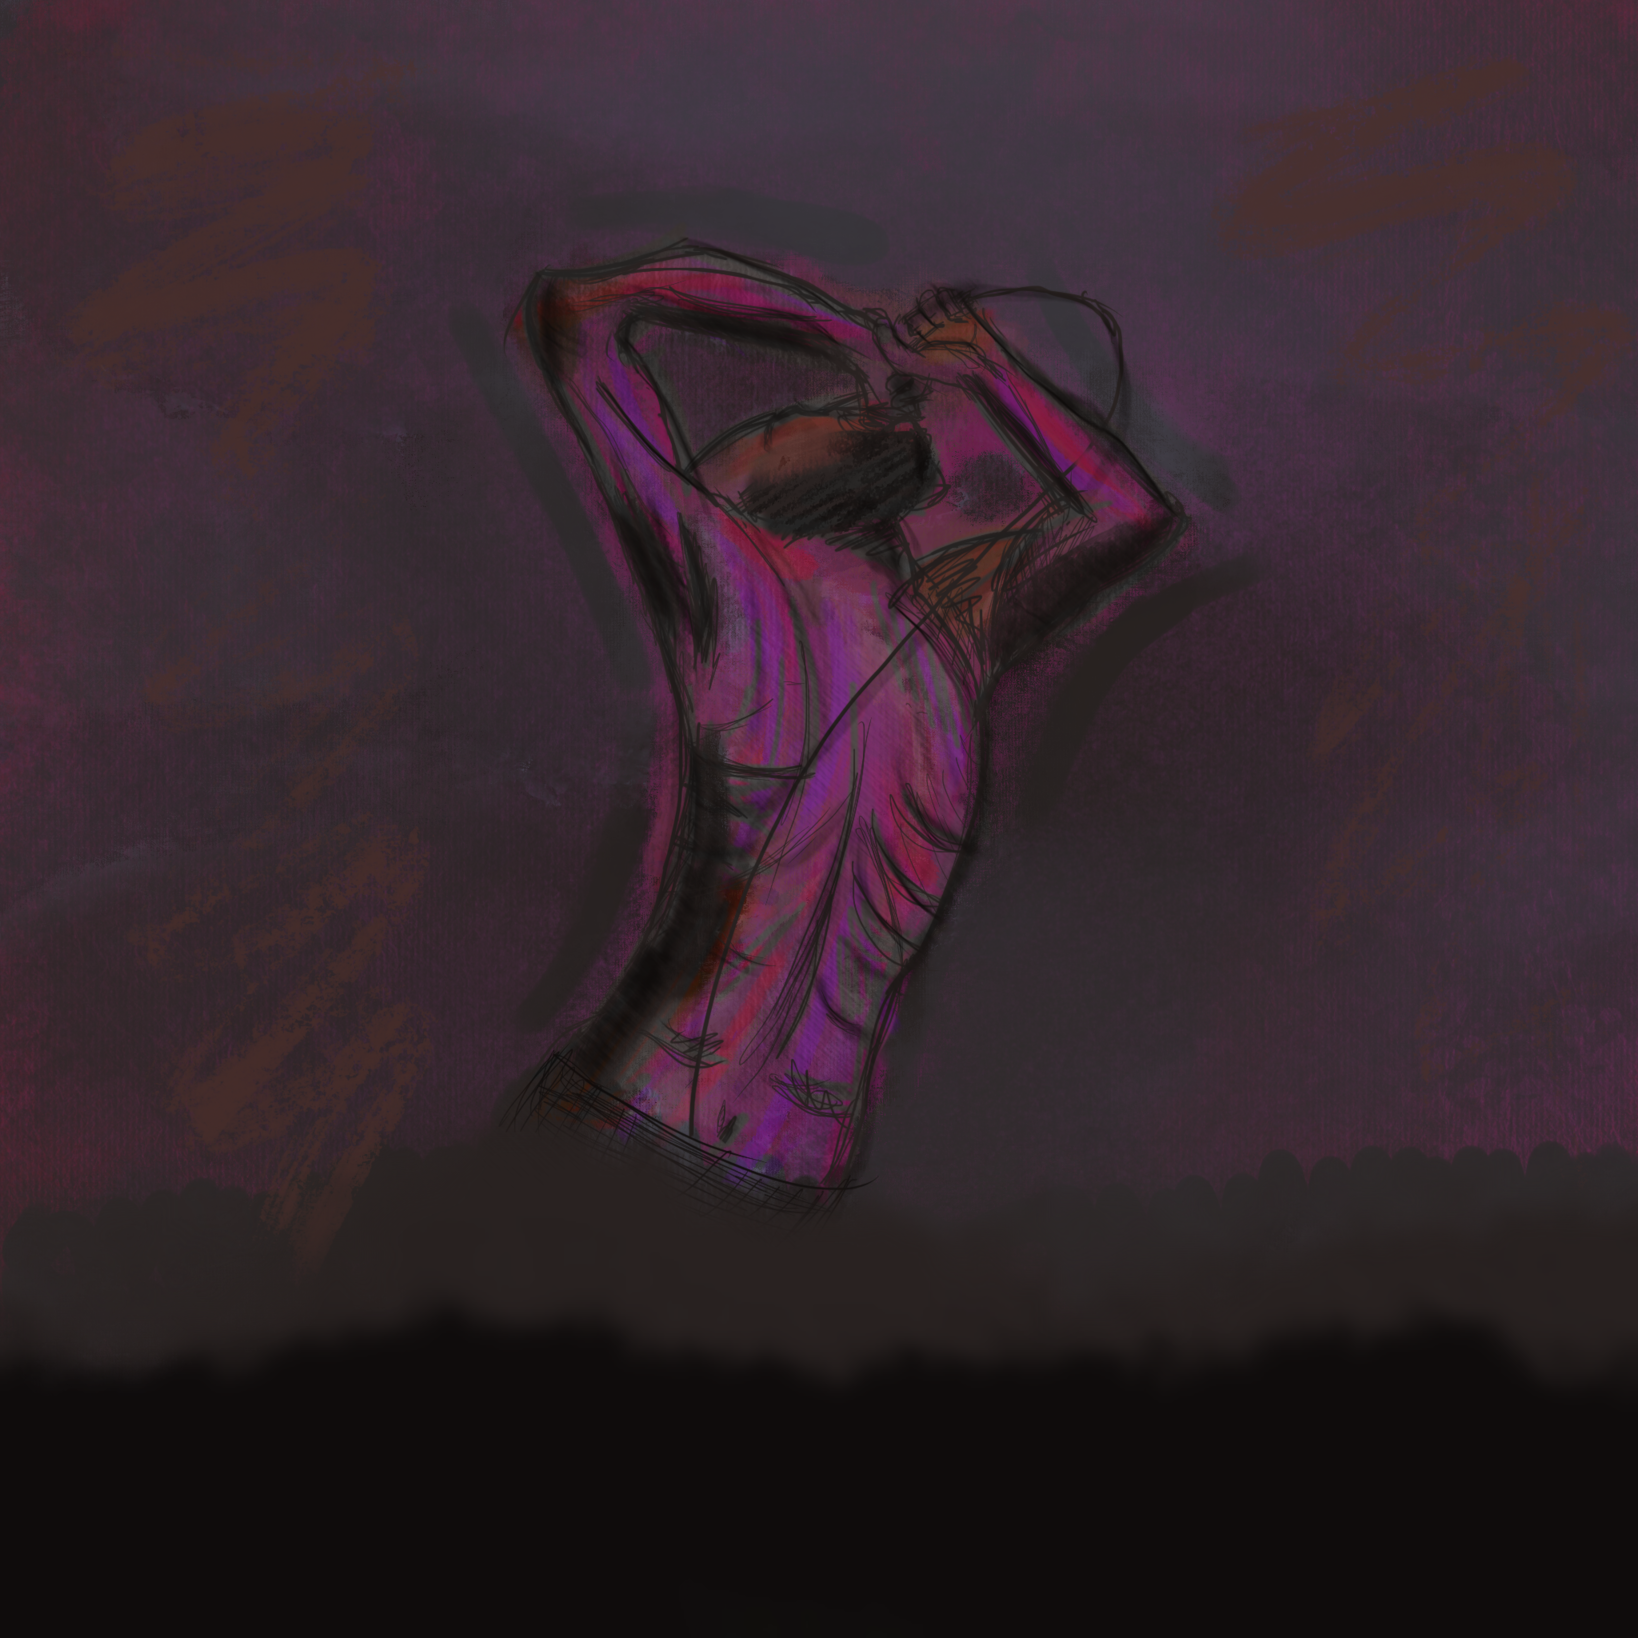
It was a a quick sketch based on reference (2/3 hours). Most of that time was spent on coloring and effects.

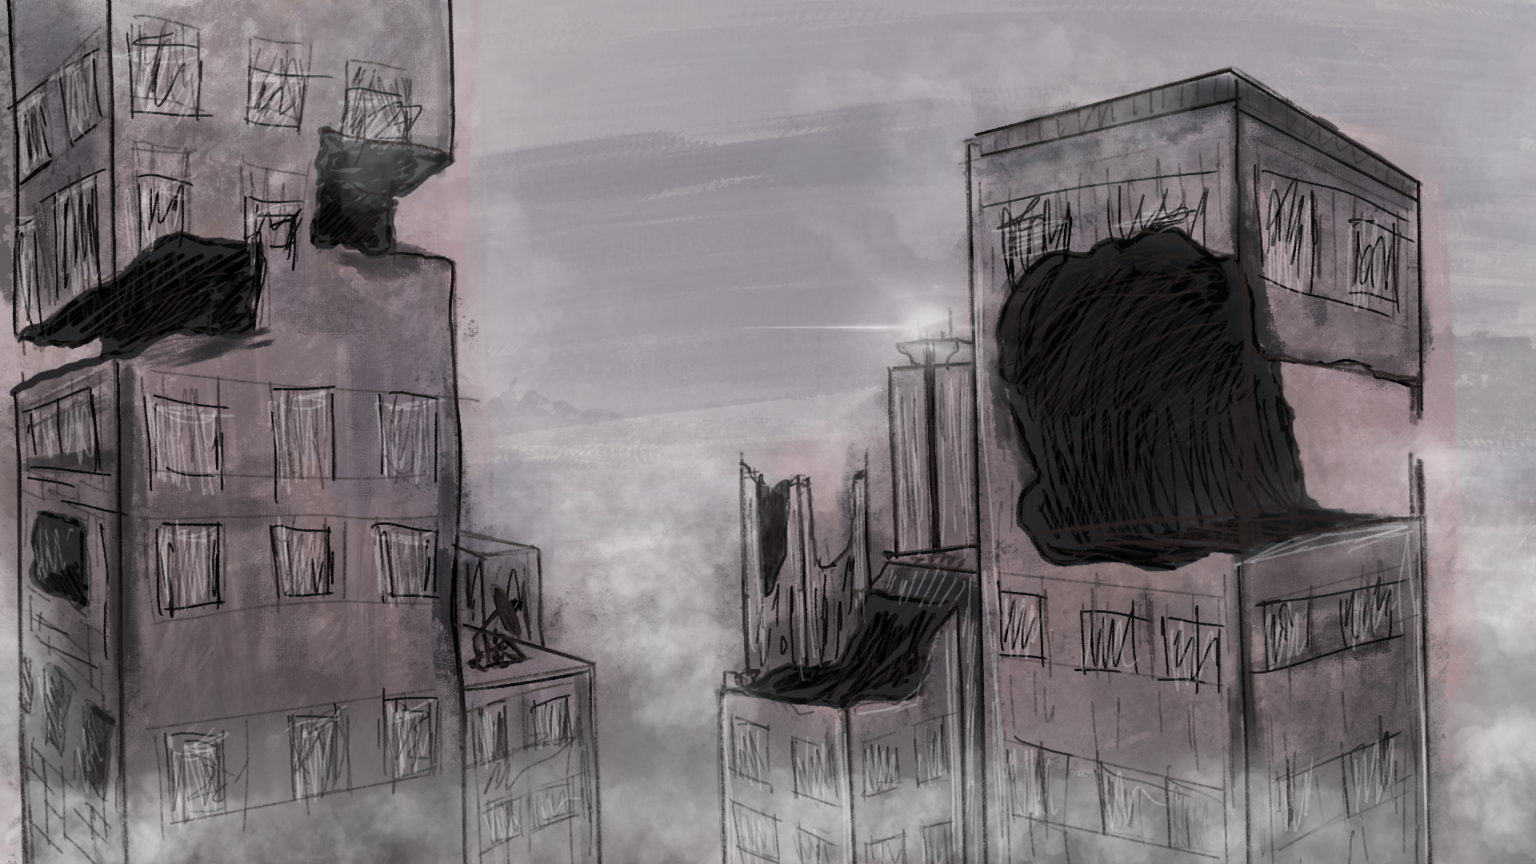
I also did a few more 2 point perspective drawings. I tried to introduce more complex shapes and some story to them.


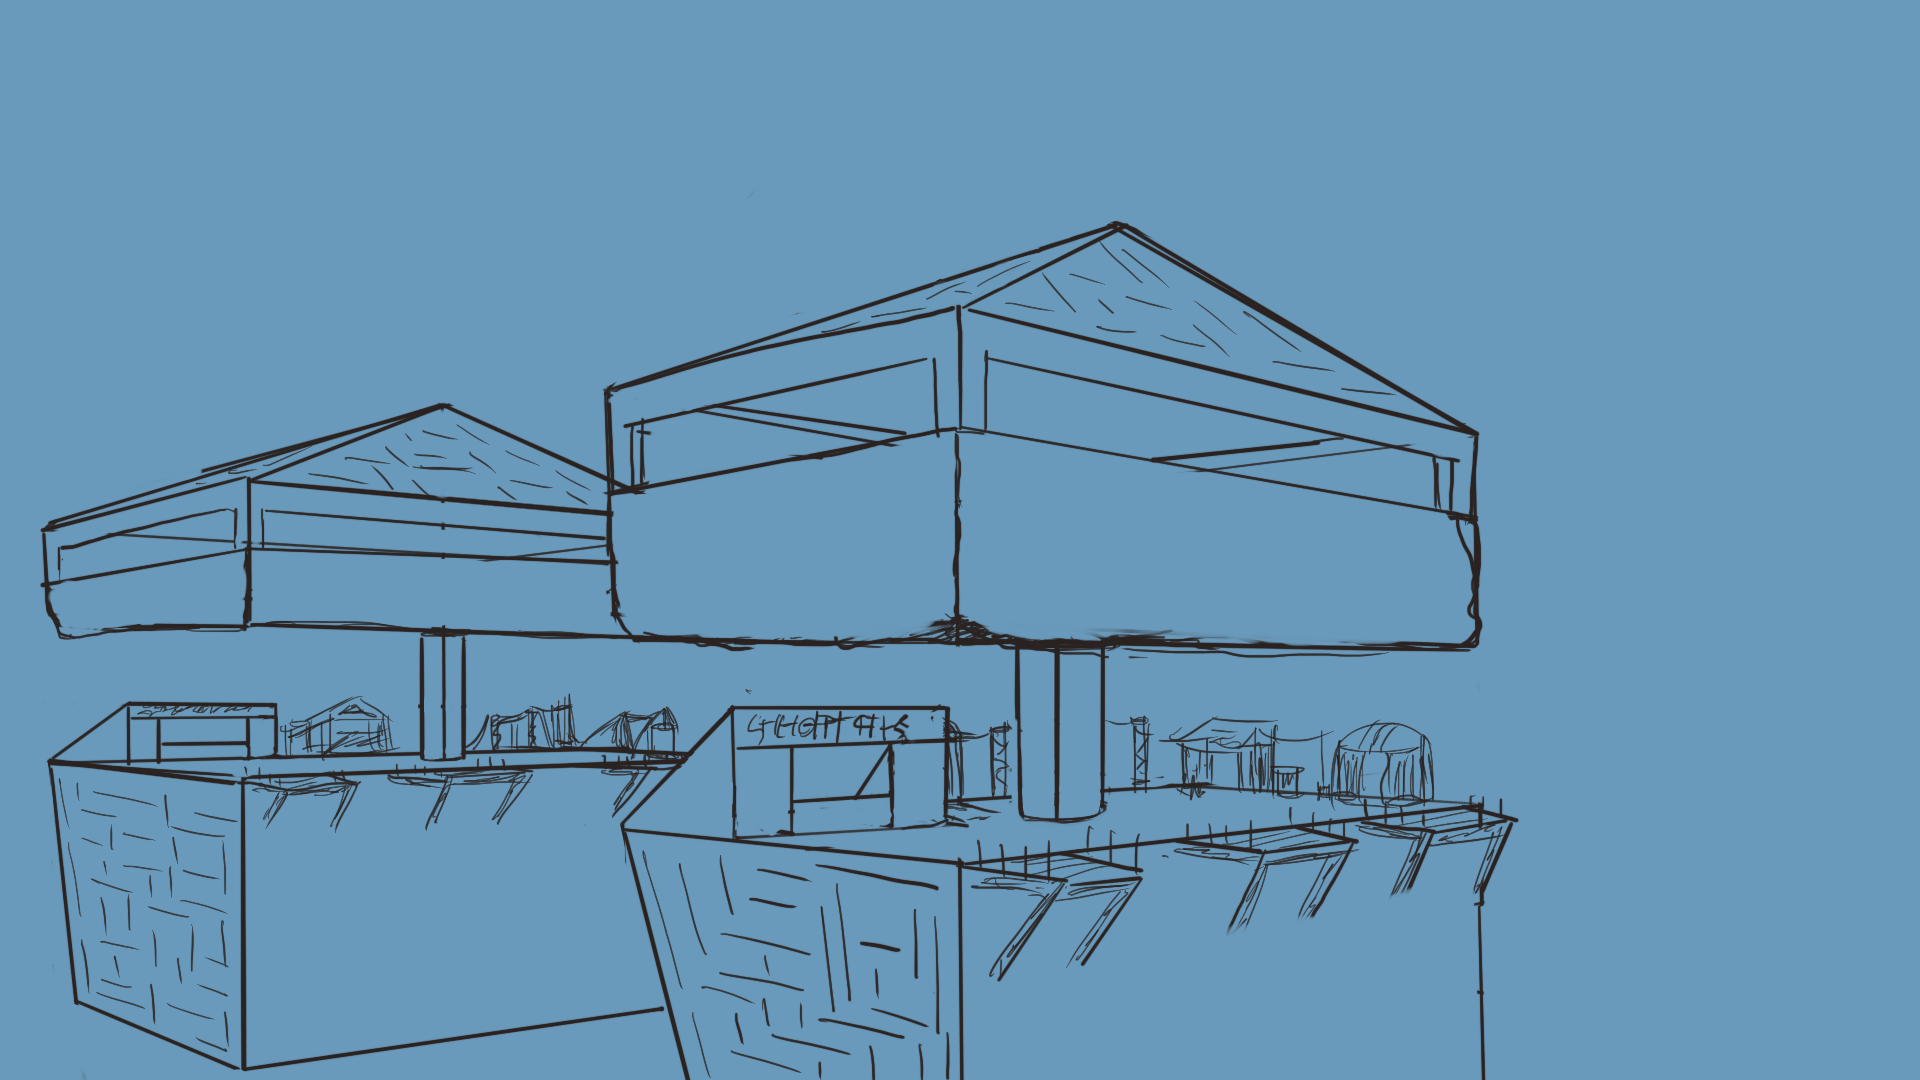
I haven't finished coloring this one so I'm sharing just the line art for now.

I have been doing some of the term 2 photoshop exercises as well:

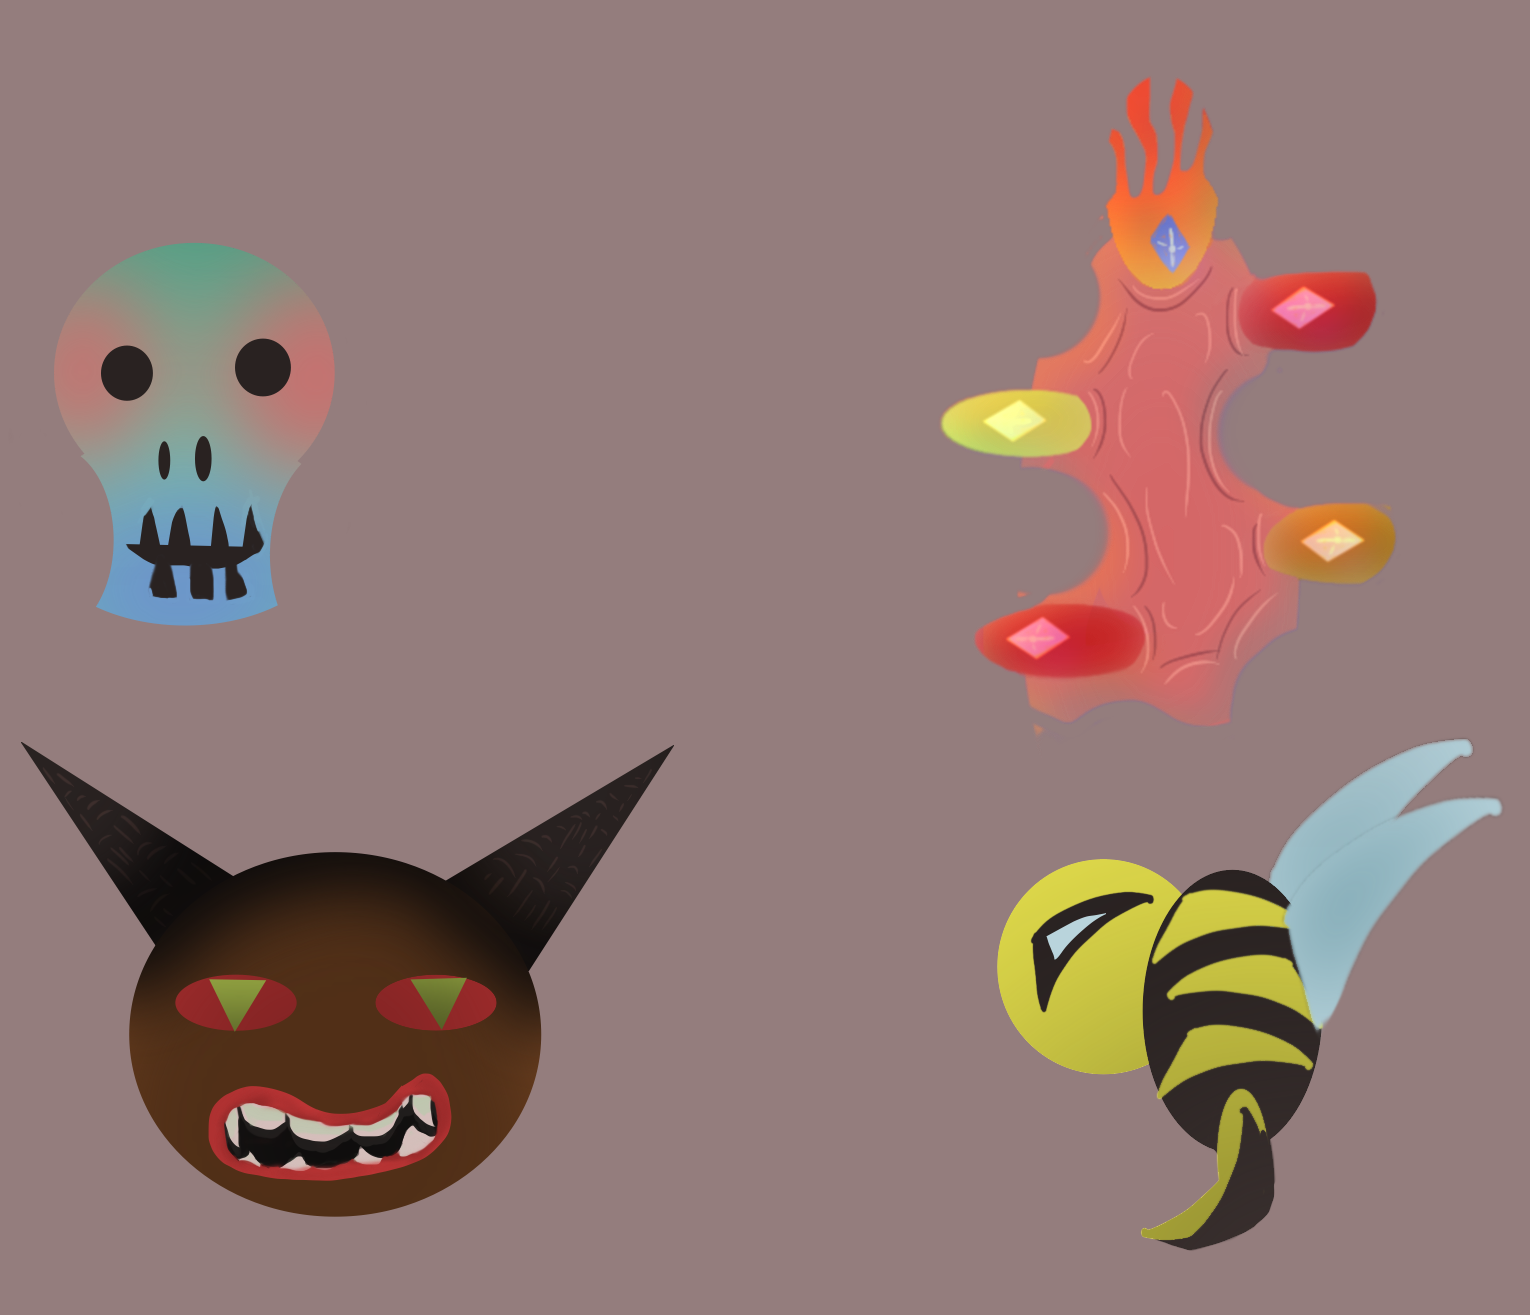
This is the simple shape with gradients monster exercise. Now in procreate it's not as simple as in photoshop. For those that don't know procreate doesn't have a gradient fill tool like photoshop so to get to the same effect I saw a few tutorials and came up with this pipeline:

  1. Using the select tool make a shop, fill it with the base color by dropping it.
  2. Then, Alpha Lock that layer.
  3. Create a new layer where you'll have your gradient.
  4. In this new layer, make a shape with the selection tool, and fill it using the Color Fill option on the select screen (or just drop the color you want)
  5. Use the Feather option and choose a feather amount that will fade the color.
    Note: Applying Gaussian Blur/Motion Blur to this layer might also work.
  6. After you have your "gradient color" select that layer and apply a clipping mask.

And you are done! Now you can move the shape around and it will only show where the layer below has been colored. This is due to the Alpha lock option we selected previously along with the clipping mask.

If there is a better way to do a gradient in Procreate, please let me know!

I still need to do the text exercise! Which again in Procreate is not so simple, but I've seen a few tutorials and have some ideas on how to do it.

However the smart box art is impossible. There is no such functionality, and seeing as that is the goal of the exercise, I'll skip it.

So I was actually able to complete all the exercises on page 2. These were easier as they only deal with brush control and don't require any special features.

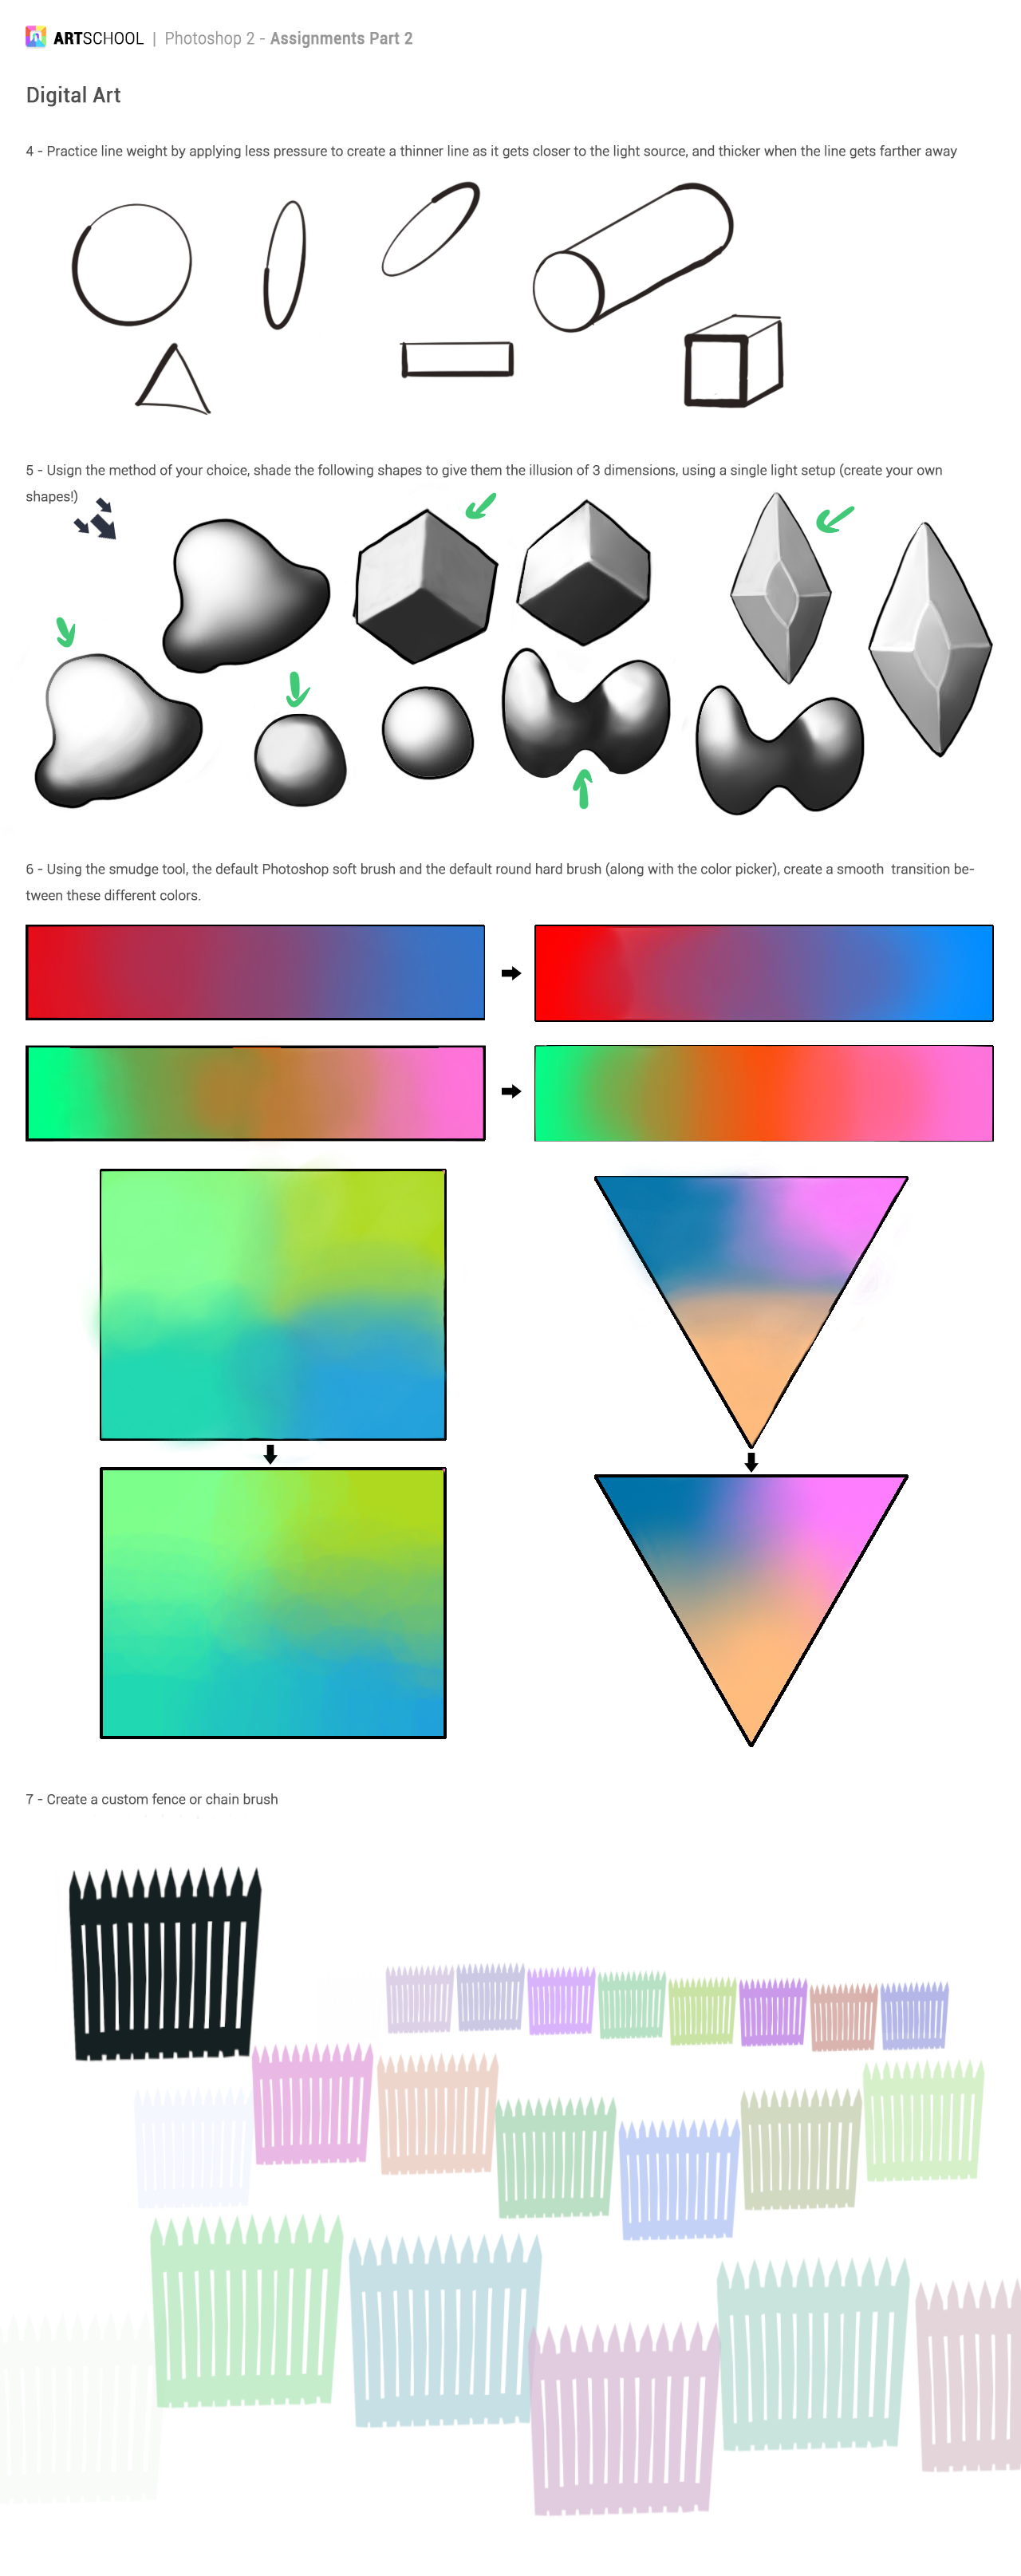
I had done smiliar exercises when I was going through Ctrl+Paint tutorials. They are always a fun challenge. You can go and color pick and correct as long as you want to.

The brush exercise was also the first time I did a procreate brush from scratch and I'm happy with the result. One of the options when creating a brush allows for a hue change with each stroke. Might not be useful but I had to give it a try!

And this is what I've been doing in the last few days.

As always feedback is always appreciated!